How to create a workflow
An automated workflow consists of one trigger and multiple action nodes.
-
Trigger (Trigger Node): The trigger acts as the switch for the workflow. The workflow only starts when the trigger's conditions are met.
-
Action Nodes: Action nodes are automated tasks in the workflow. They handle operations such as data modifications, sending notifications, approval processes, and other required tasks.
Creation Steps
Step 1: Select and configure the trigger
Step 2: Add and configure action nodes
Step 3: Configure workflow execution settings
Step 4: Save and publish the workflow
Step 5: Enable and test the workflow
I. Select an appropriate trigger mode
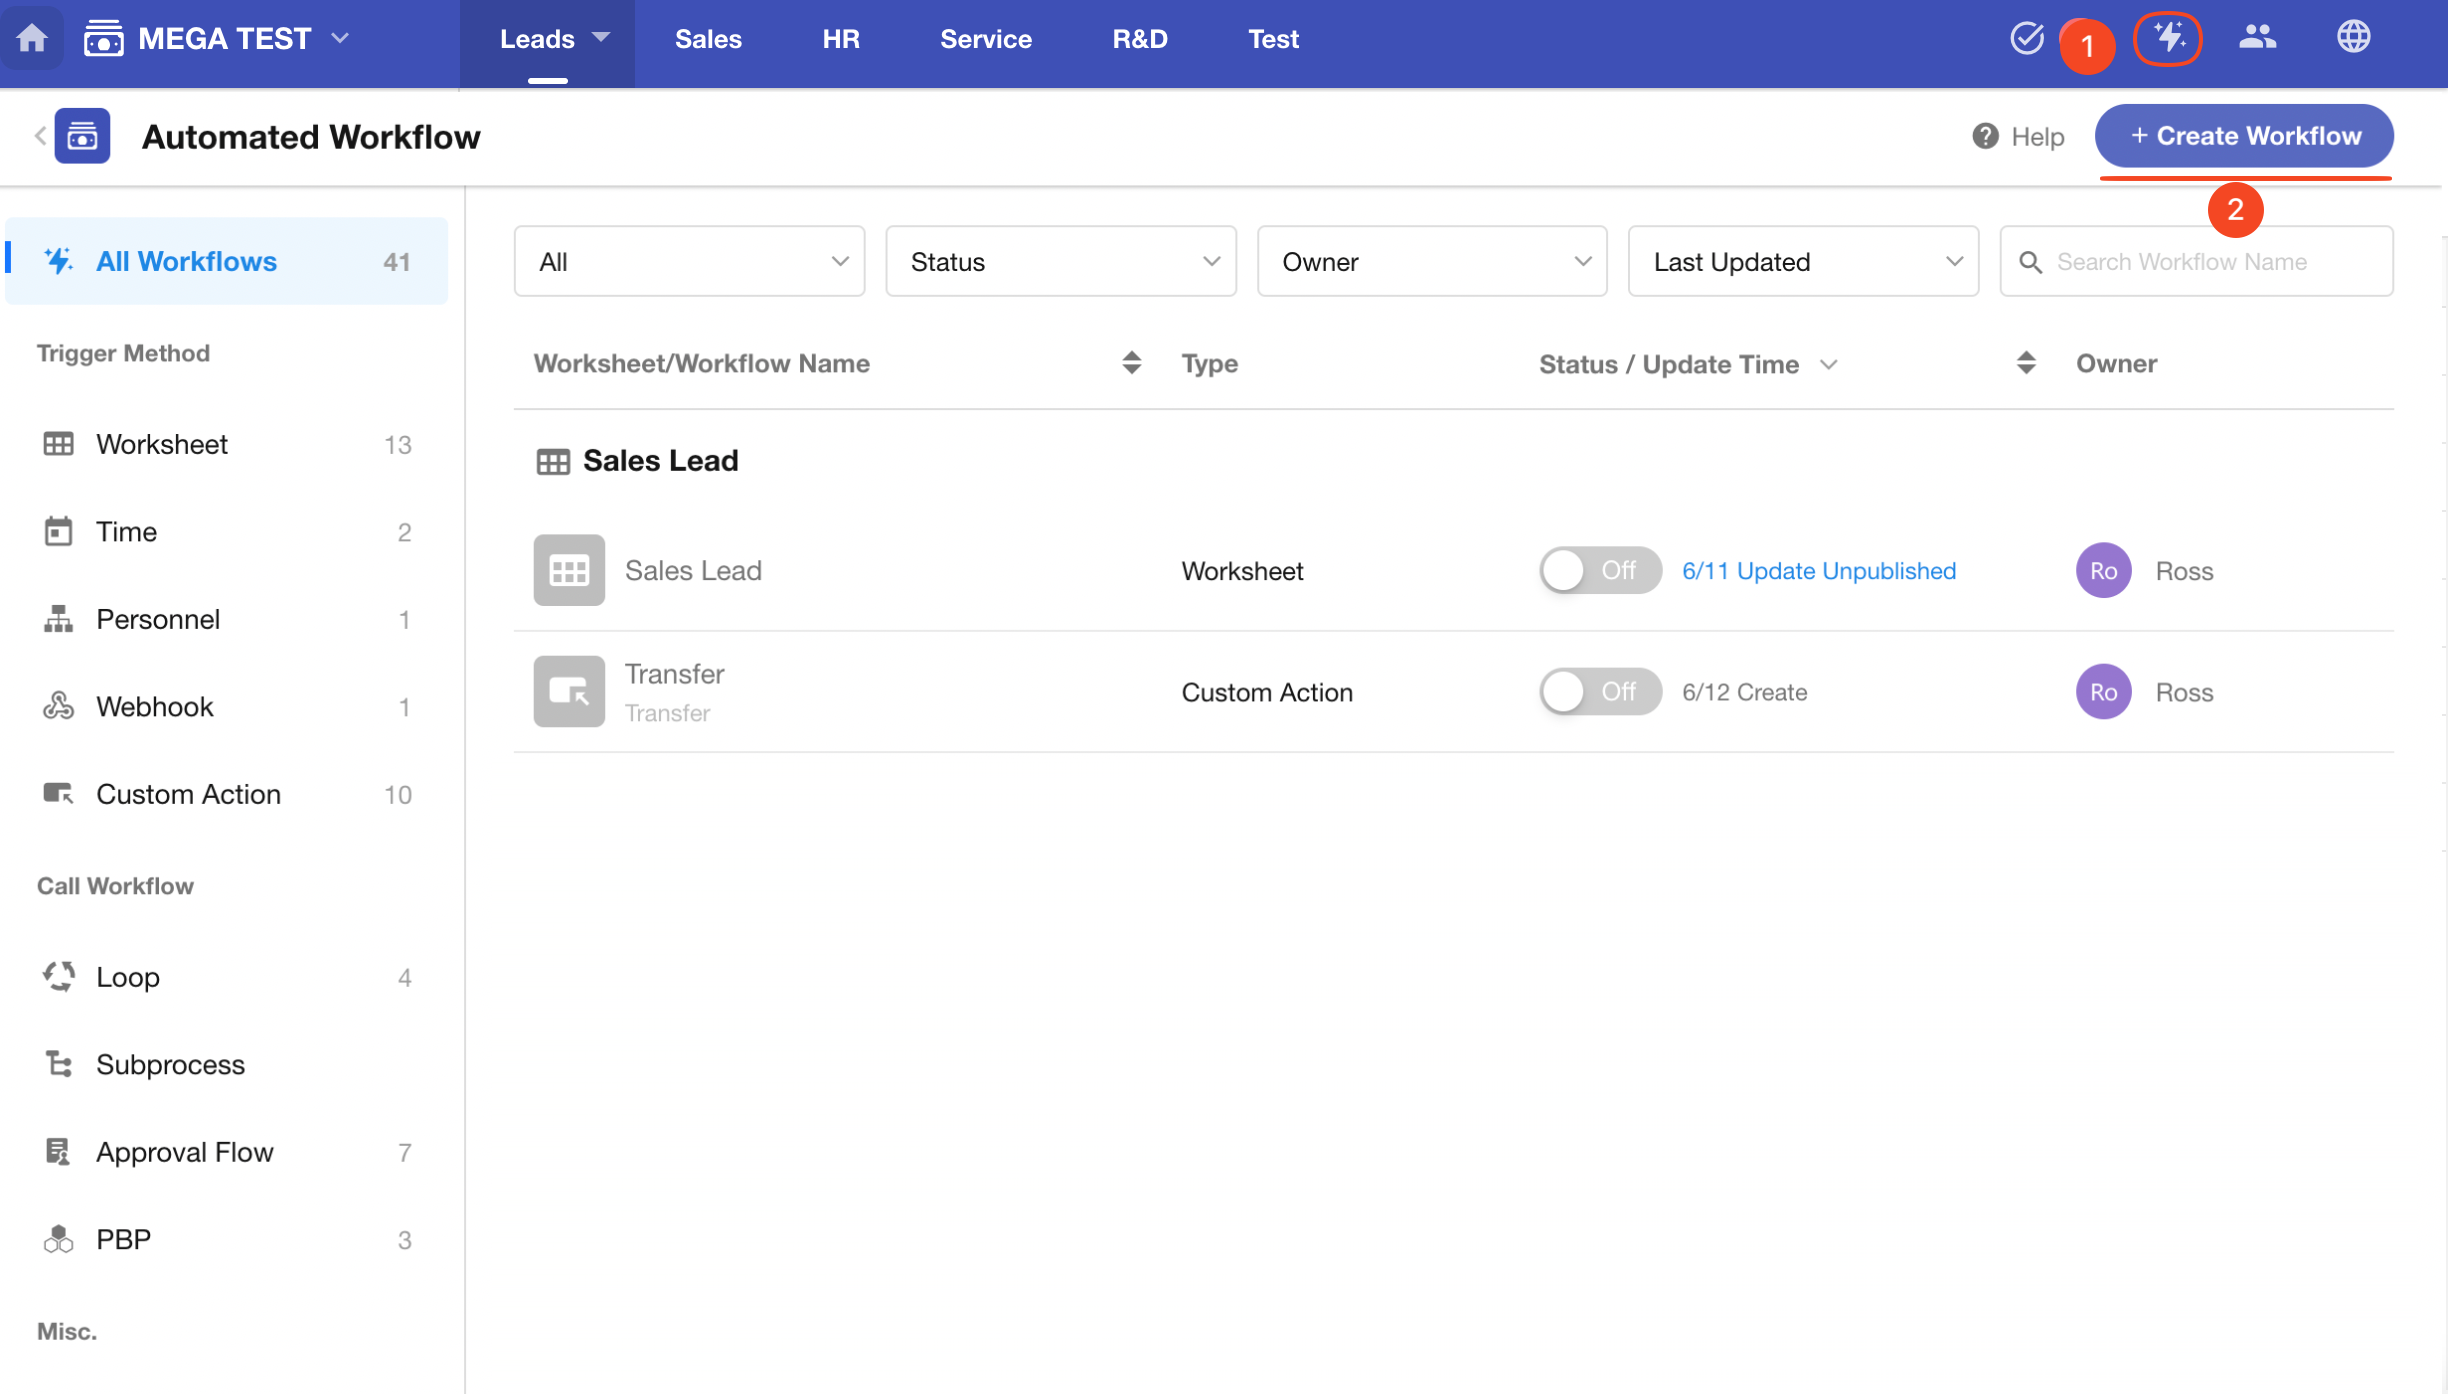
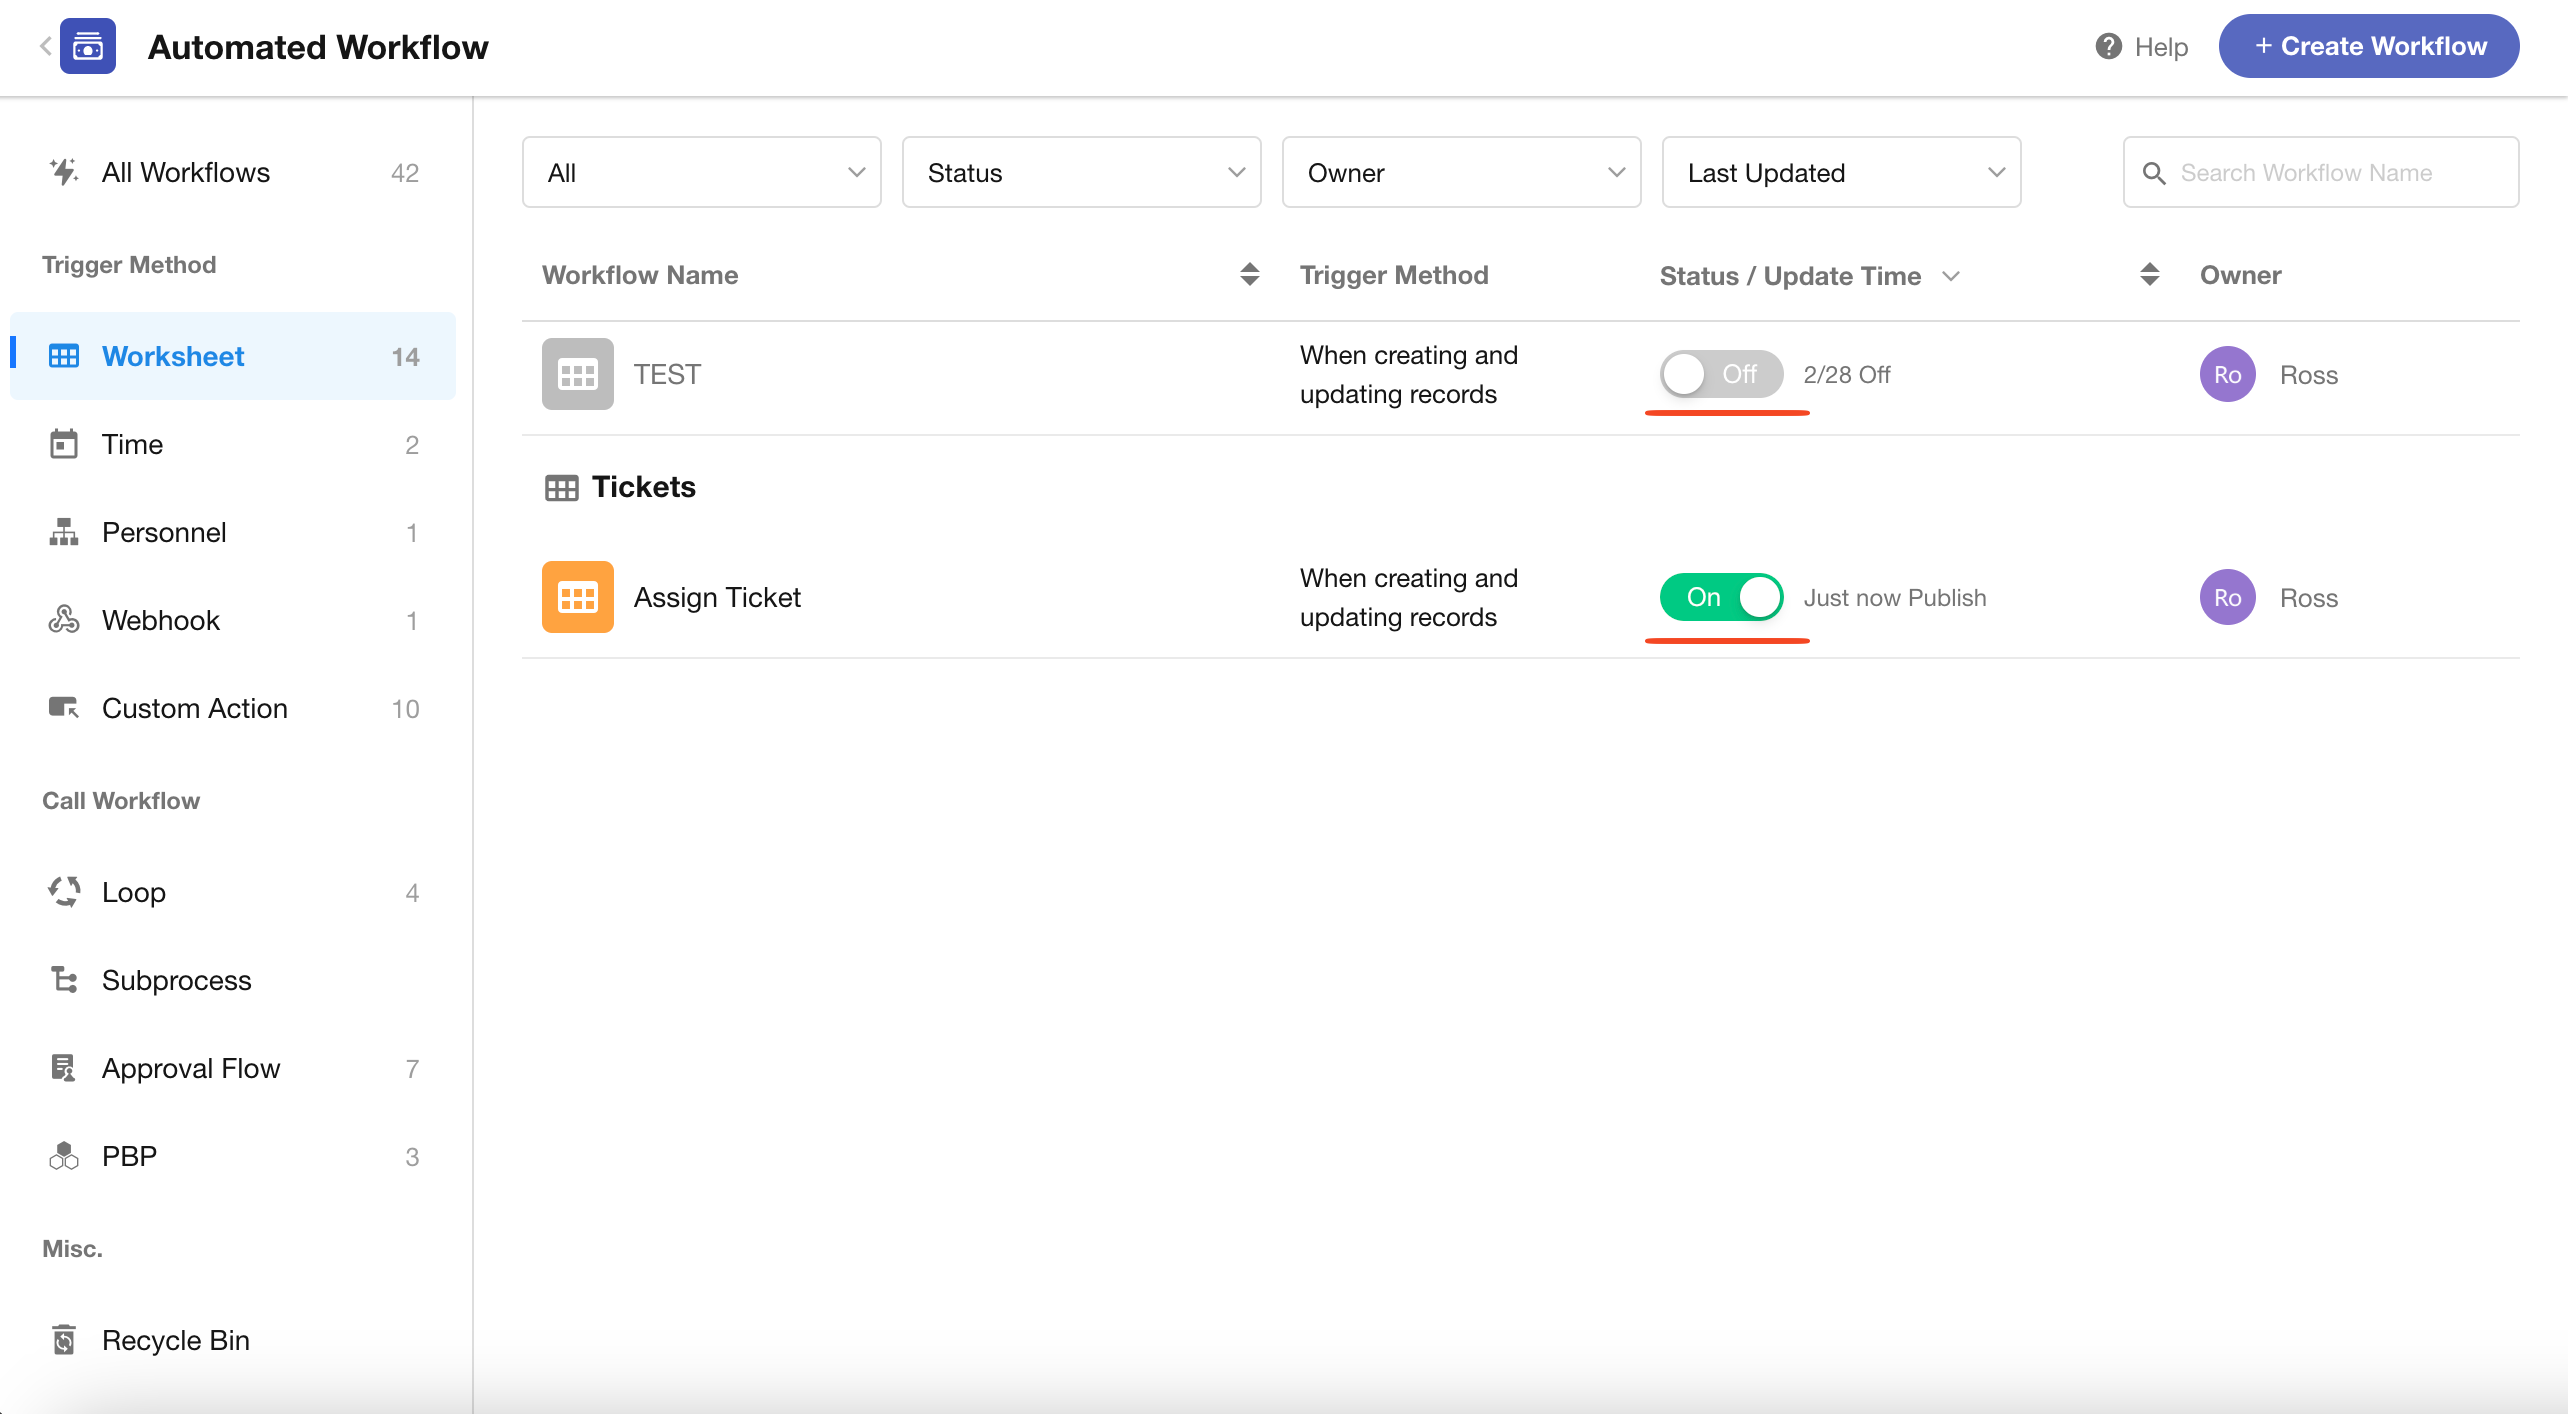
1. Access the workflow management page
Application administrators click the "Workflow" icon, entering the workflow management page, then select "Create Workflow".
2. Choose a trigger mode
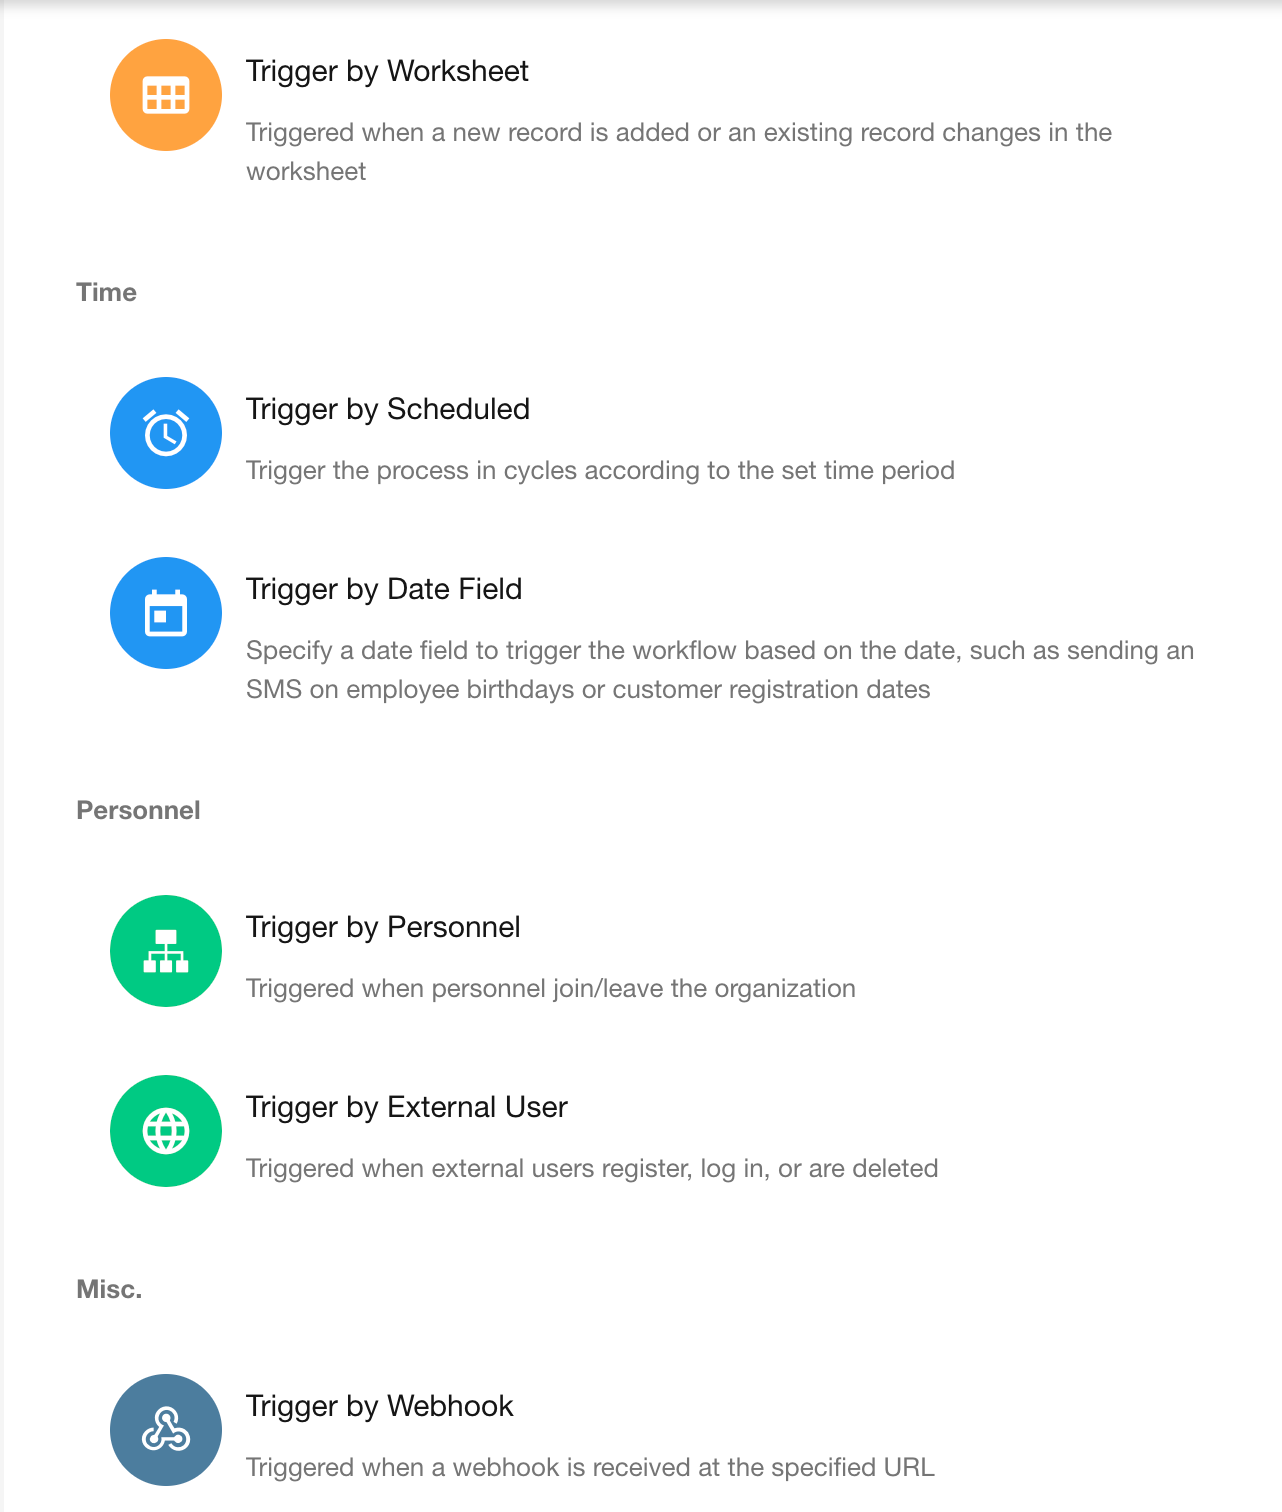
-
Trigger by Worksheet
The workflow is triggered when records are created, modified, or deleted in a worksheet.
Example: When a new record is added to the Expense Reimbursement worksheet, the workflow is triggered to notify the supervisor for approval.
-
Trigger by Scheduled
You can set a recurring time cycle to execute planned actions whenever the specified time is reached.
Example: At 6:00 PM every workday, send colleagues a reminder: [It's time to clock out - don't forget to submit your daily report!].
-
Trigger by Date Field
Select a date field in the worksheet to trigger the workflow when the specified time arrives.
Example: For the "Birth Date" field (date field) in the employee worksheet, send a birthday greeting message to each employee on their birthday.
-
Trigger by Personnel
The workflow is triggered when someone joins or leaves the organization.
Example: For an employee management worksheet, when an employee leaves:
-
Trigger the workflow
-
Update the "Status" field in the worksheet to "Departed"
-
-
Trigger by External User
Workflows are triggered when external users register, log in, or are deleted.
-
Trigger by Webhook
The worksheet supports passive data reception. When data changes in other systems, the modified data can be pushed to this platform's server. After receiving the push, the server can trigger the workflow to automatically execute planned action nodes.
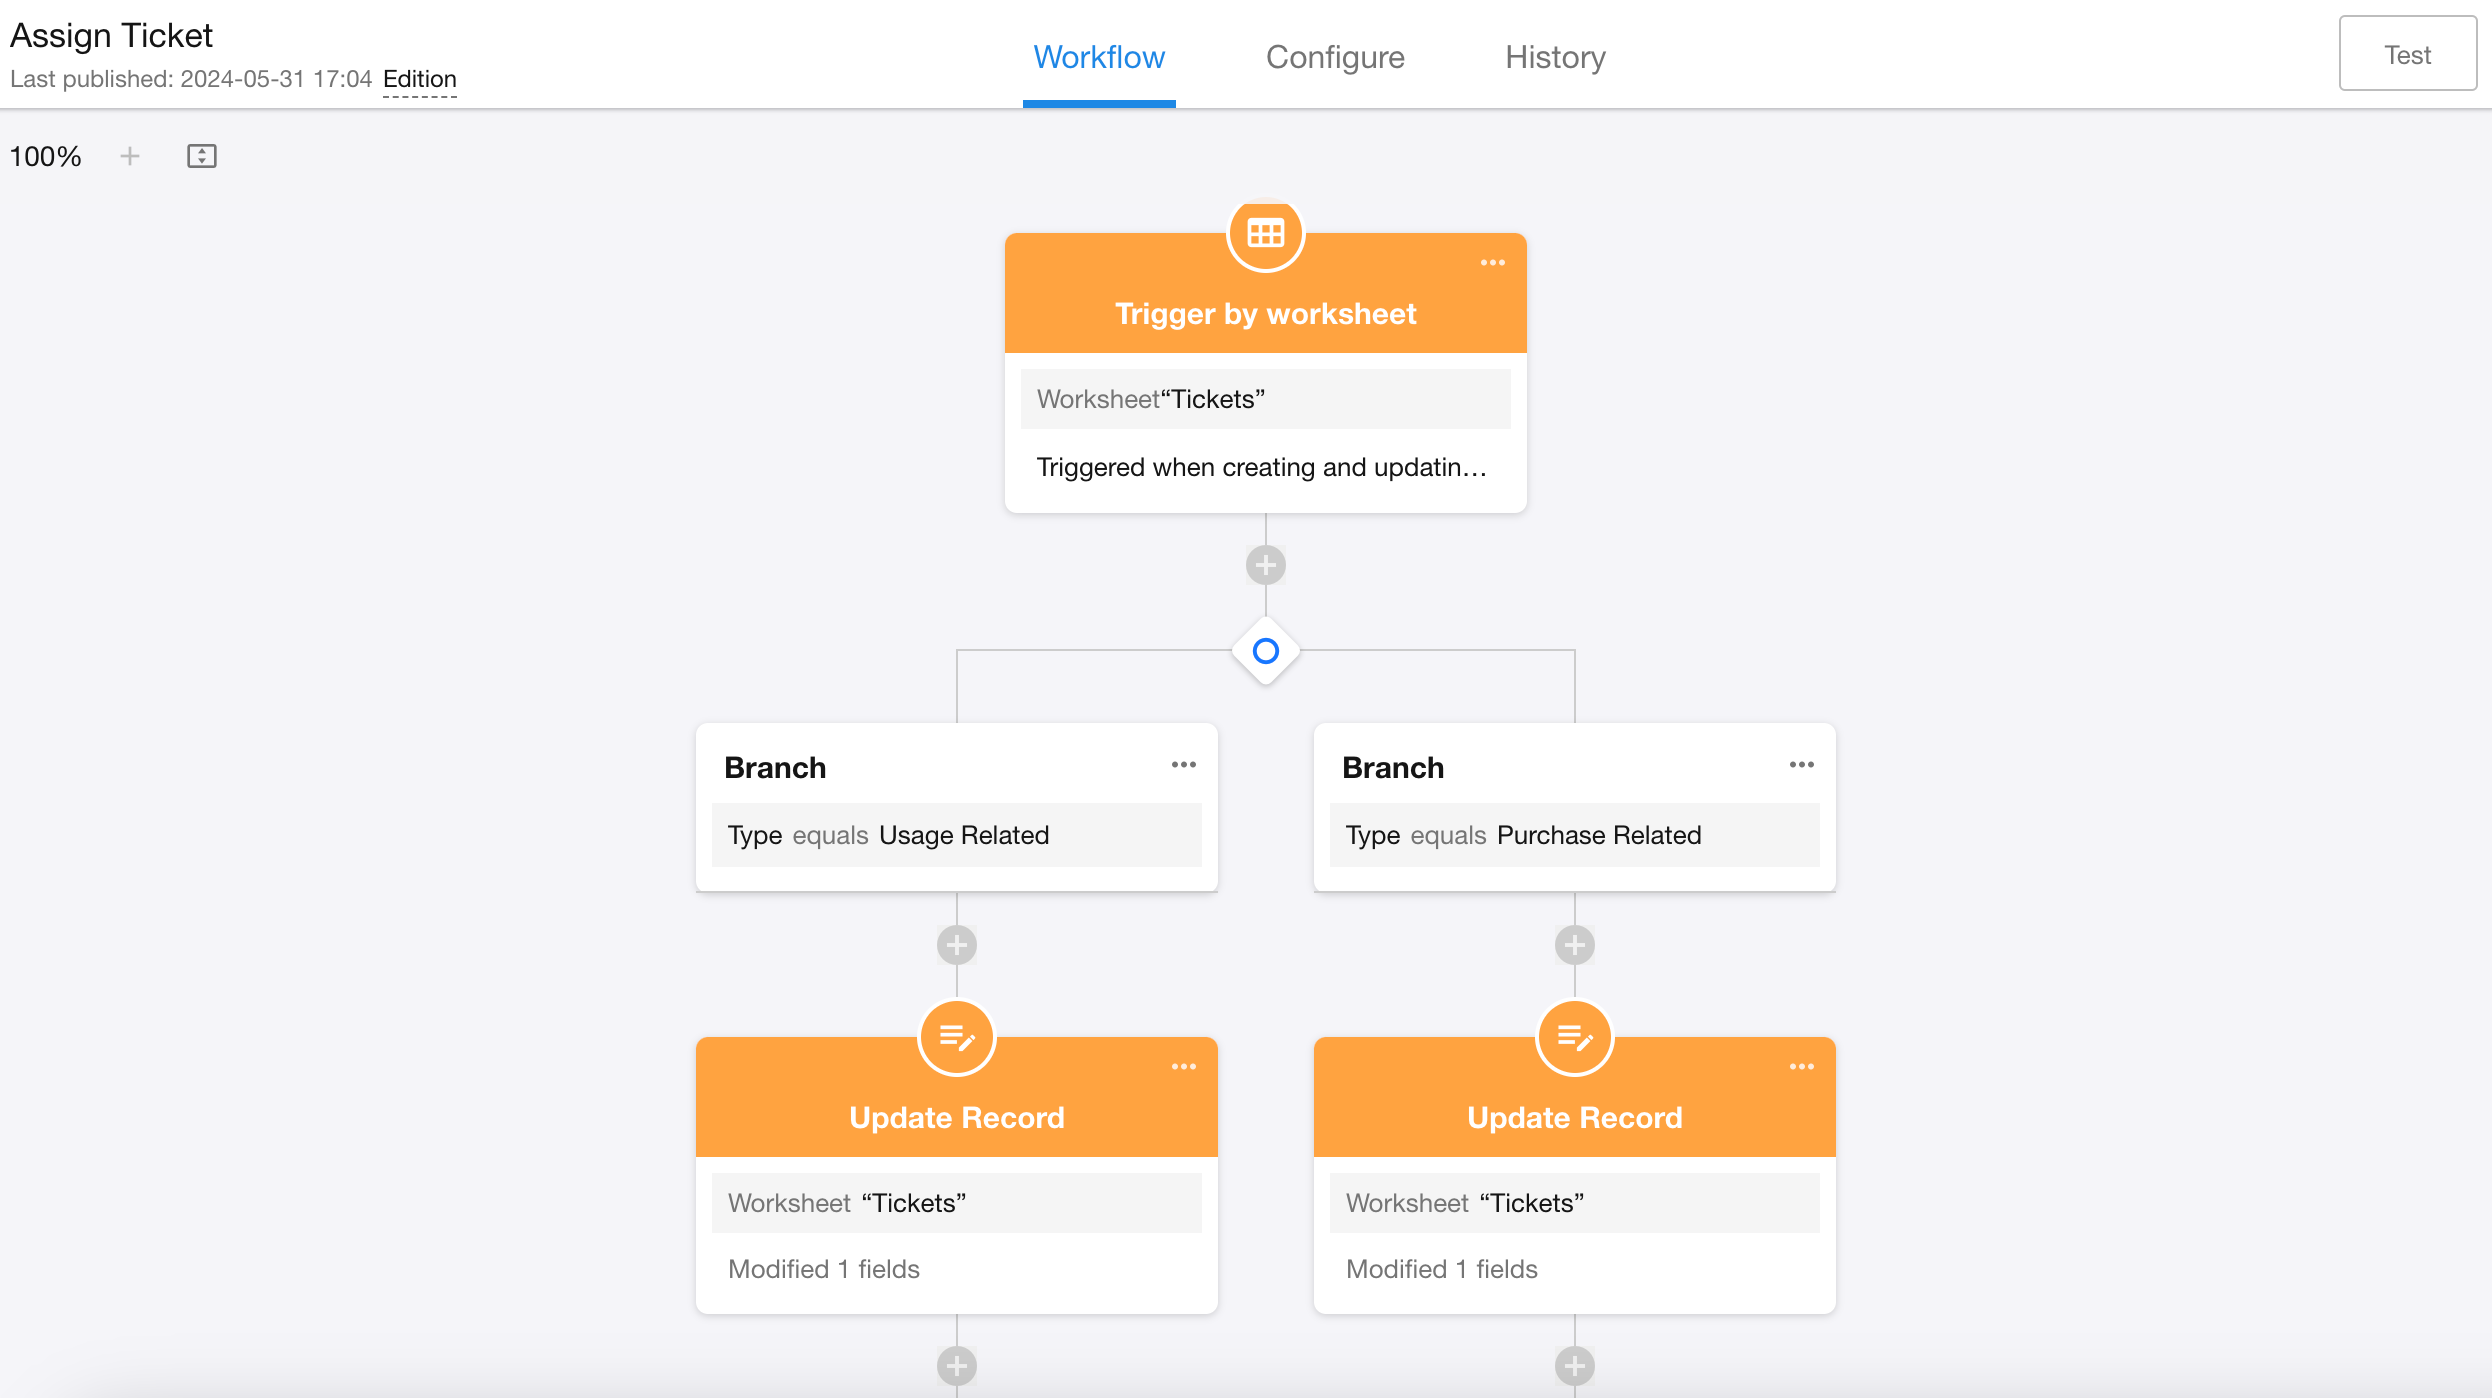
II. Add and configure action nodes
Click the "+" button below a node to add required action nodes.
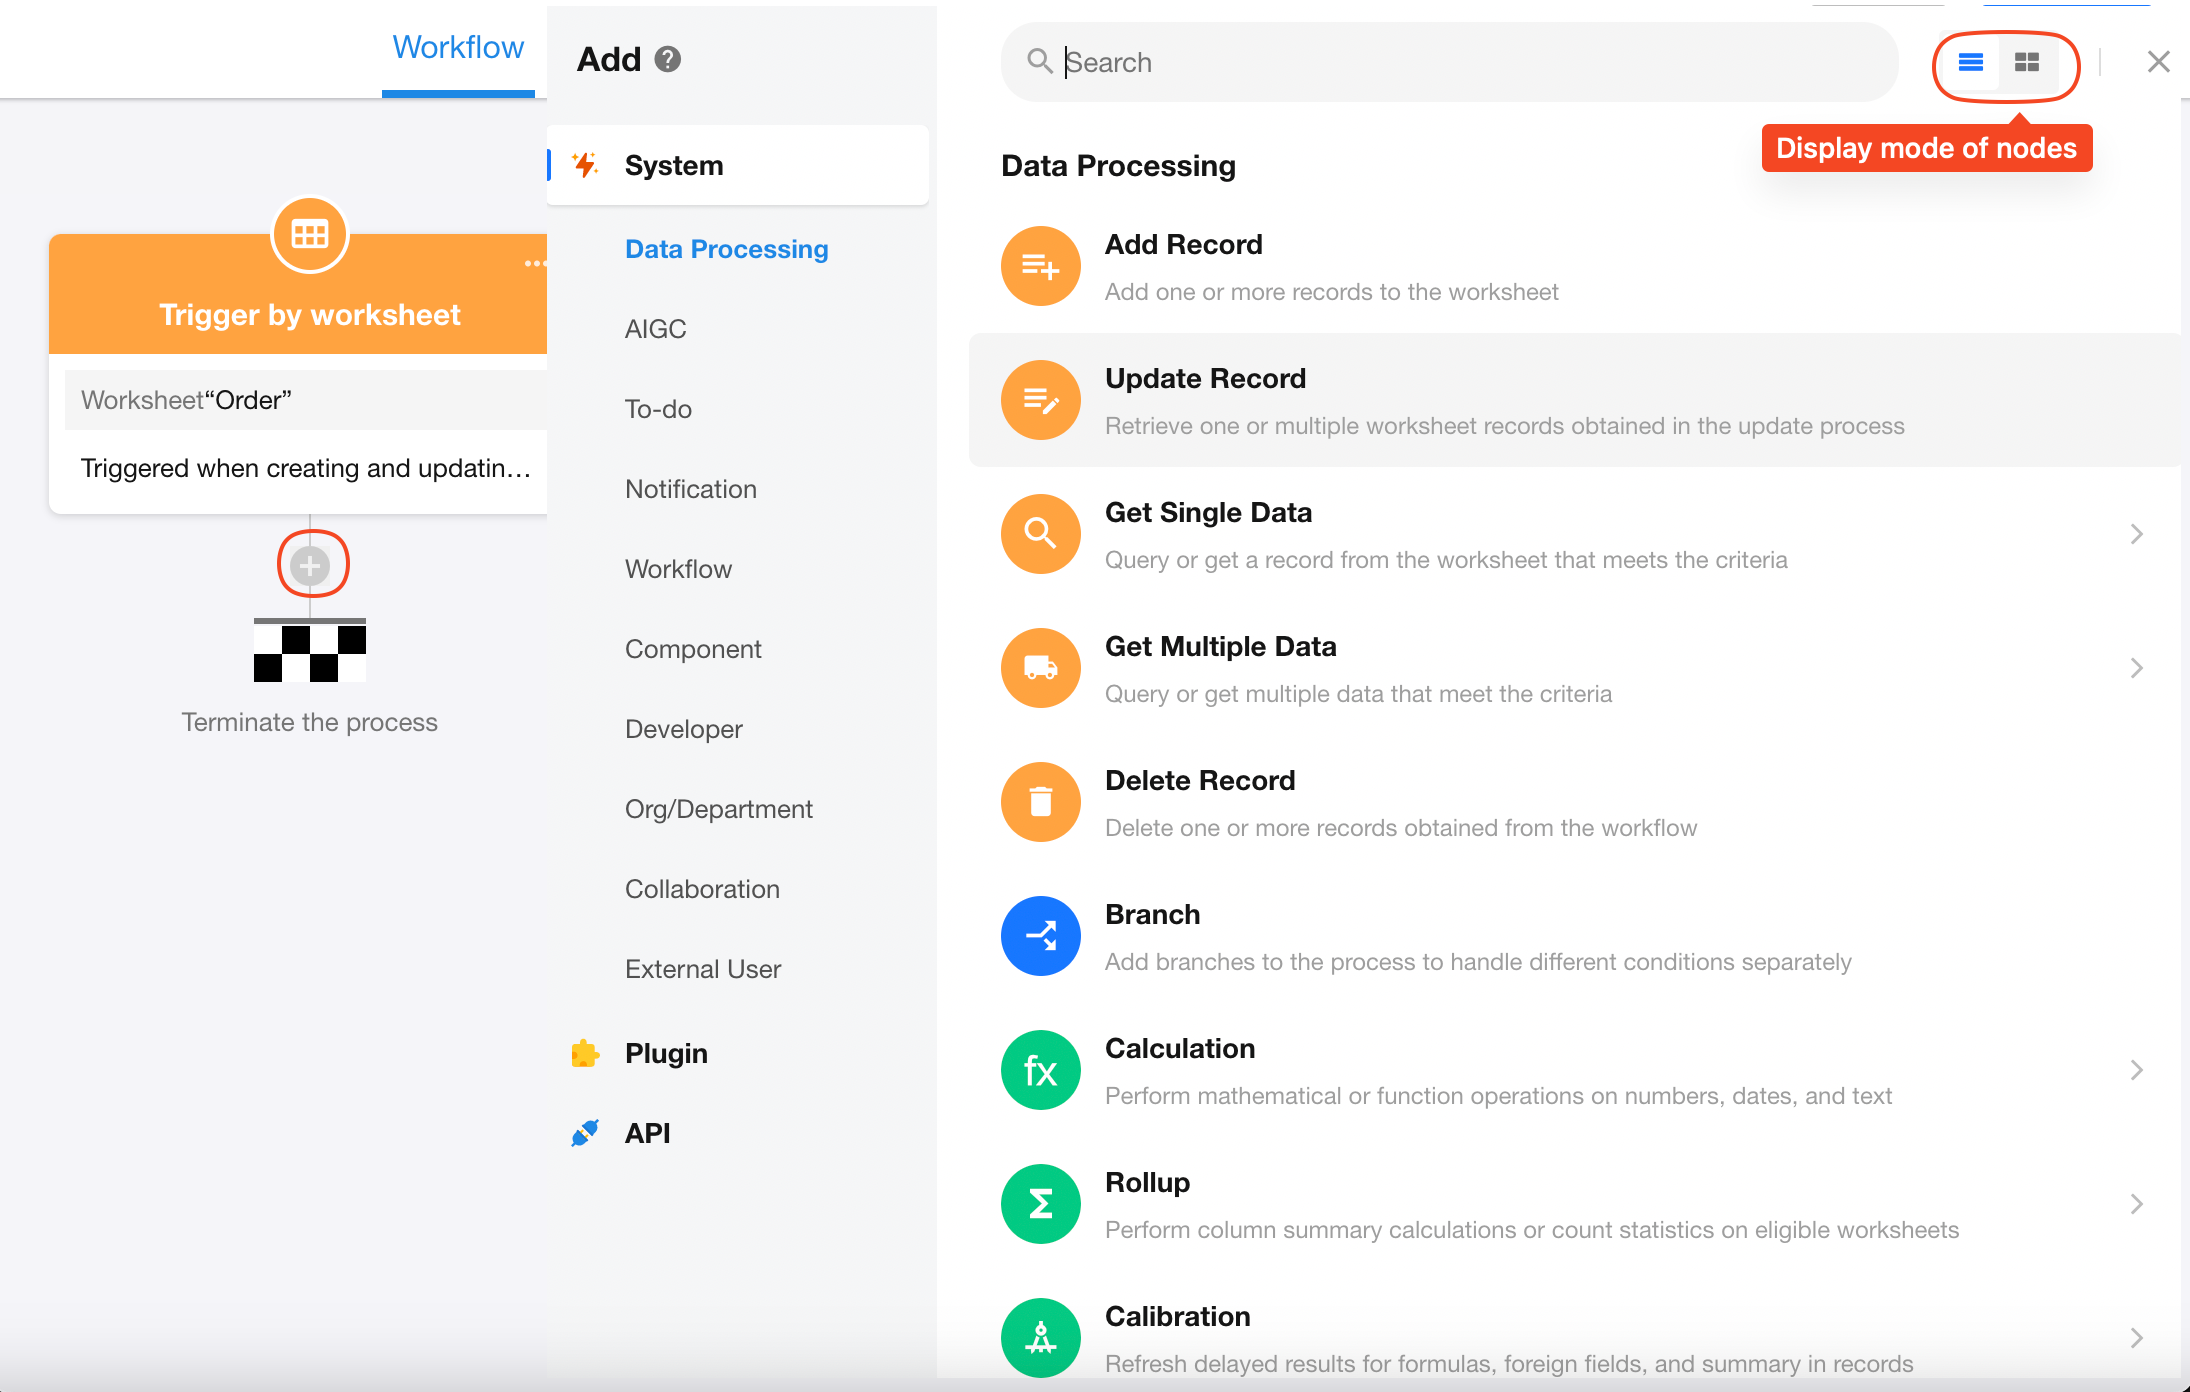
After each node, you can continue setting up new nodes until the process is completed.
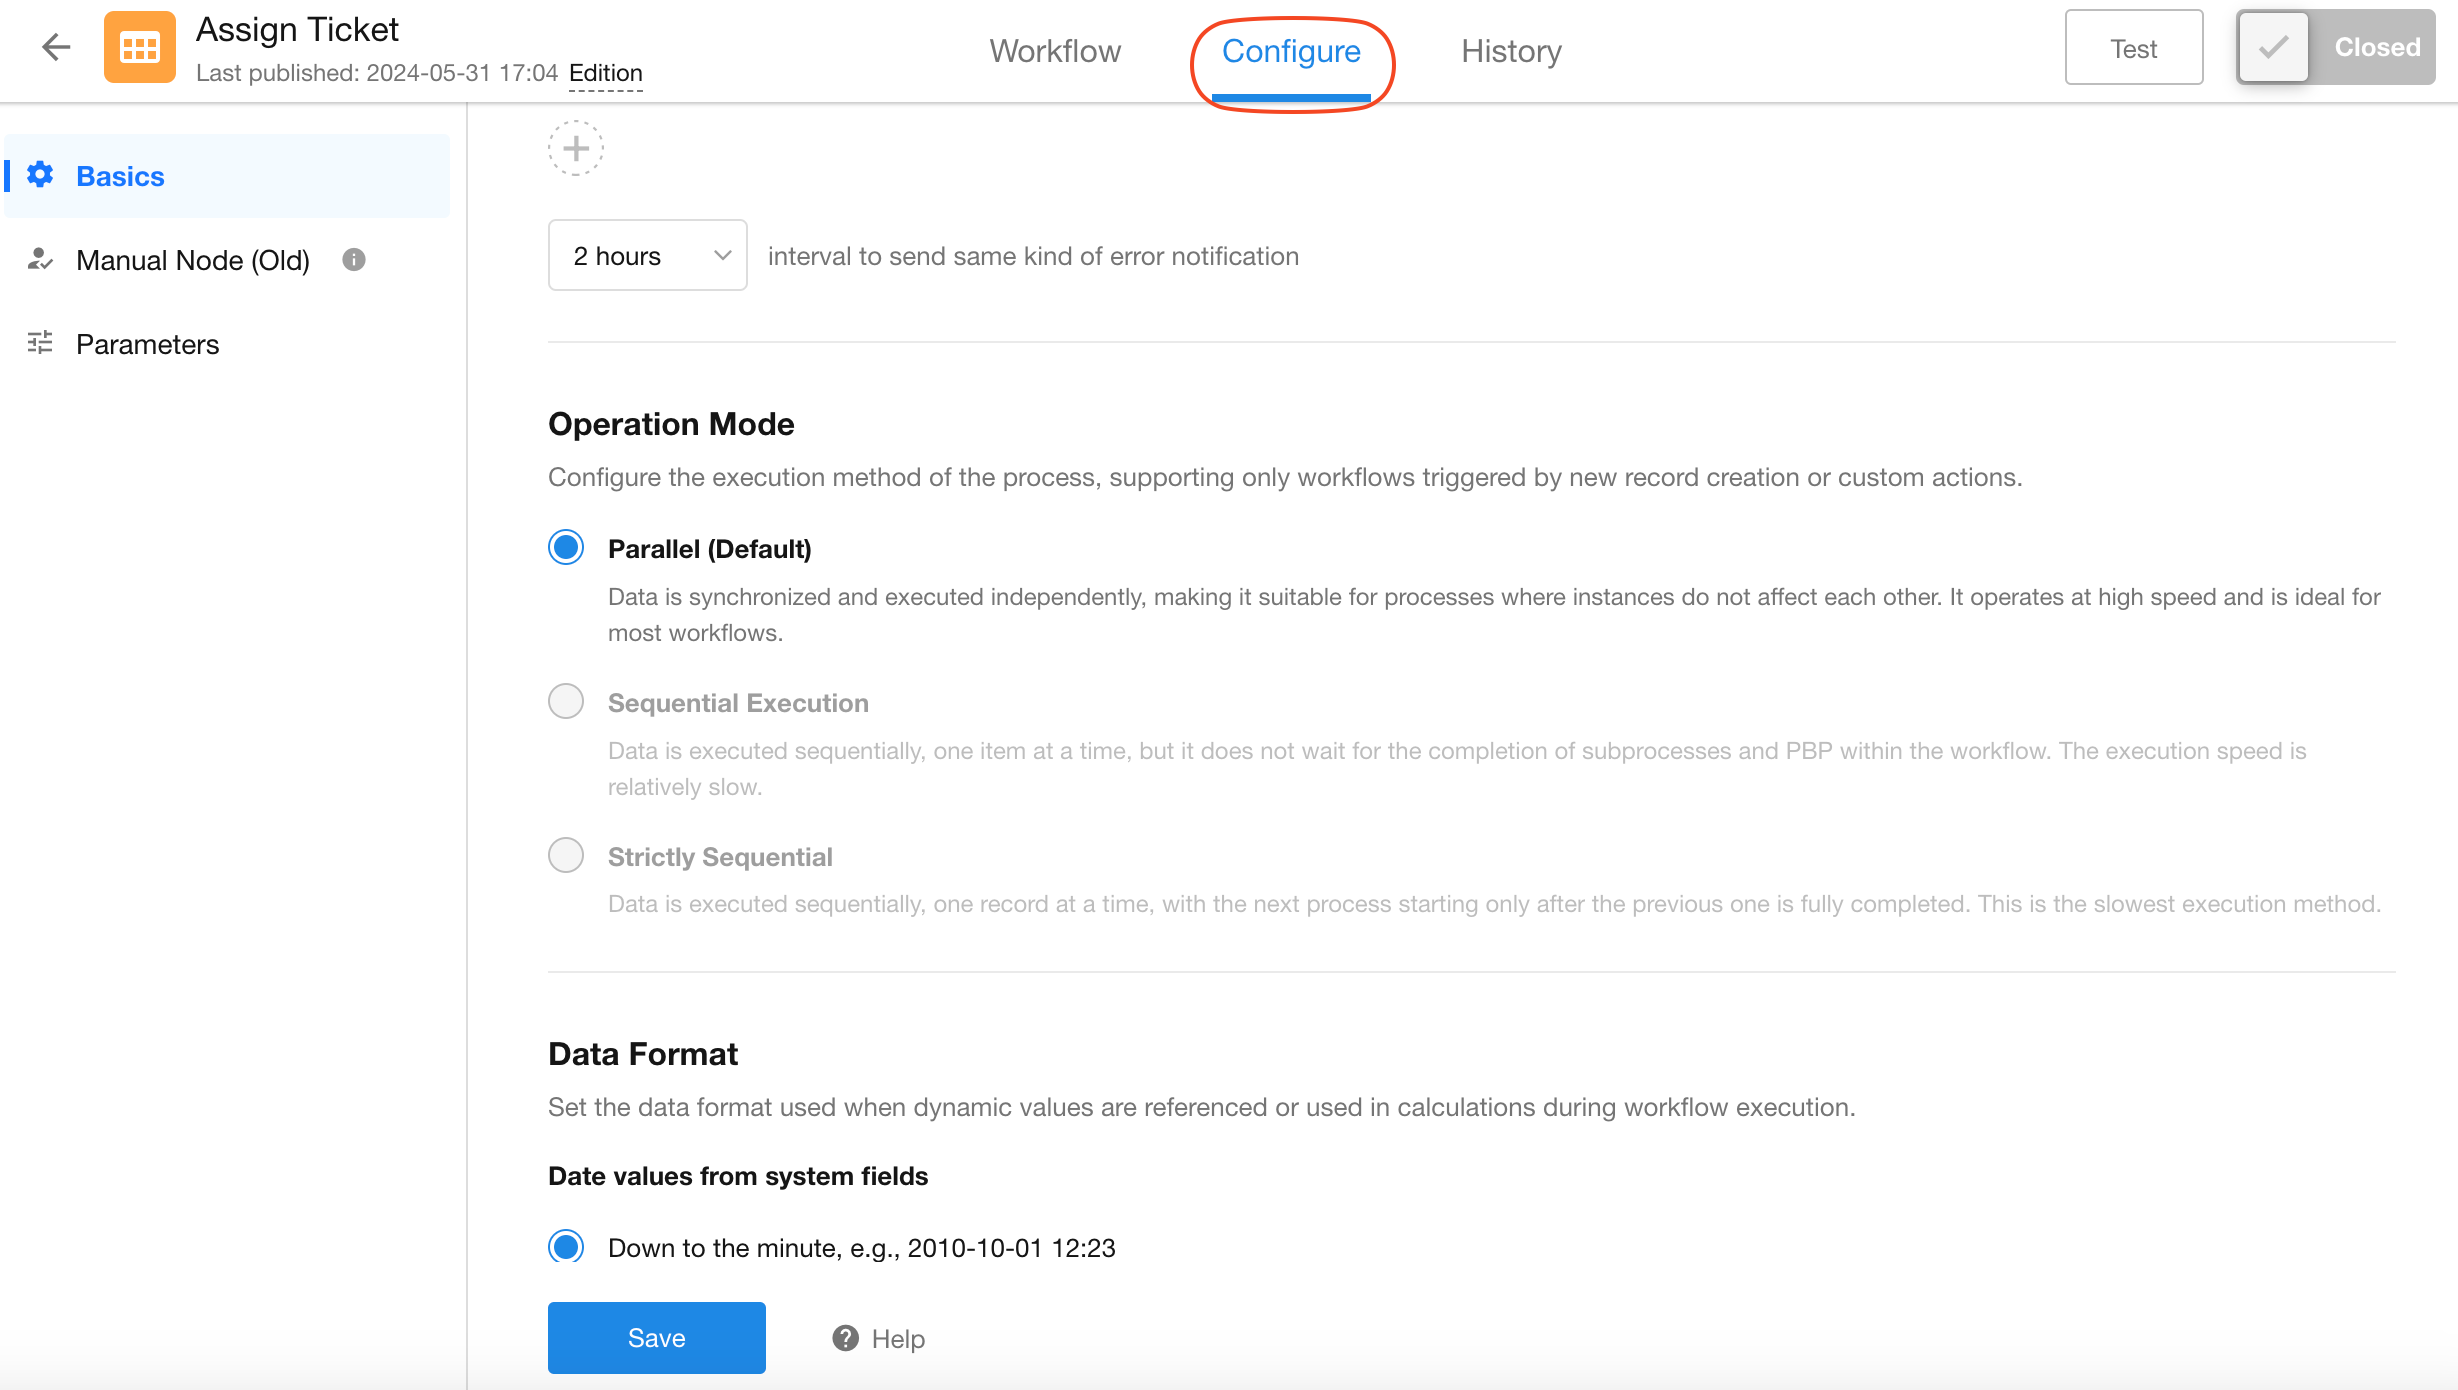
III. Configure operation mode/workflow parameters
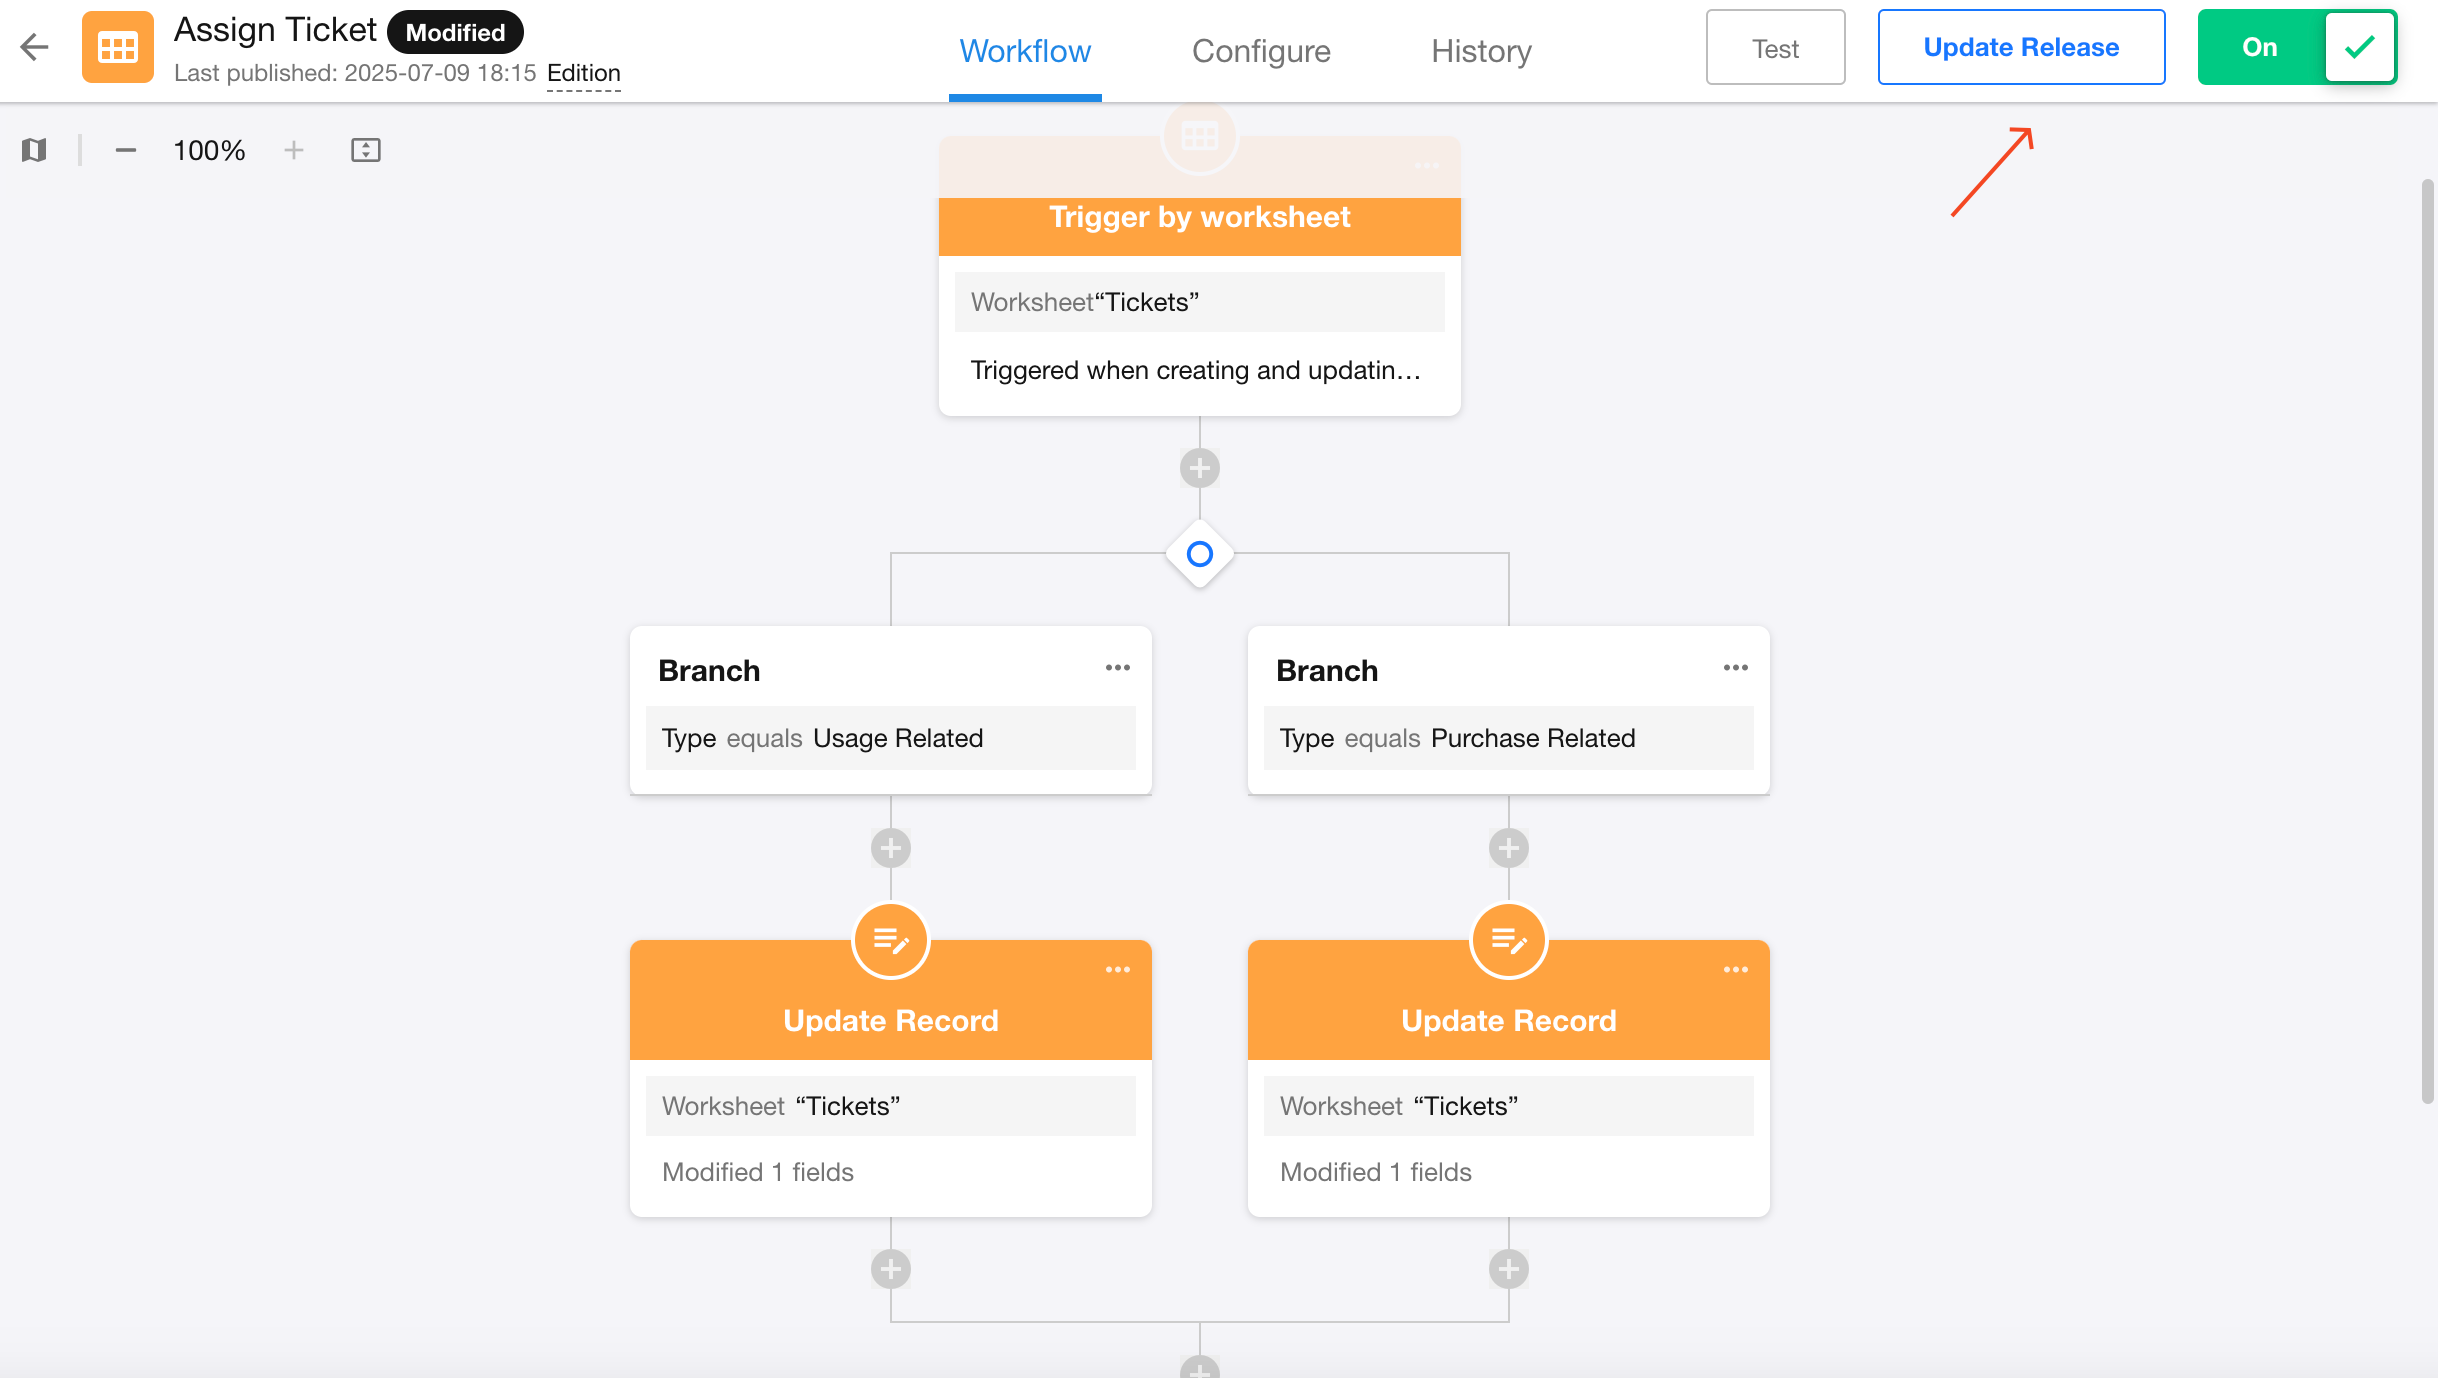
IV. Publish/Update the workflow
After completing the workflow configuration, click the "Publish" button to publish the workflow. For modifying an already published workflow, click "Update Release".
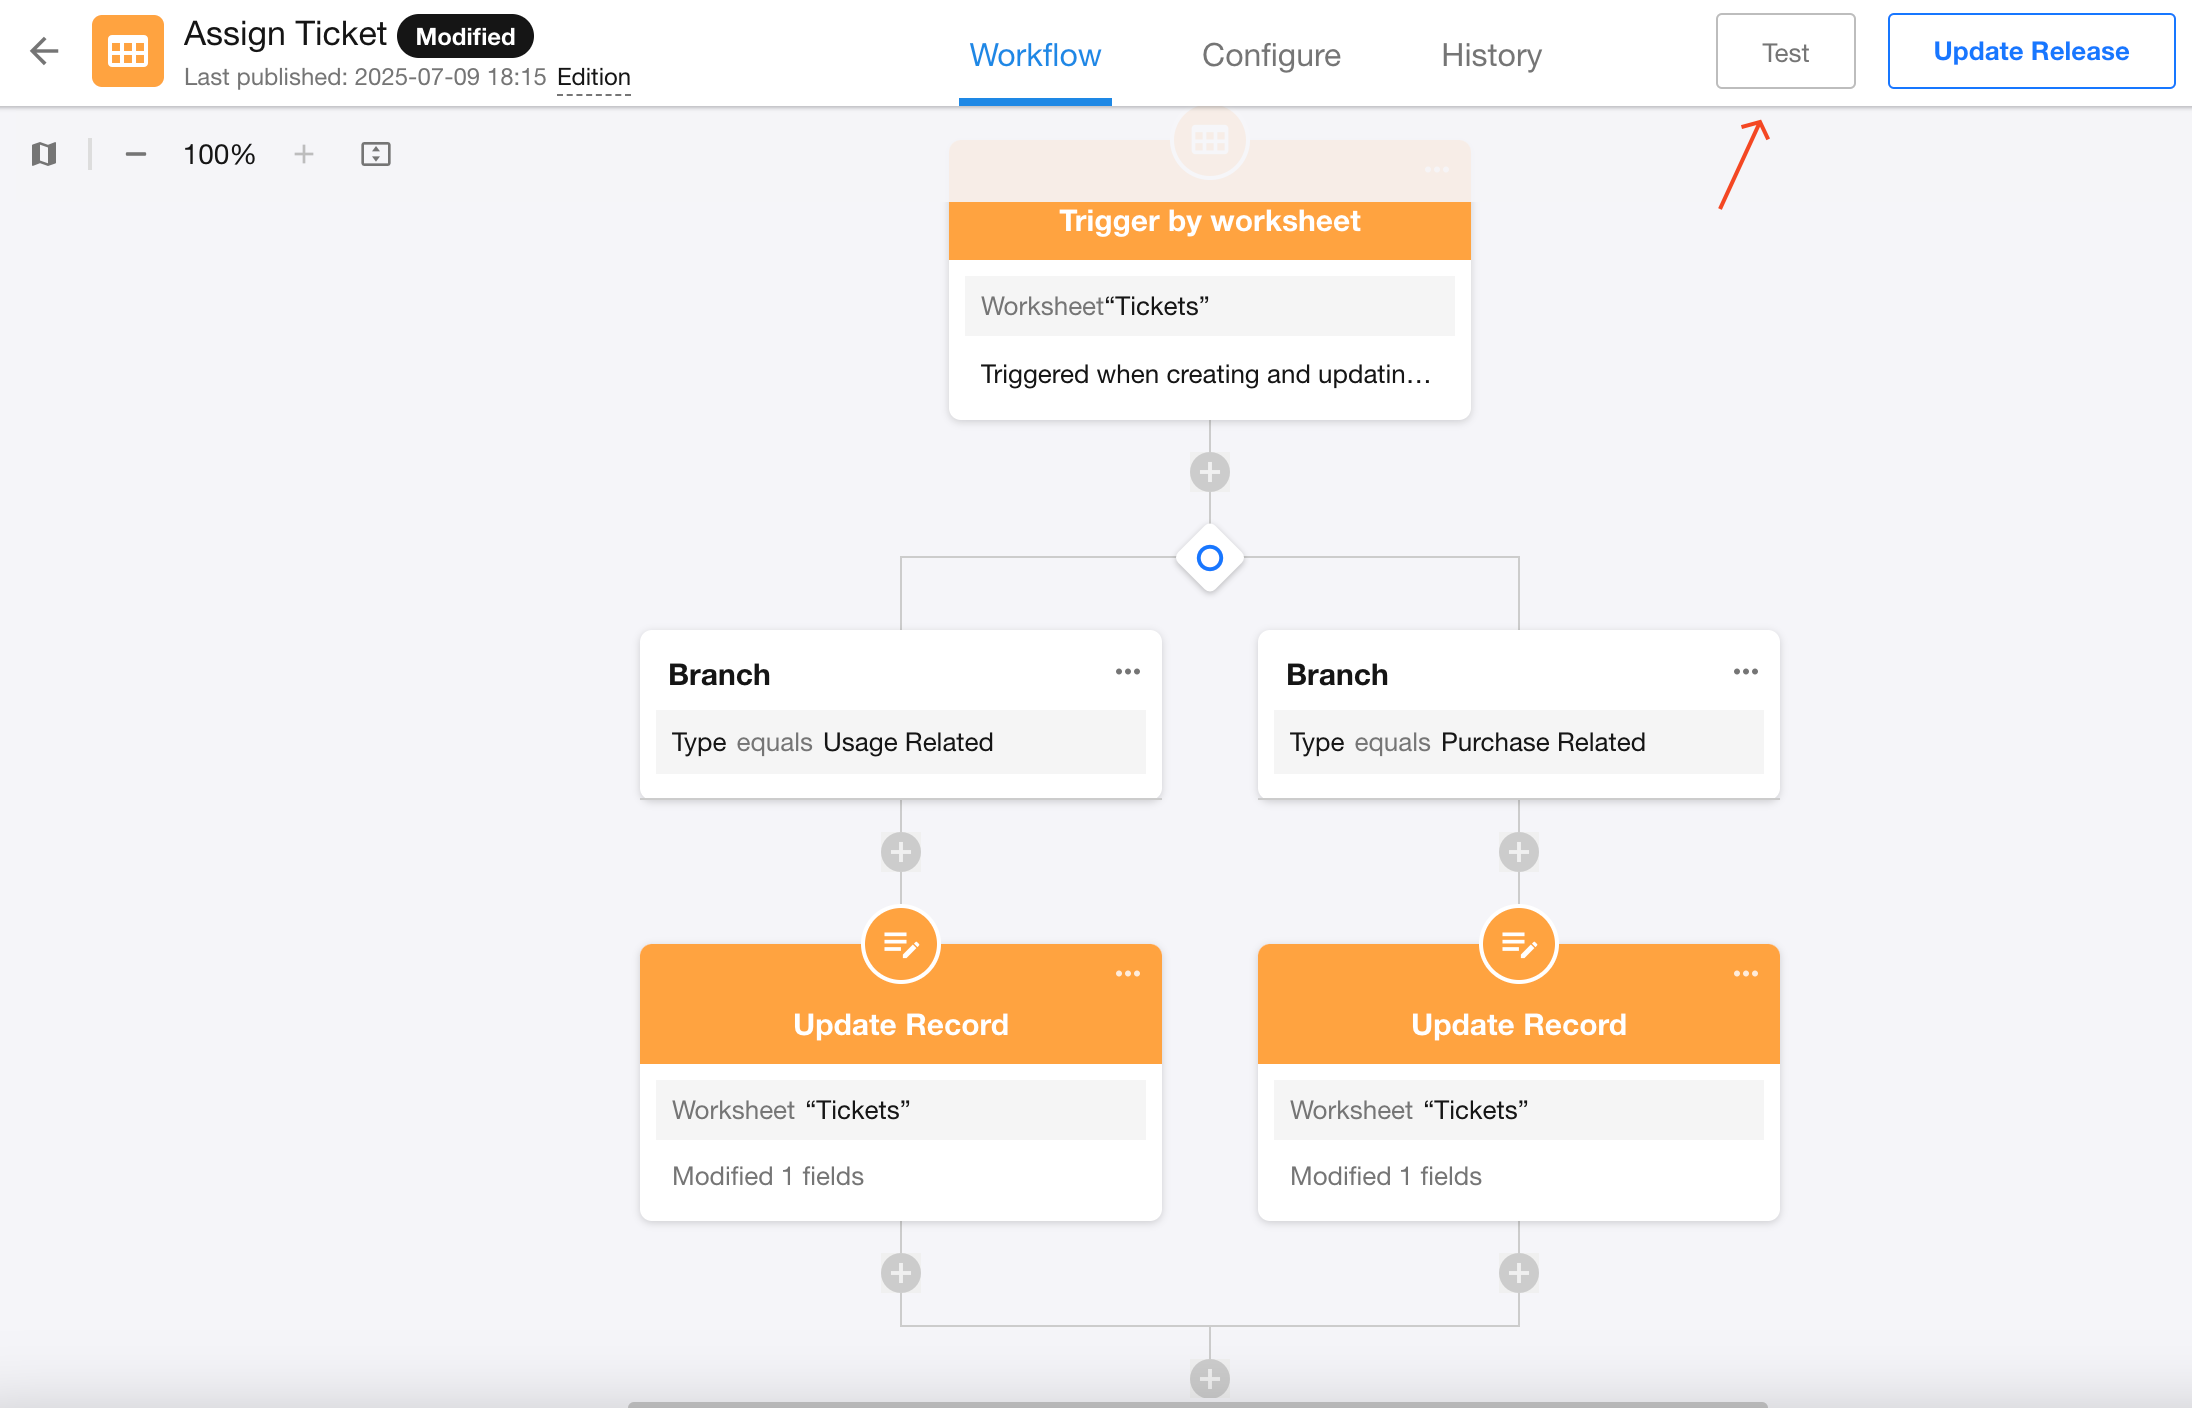
V. Test the workflow
Click the "Test" button and select a record to trigger and test the workflow.
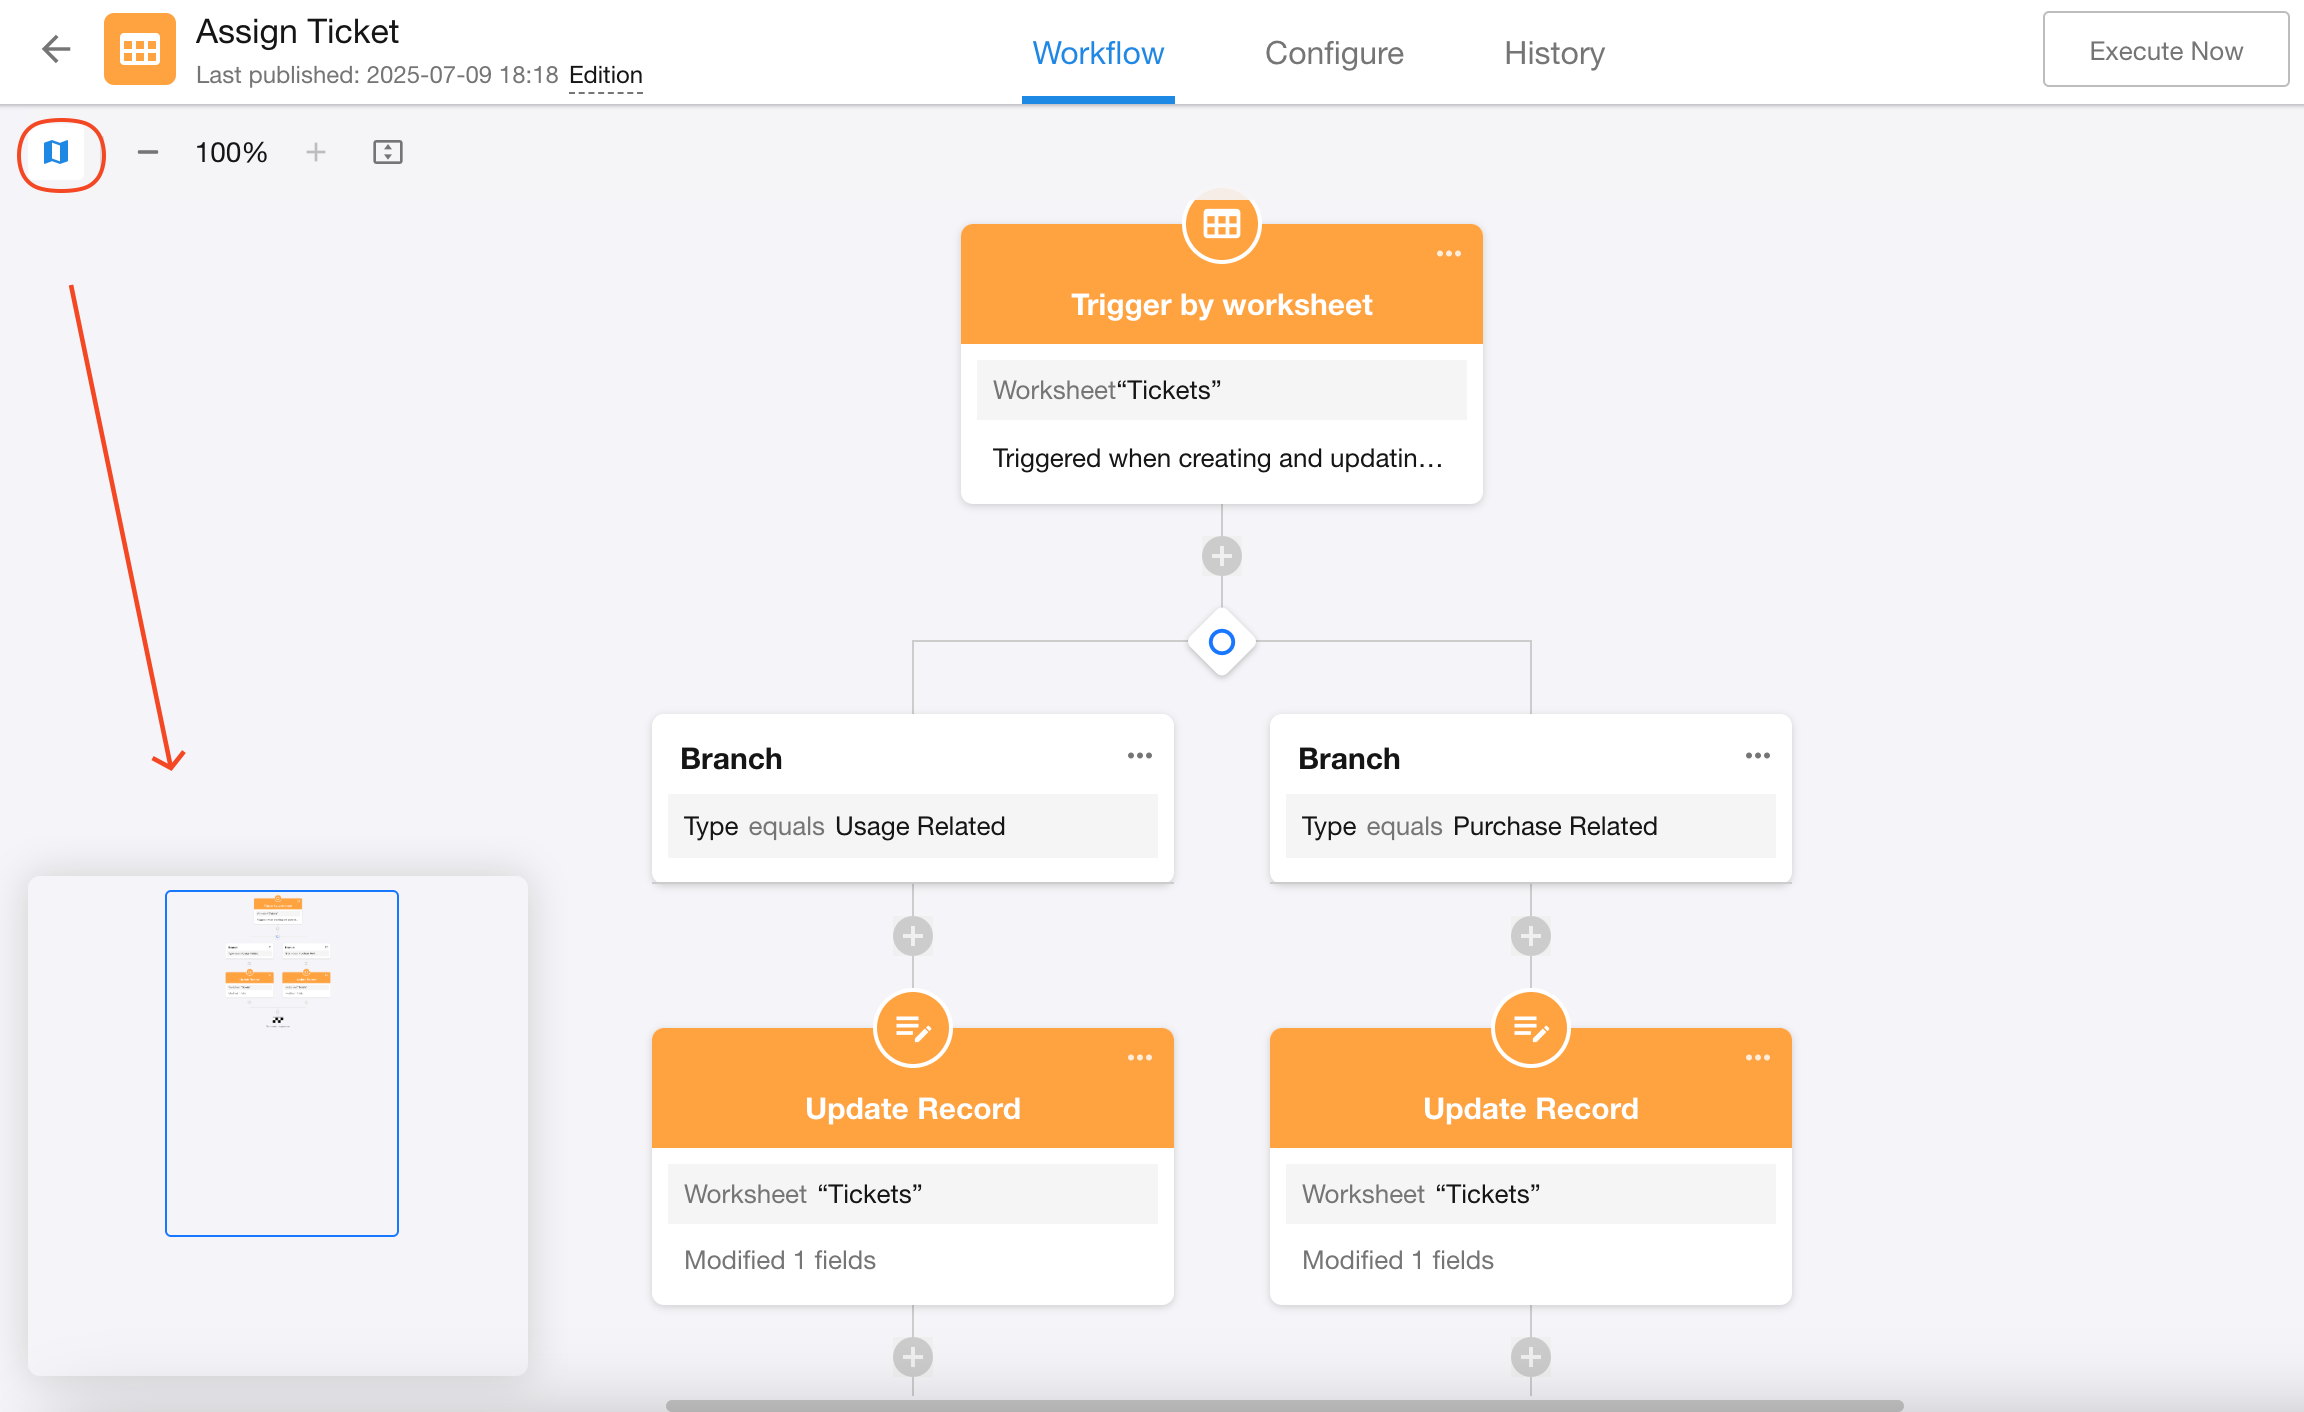
VI. Workflow thumbnail
Click the "Canvas Overview" icon on the left, then drag to locate node configurations in the workflow.
7. Enable/Disable the workflow
The workflow can only run automatically when enabled.
Was this document helpful?