Worksheet Navigation Settings
In an application, worksheet navigation supports four styles: Classic, Group List, Tree List, and Card. Up to two levels of grouping are supported.
-
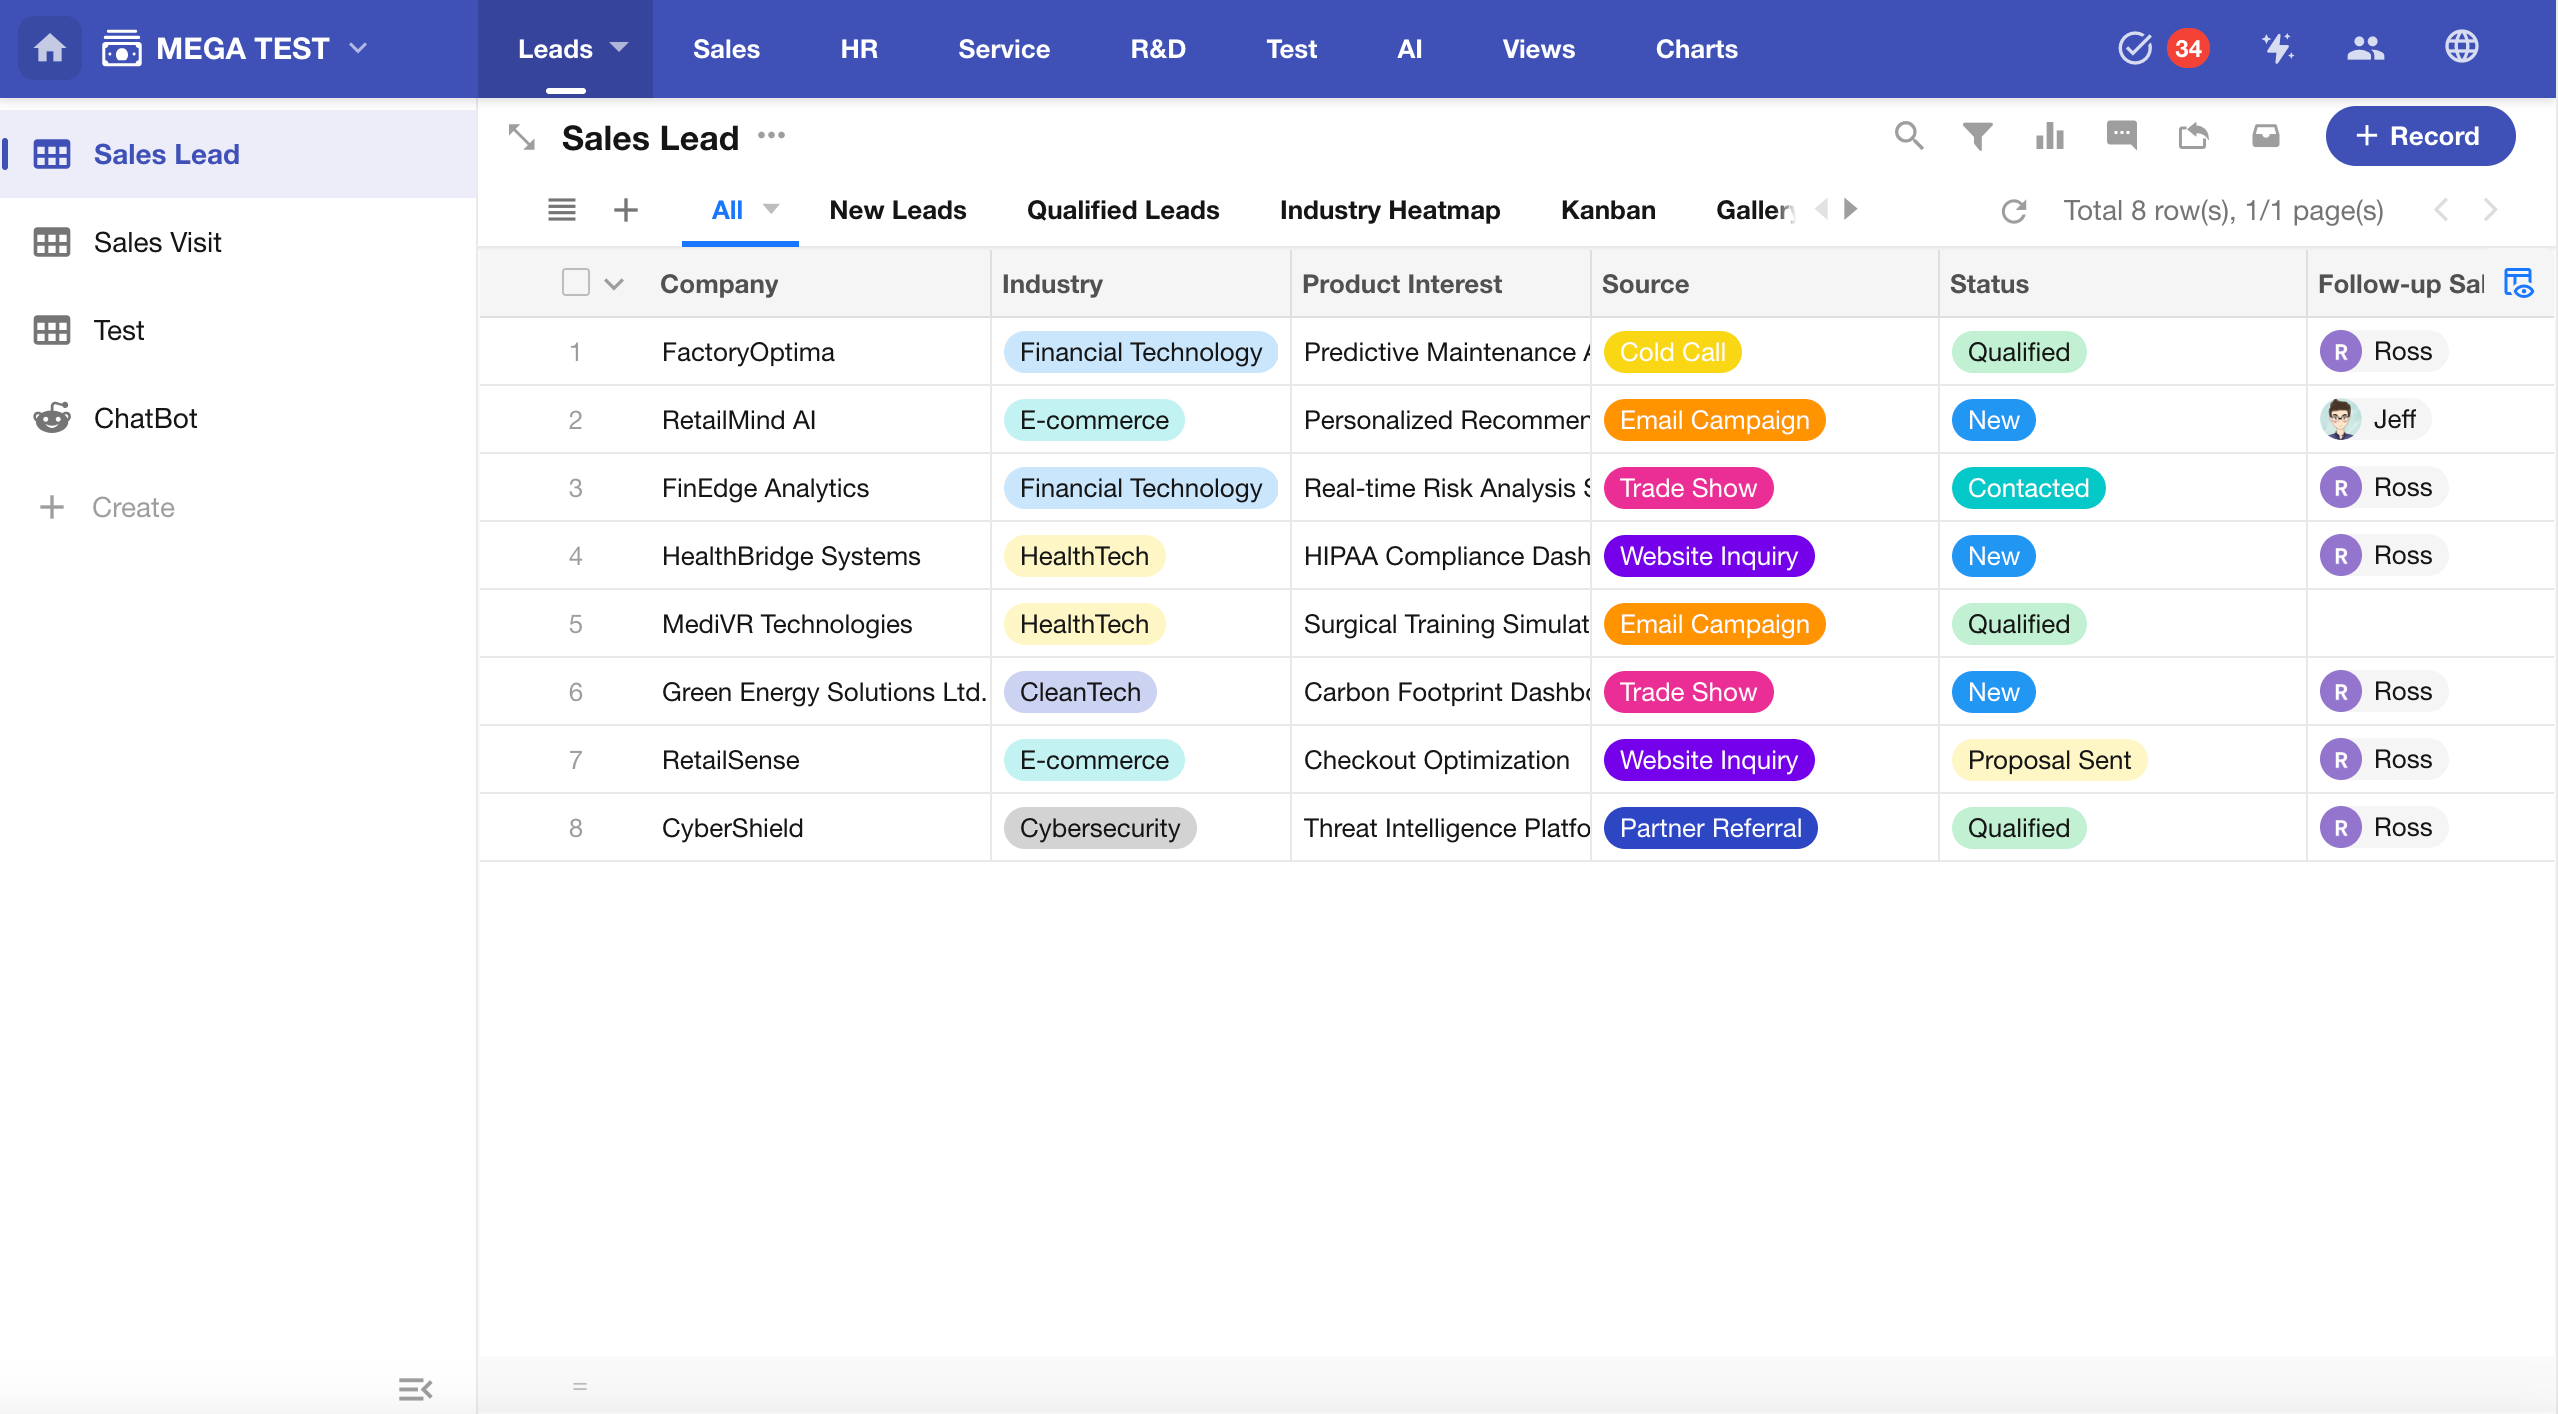
Classic (Default)
Groups are displayed in the top navigation bar, and worksheets within each group are shown in the left sidebar.
-
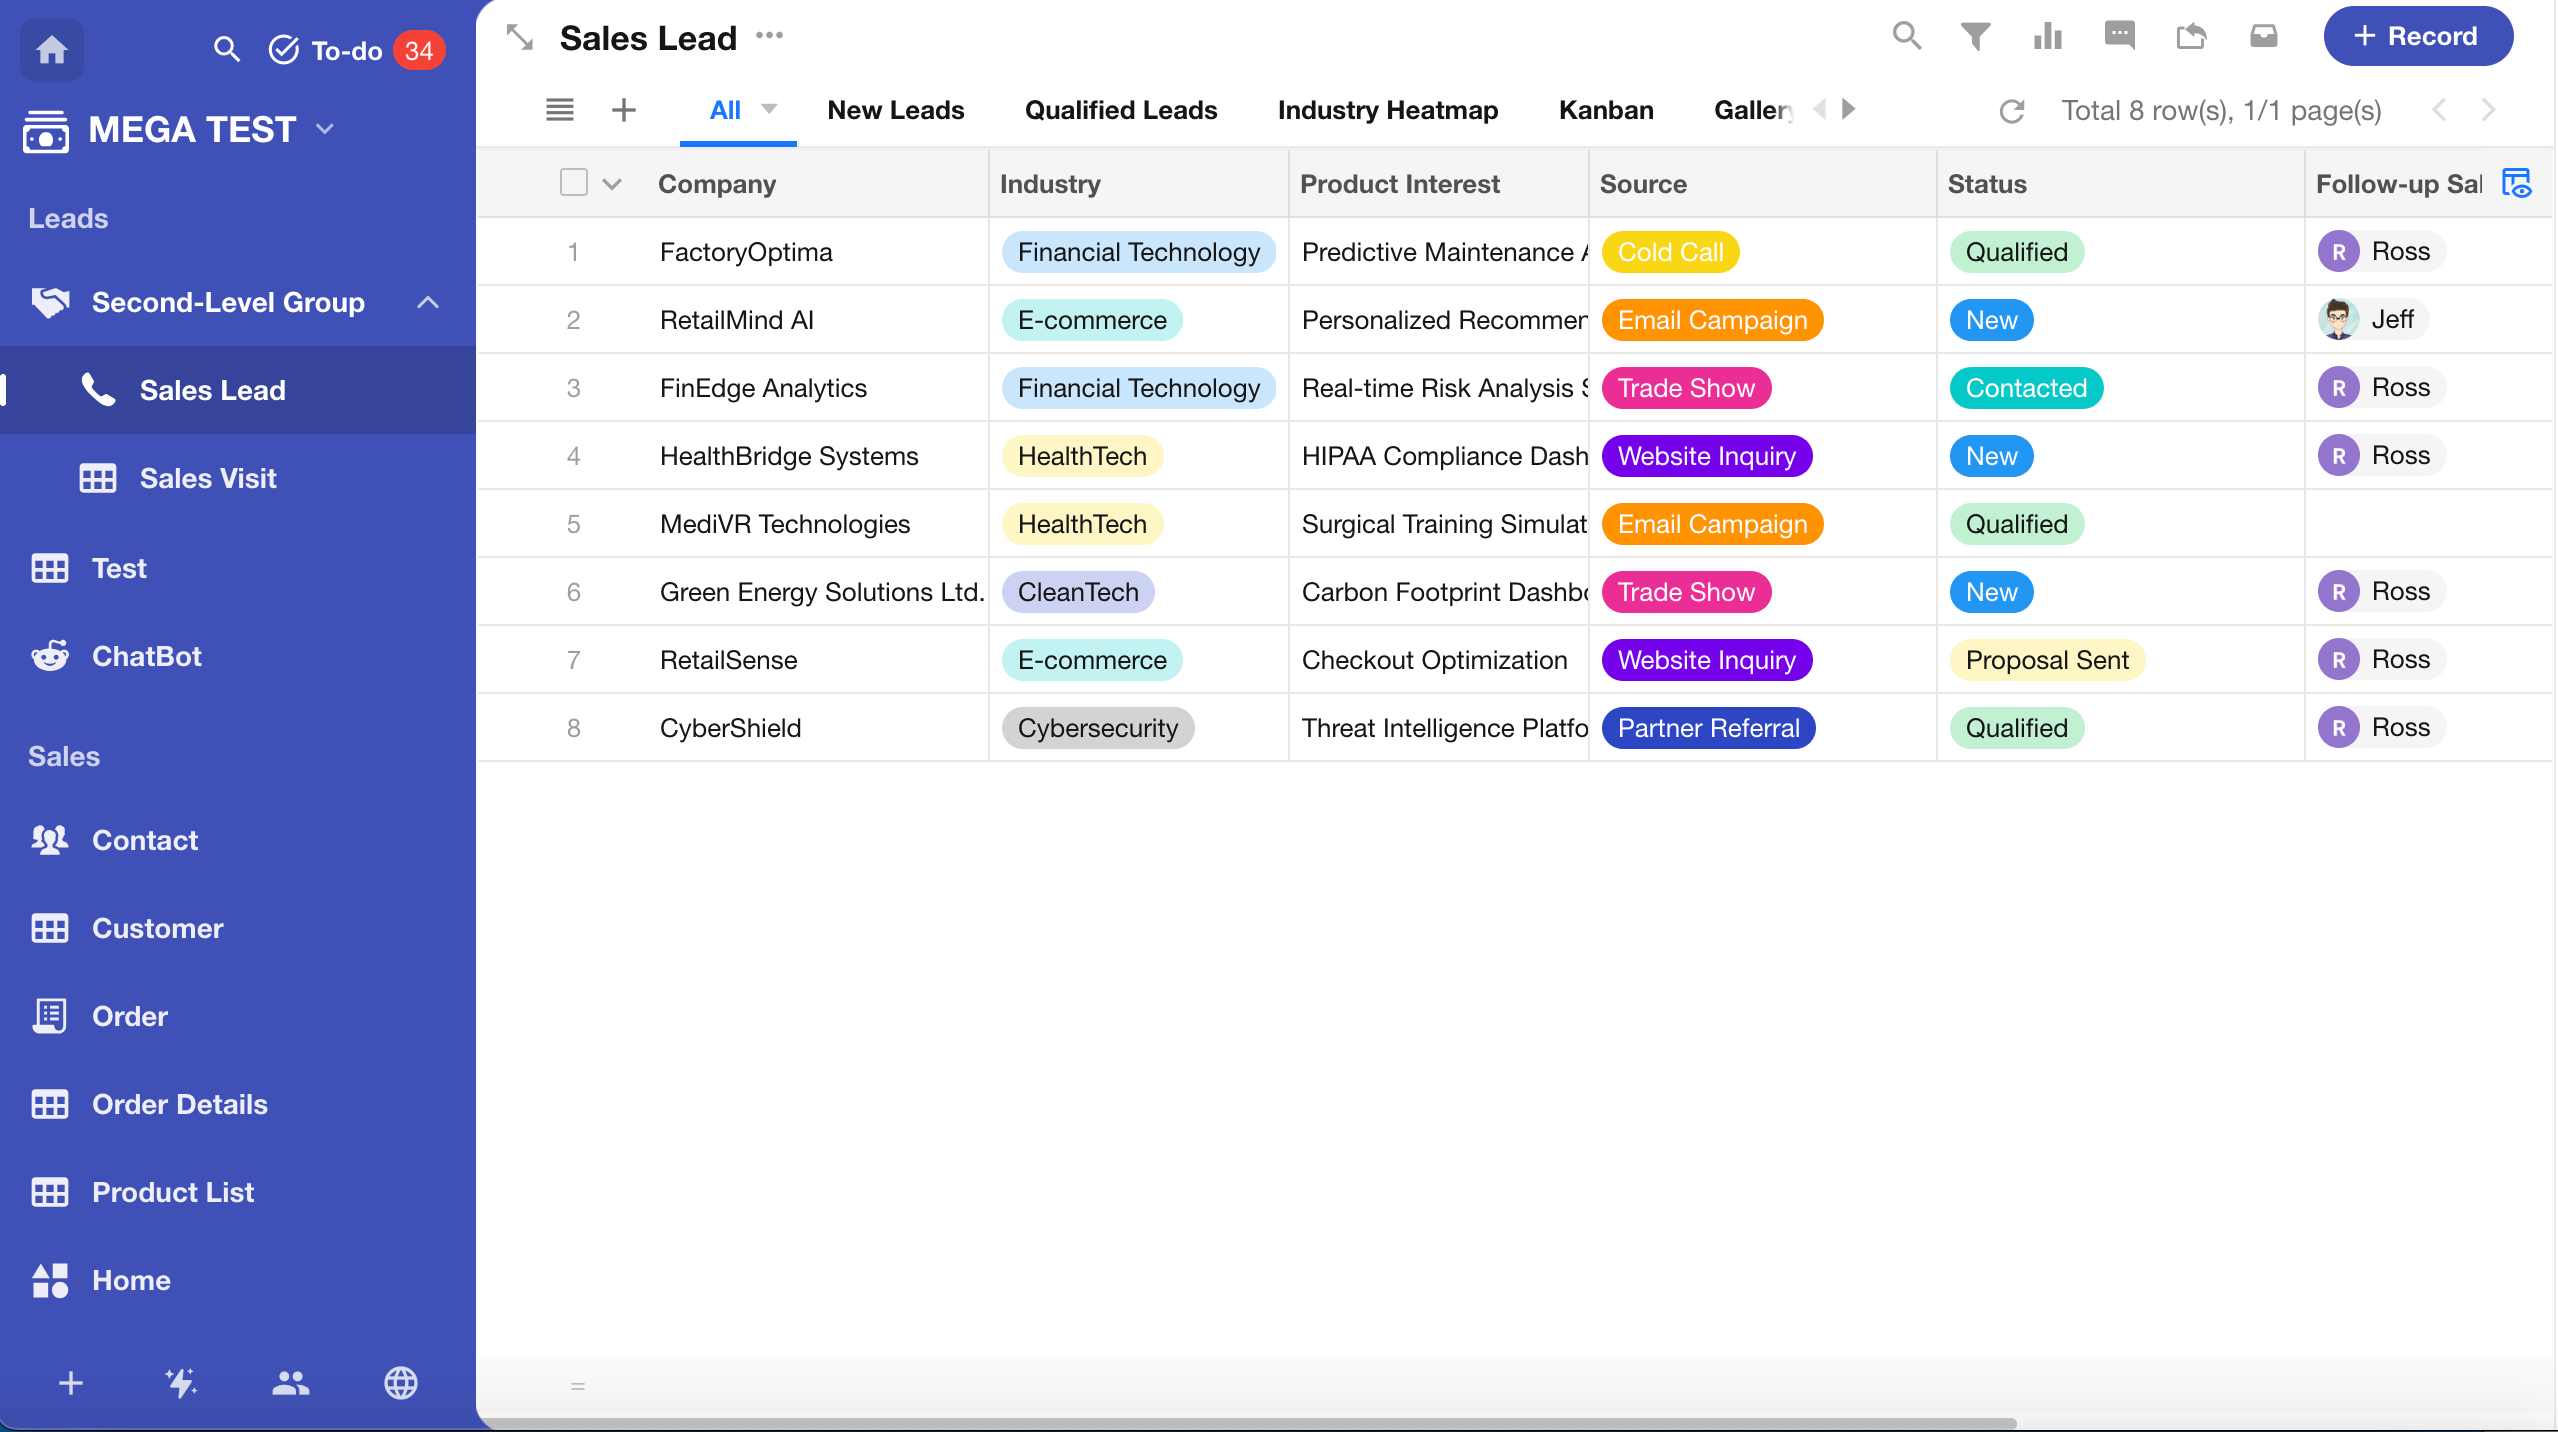
Group List
-
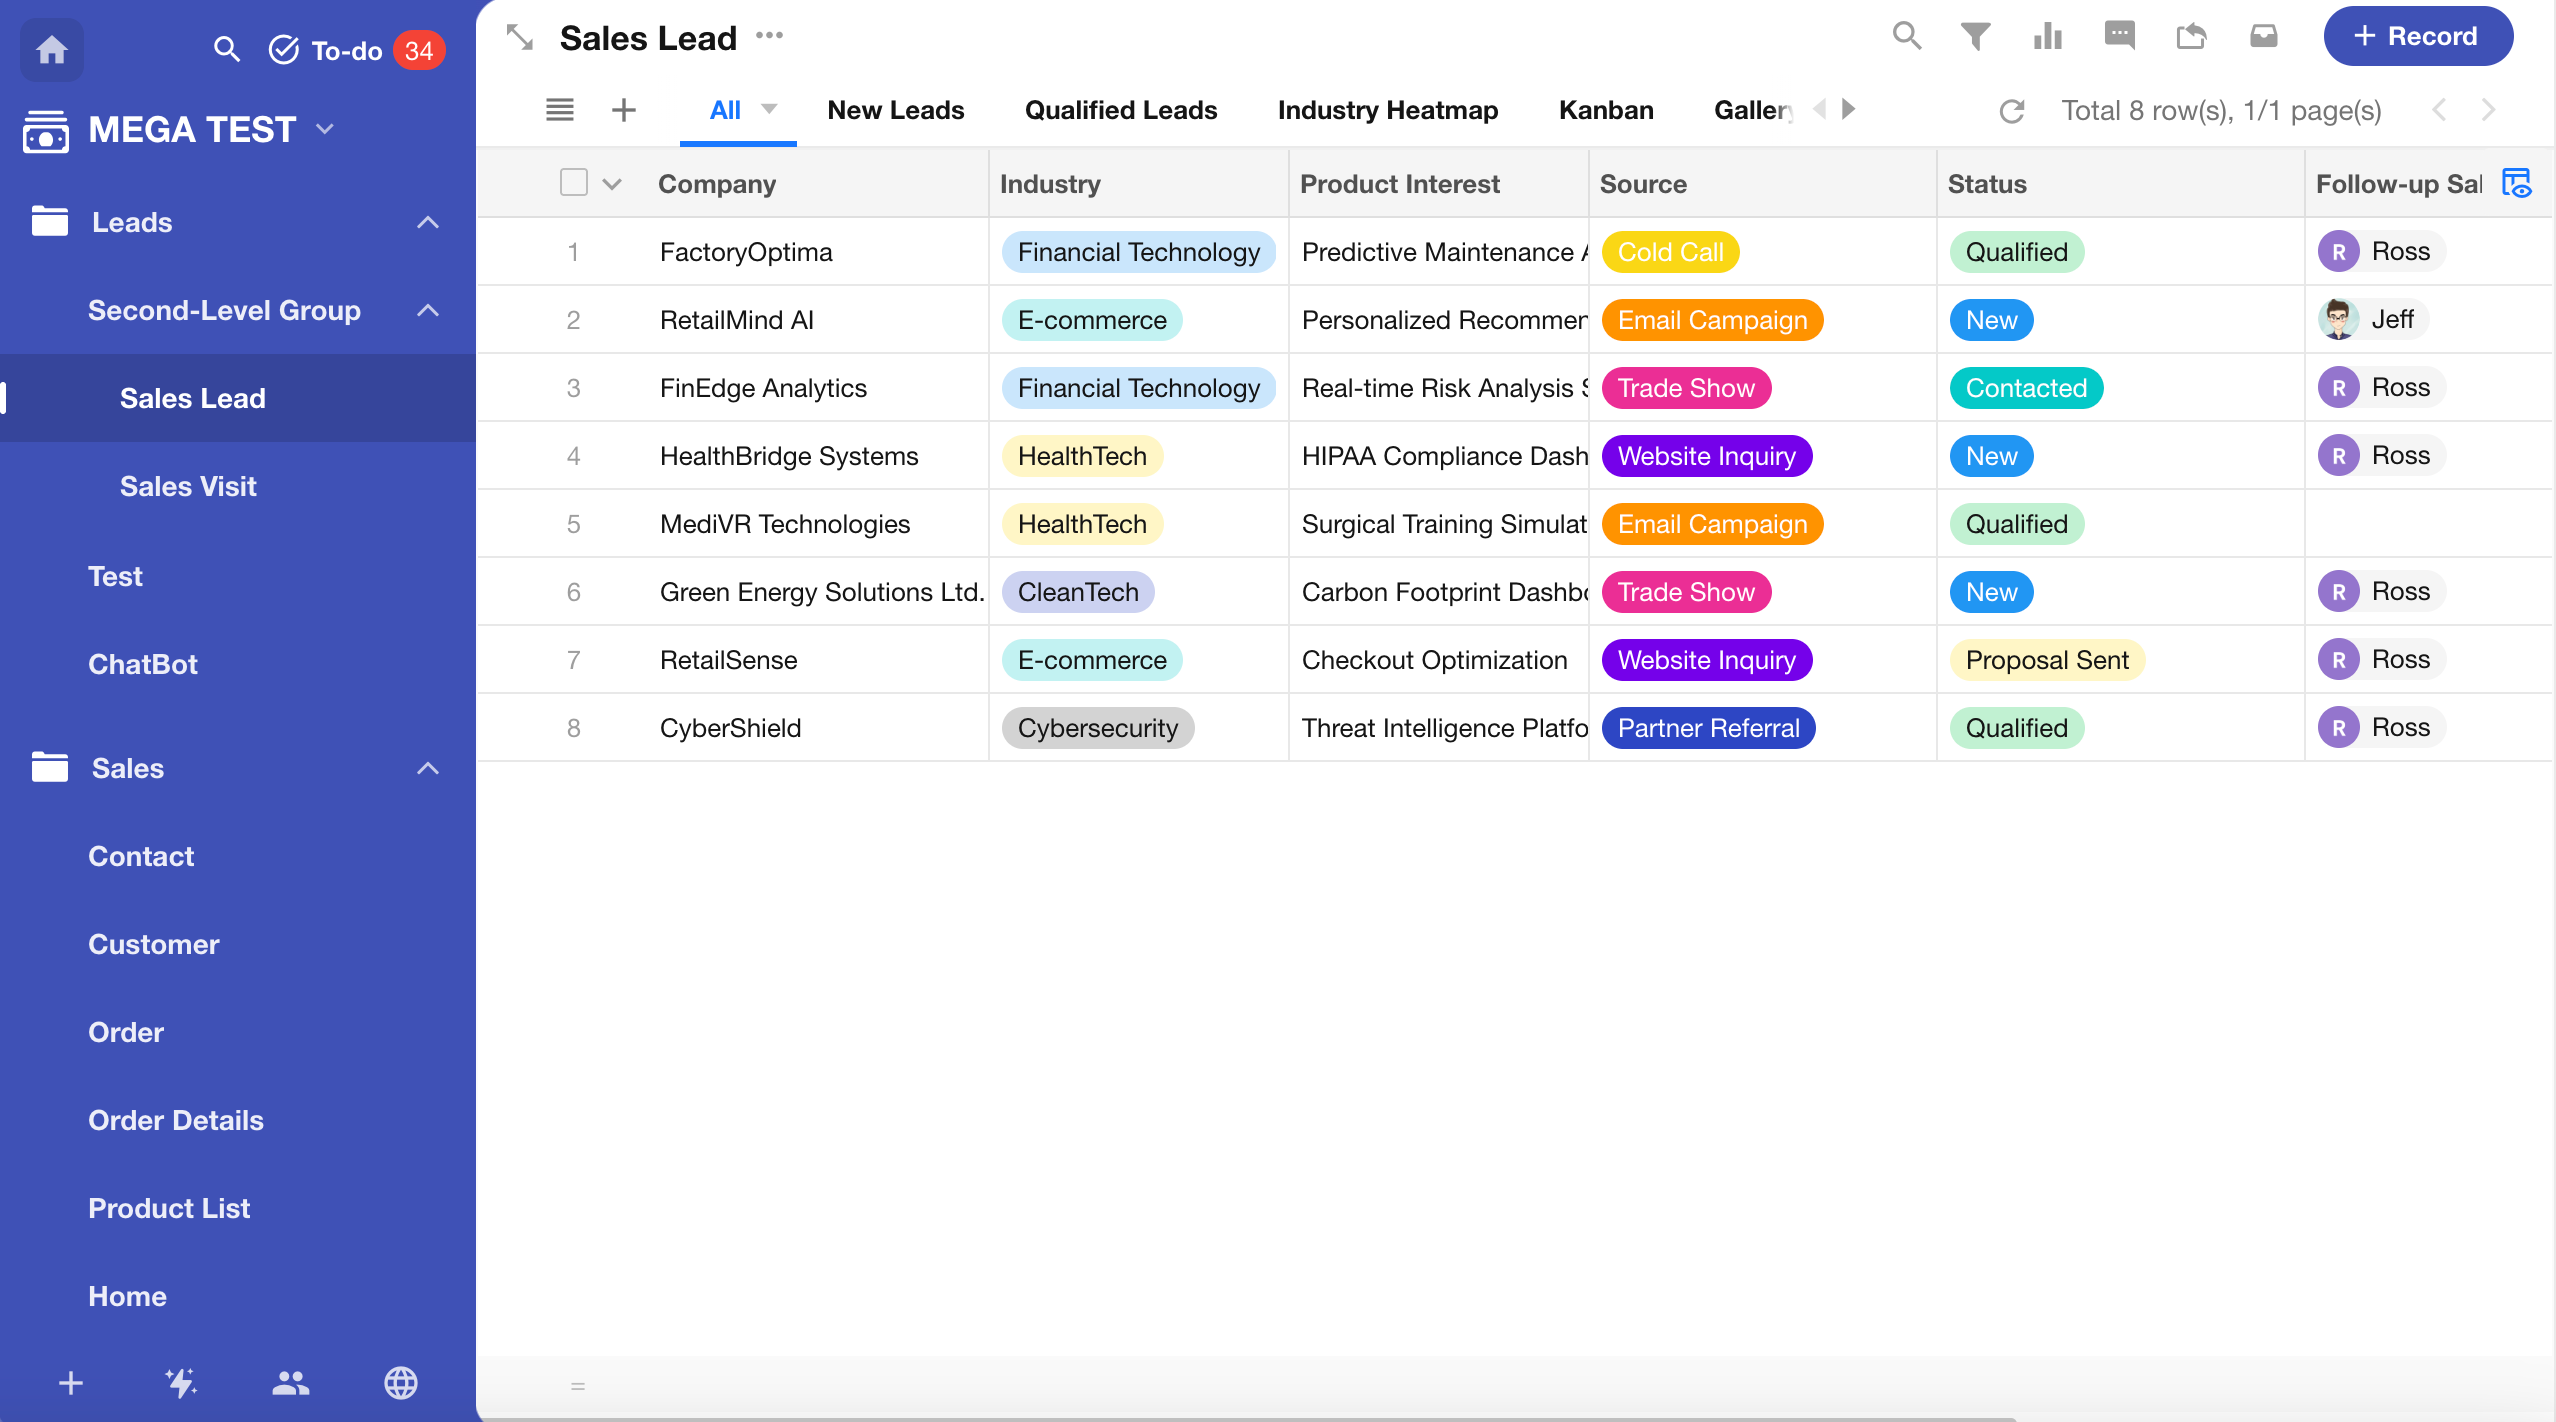
Tree List
-
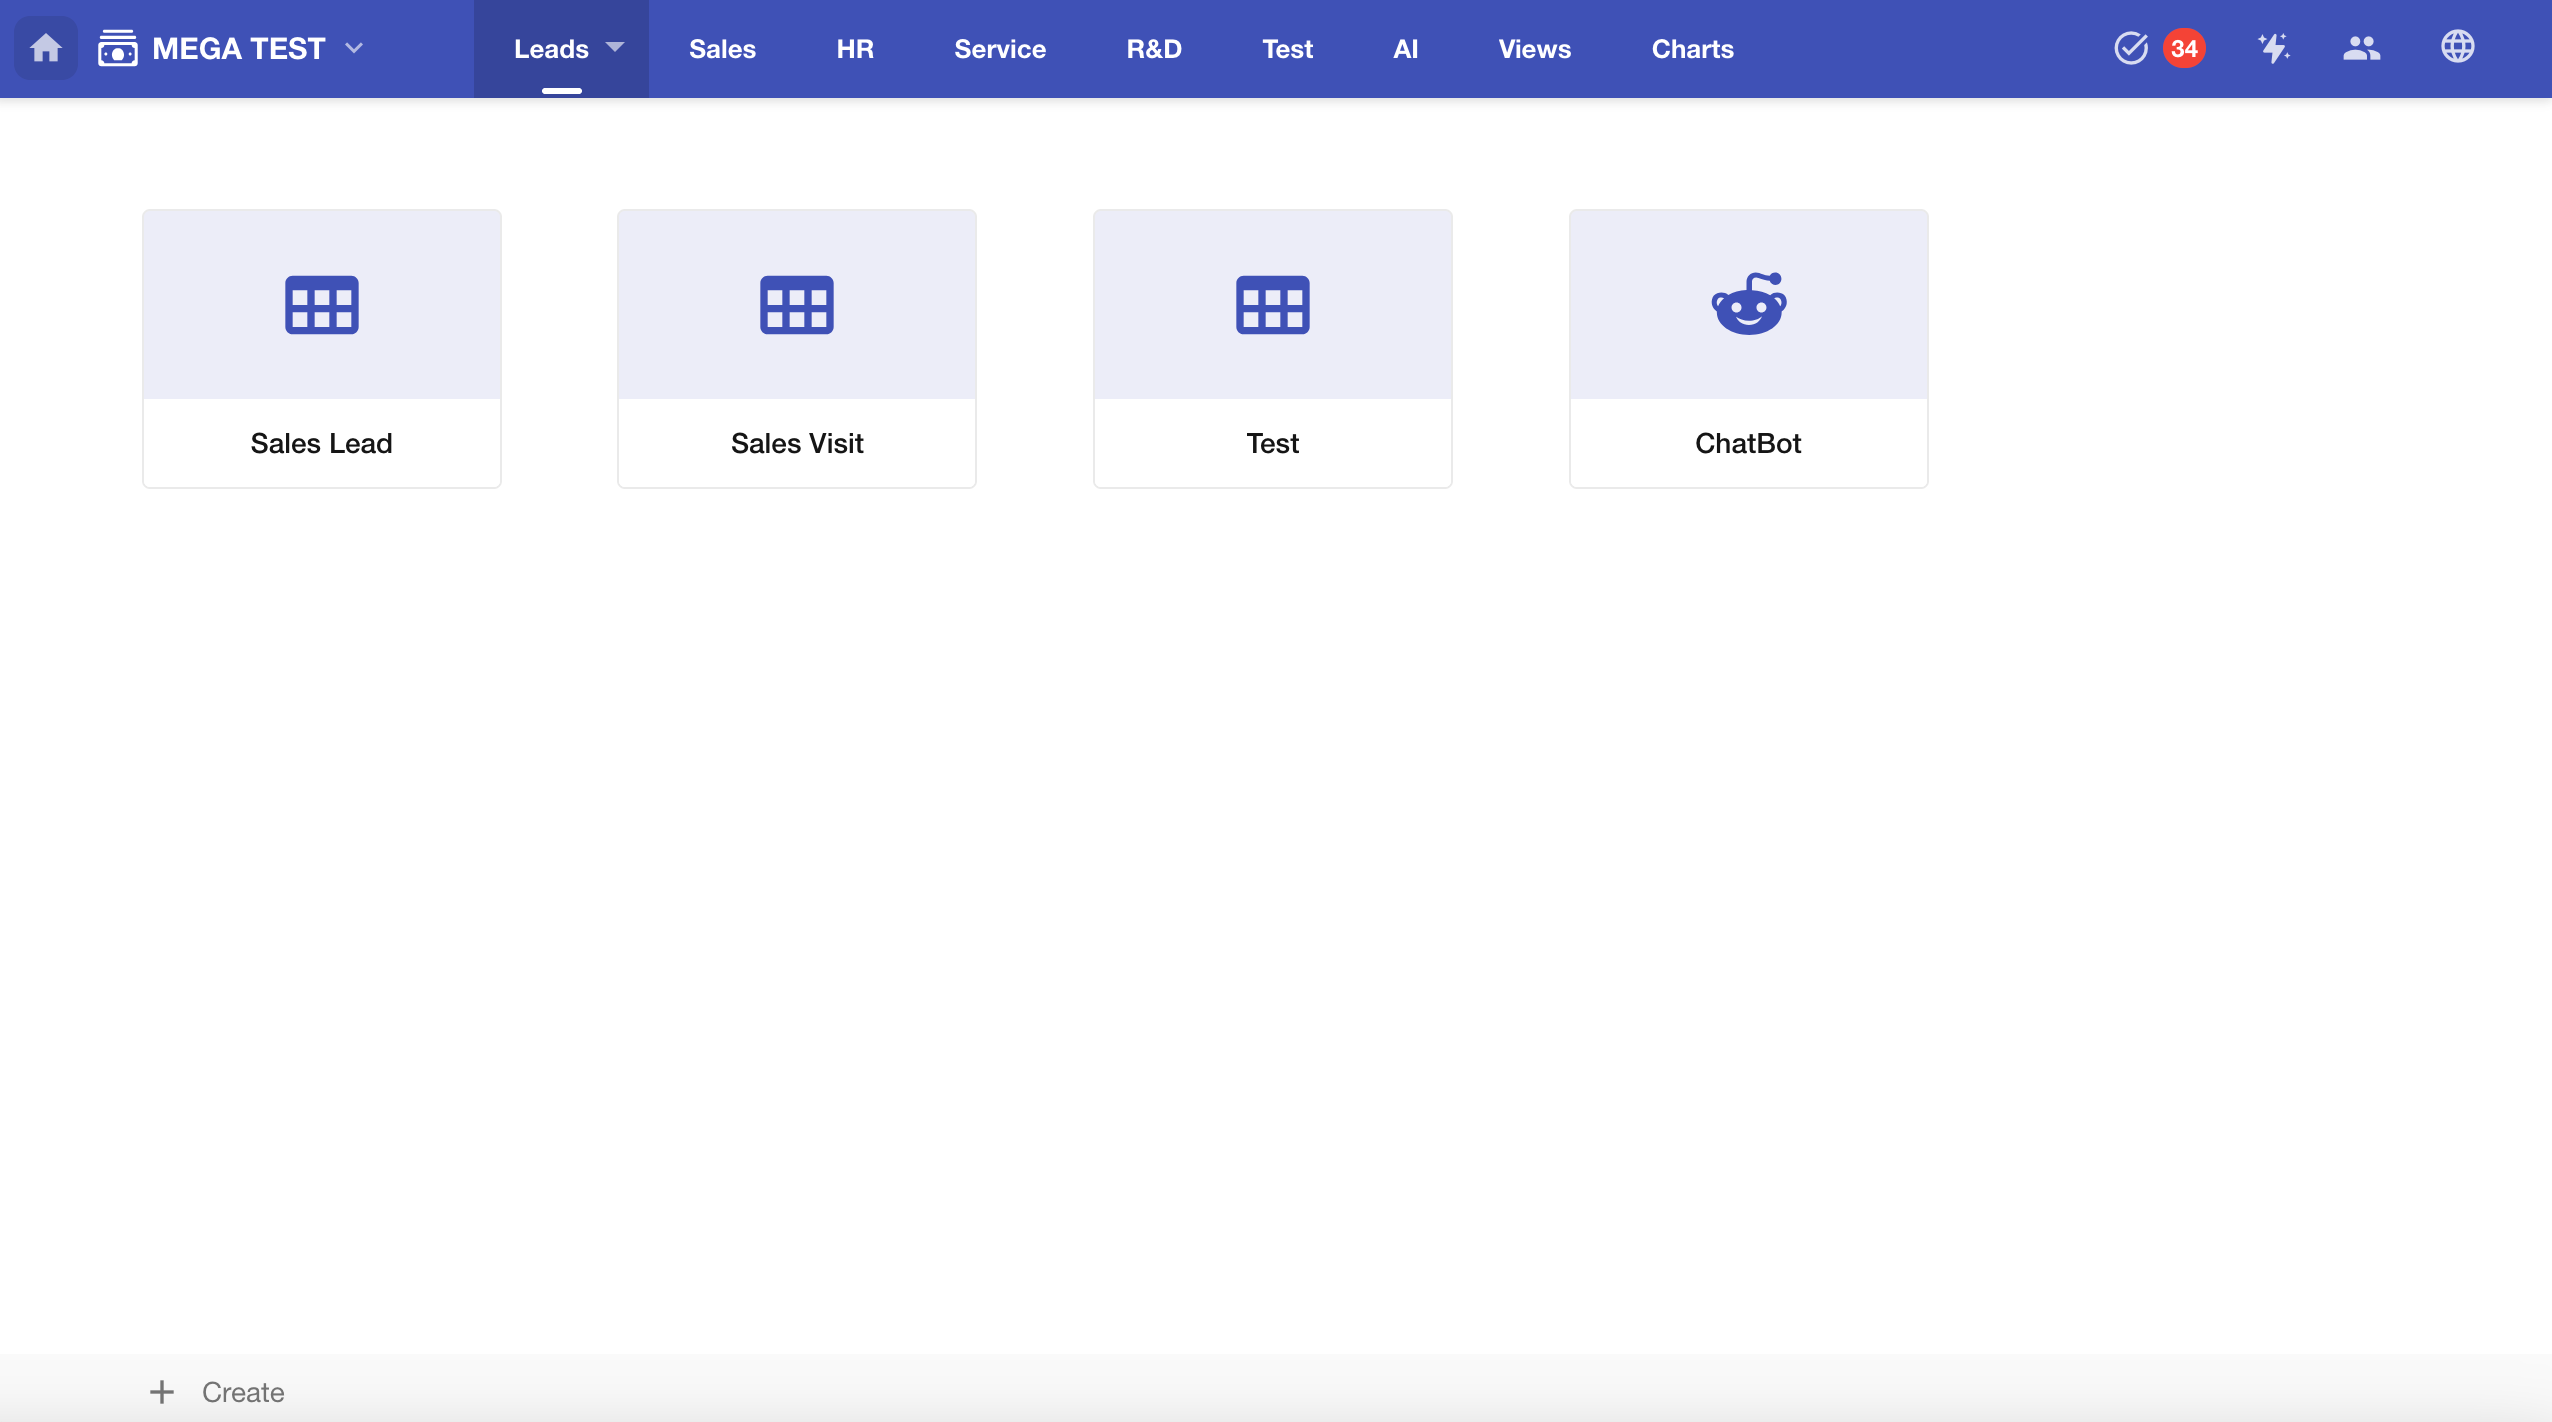
Card
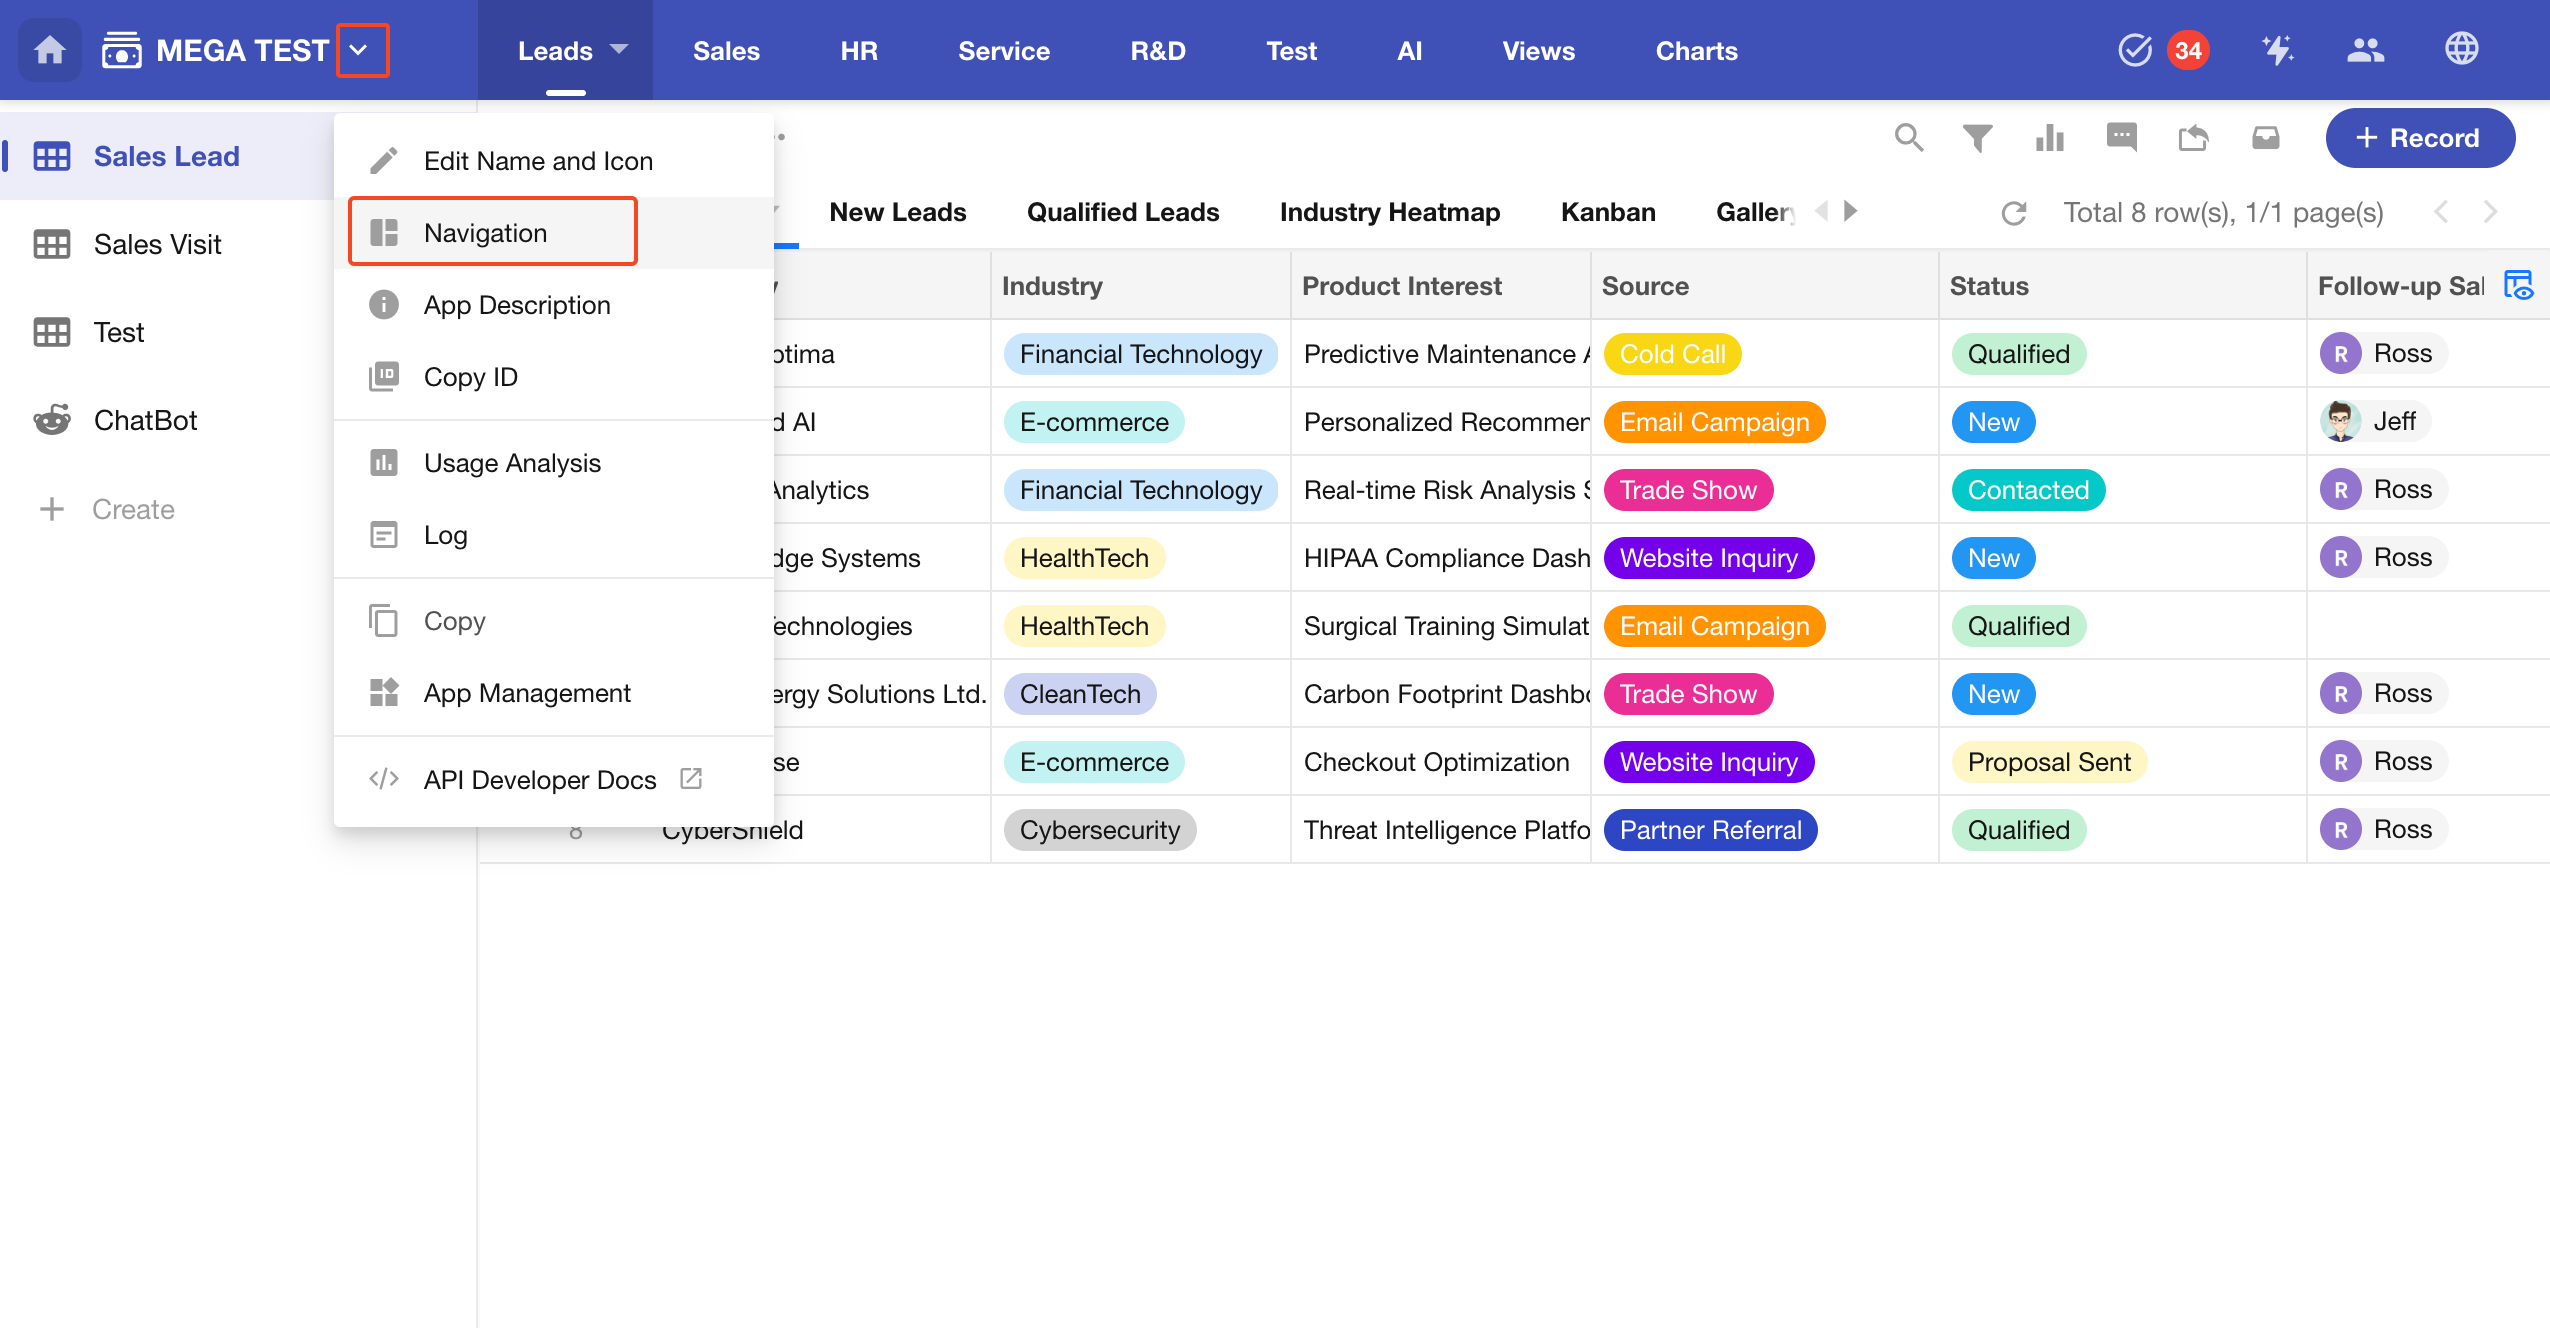
Navigation Settings
Click the button next to the application name, then select Navigation to enter the settings page.
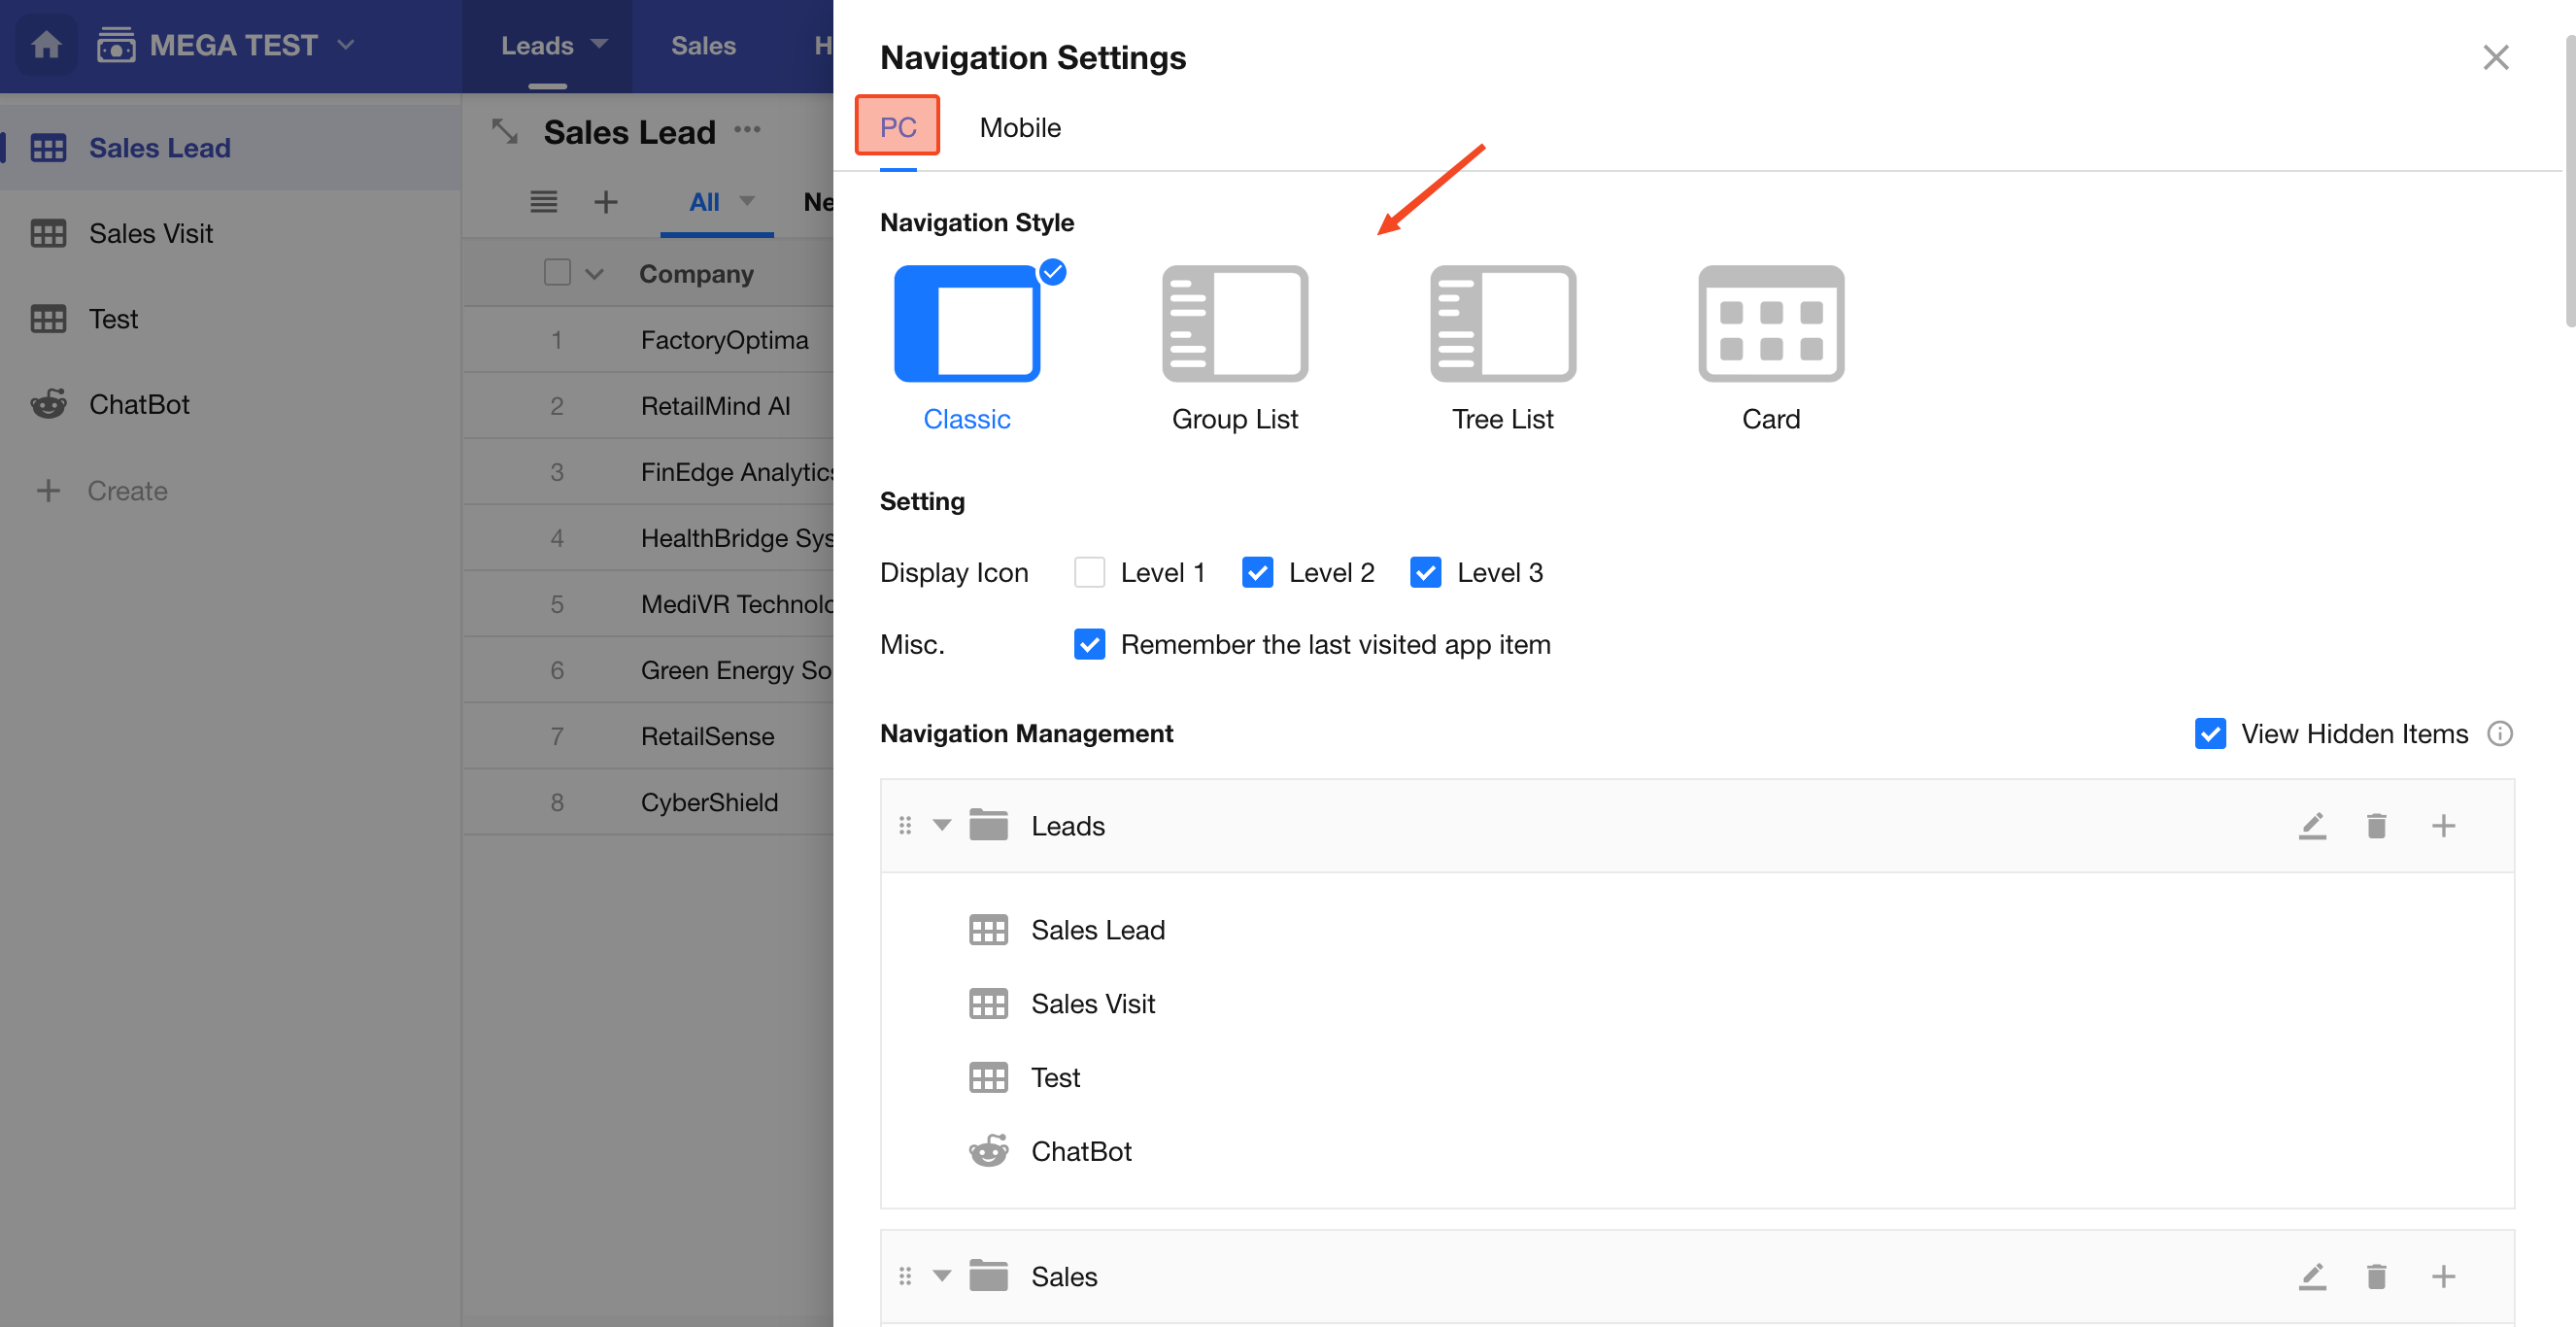
PC Navigation Settings
Select a navigation style to apply changes instantly.
Icon Display
You can configure whether icons are displayed at each level of the navigation. For example, to simplify the interface, you may choose to display icons only at the third level.
Note that available options may vary by navigation style. For example, in the Group List style, only the third-level icon display can be configured.
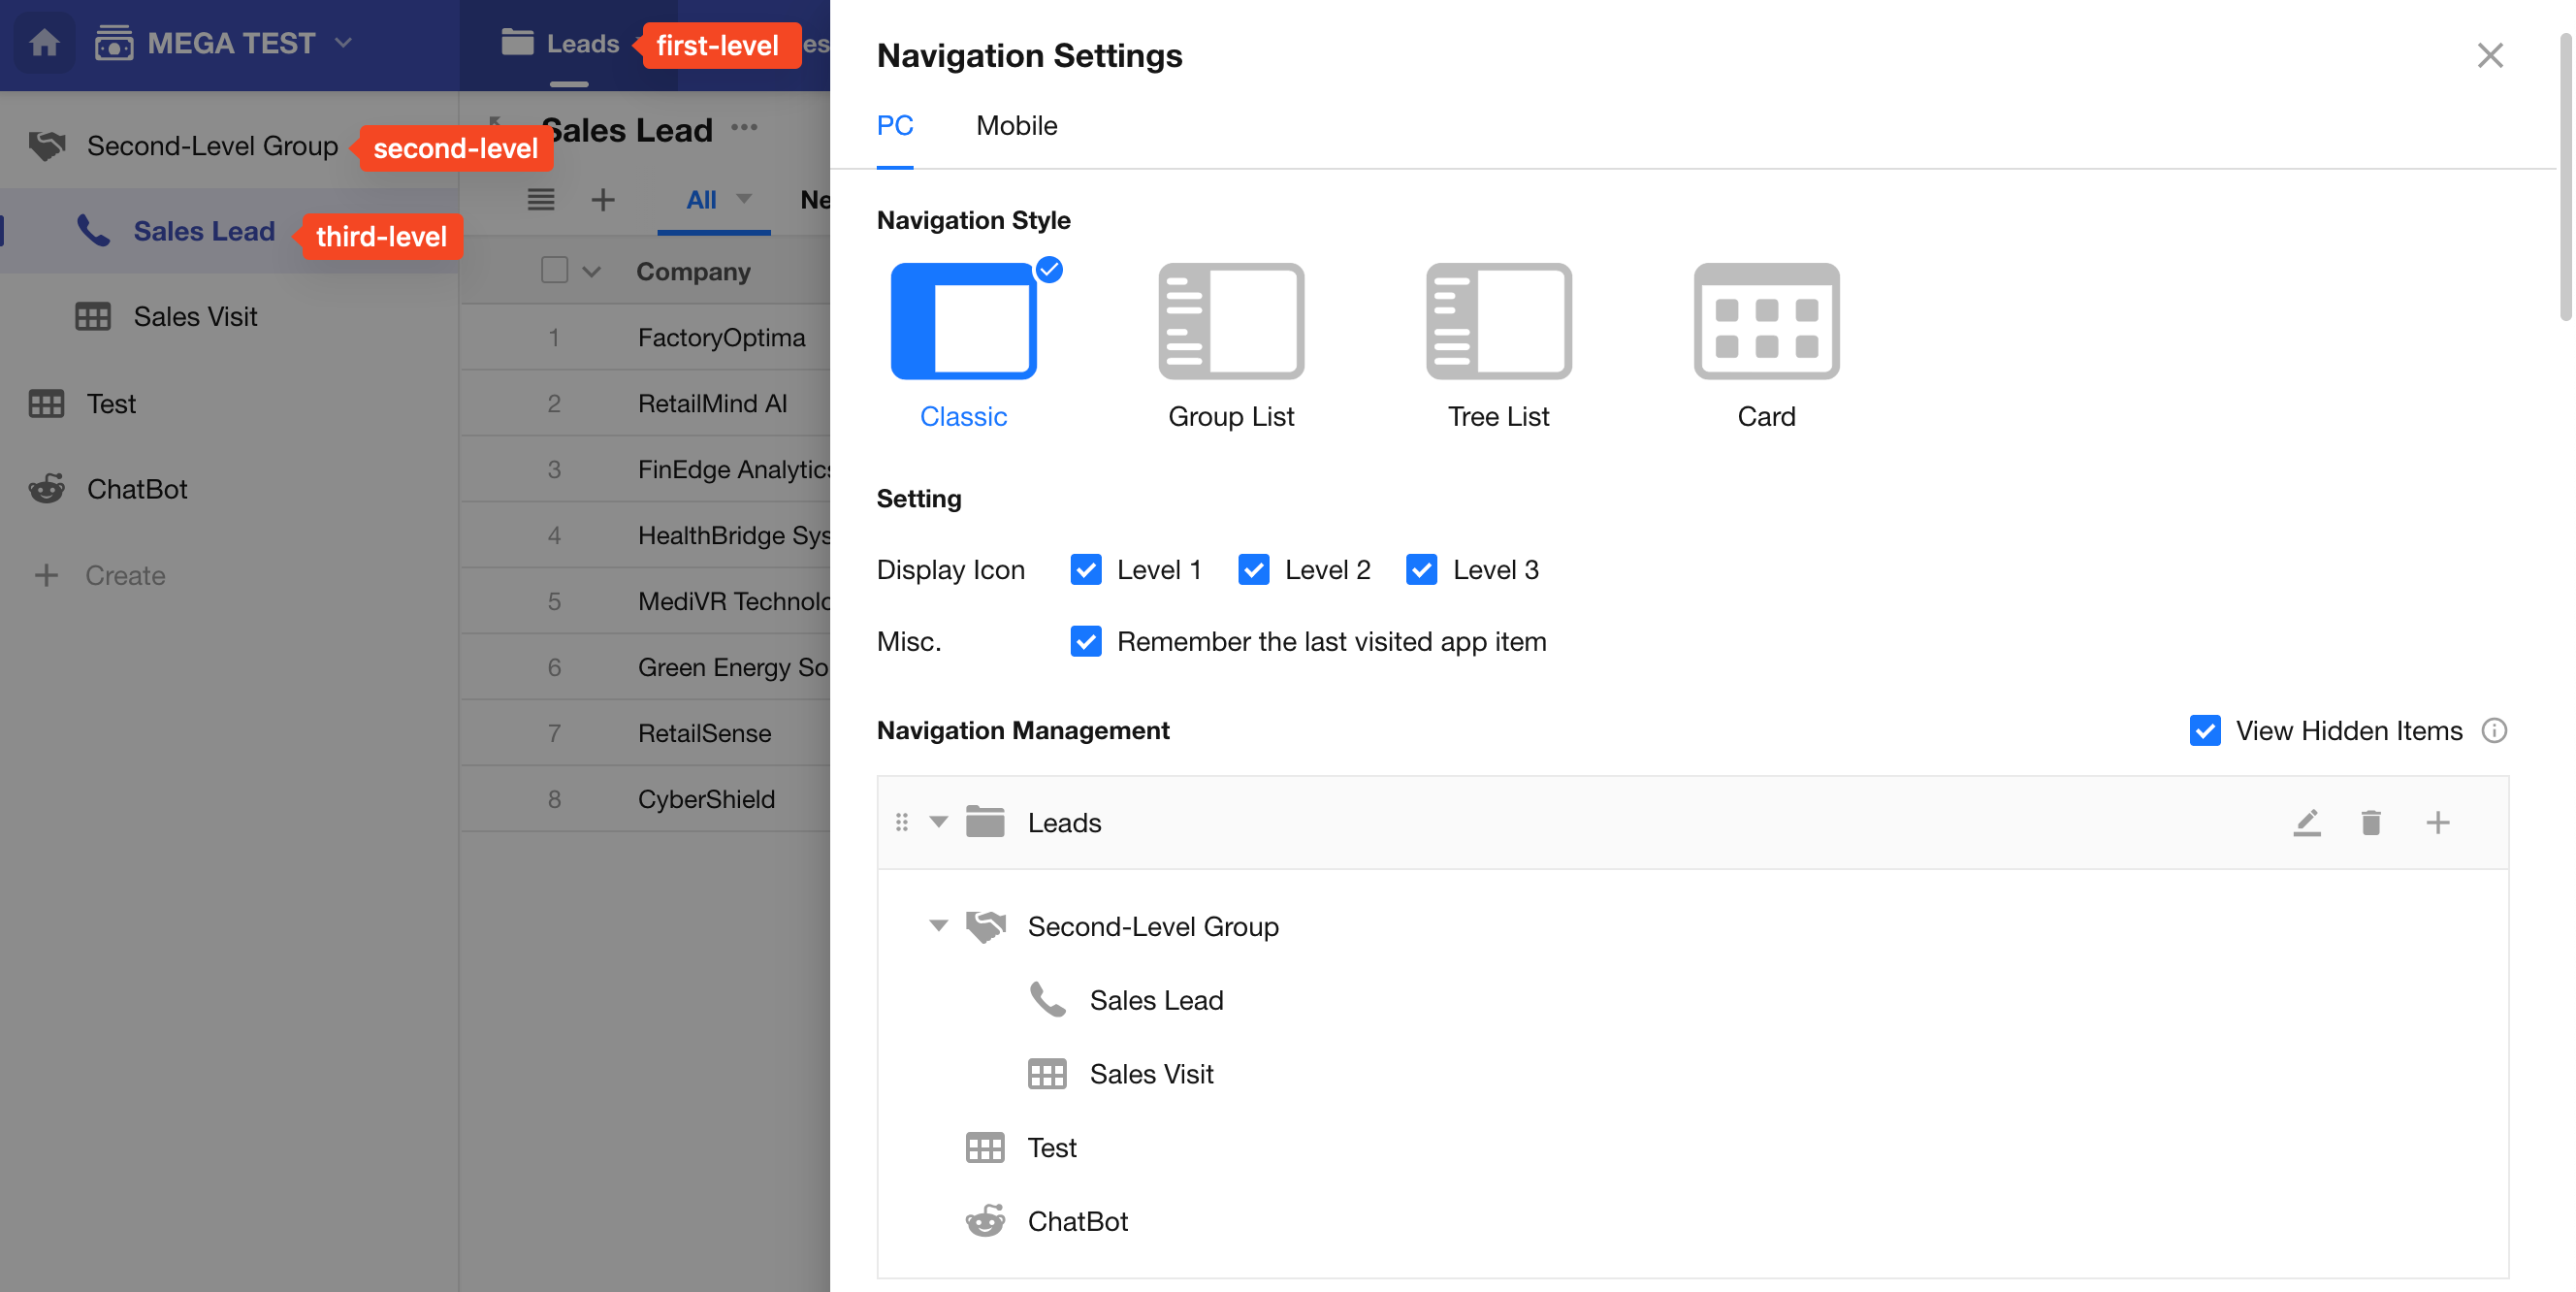
Applications support up to 3 navigation levels. Worksheets can be placed at any level, while groups can only exist at the first or second level.
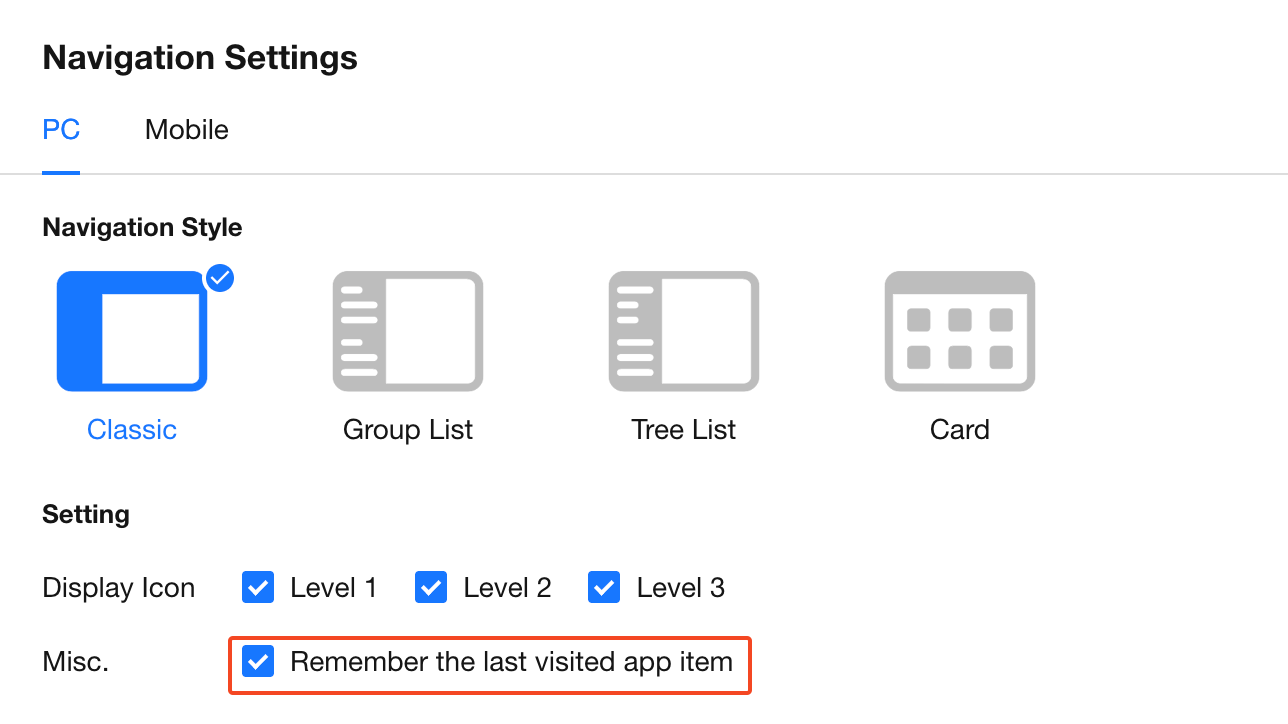
Remember Last Accessed Item
When enabled, the application will open the last accessed worksheet or custom page upon entry.
When disabled, the application will always open the first worksheet or custom page by default.
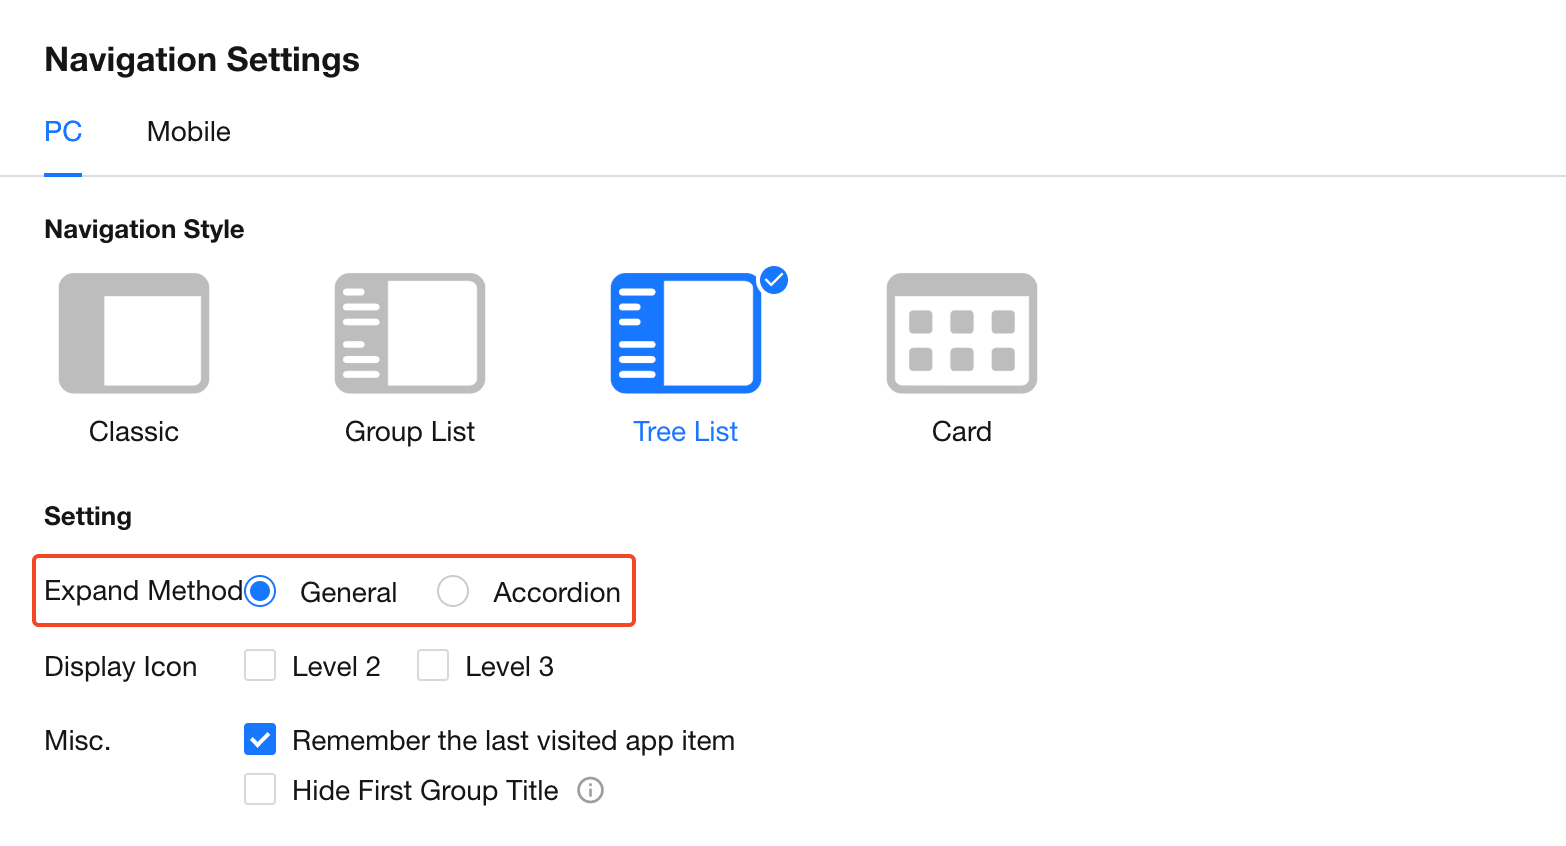
Expand Behavior (Tree List Only)
The Tree List navigation style provides two expand modes: General and Accordion.
-
General:
Expanding one group does not collapse others. Multiple groups can remain expanded simultaneously. -
Accordion:
Expanding a first-level group automatically collapses other first-level groups. Only one group can be expanded at a time.
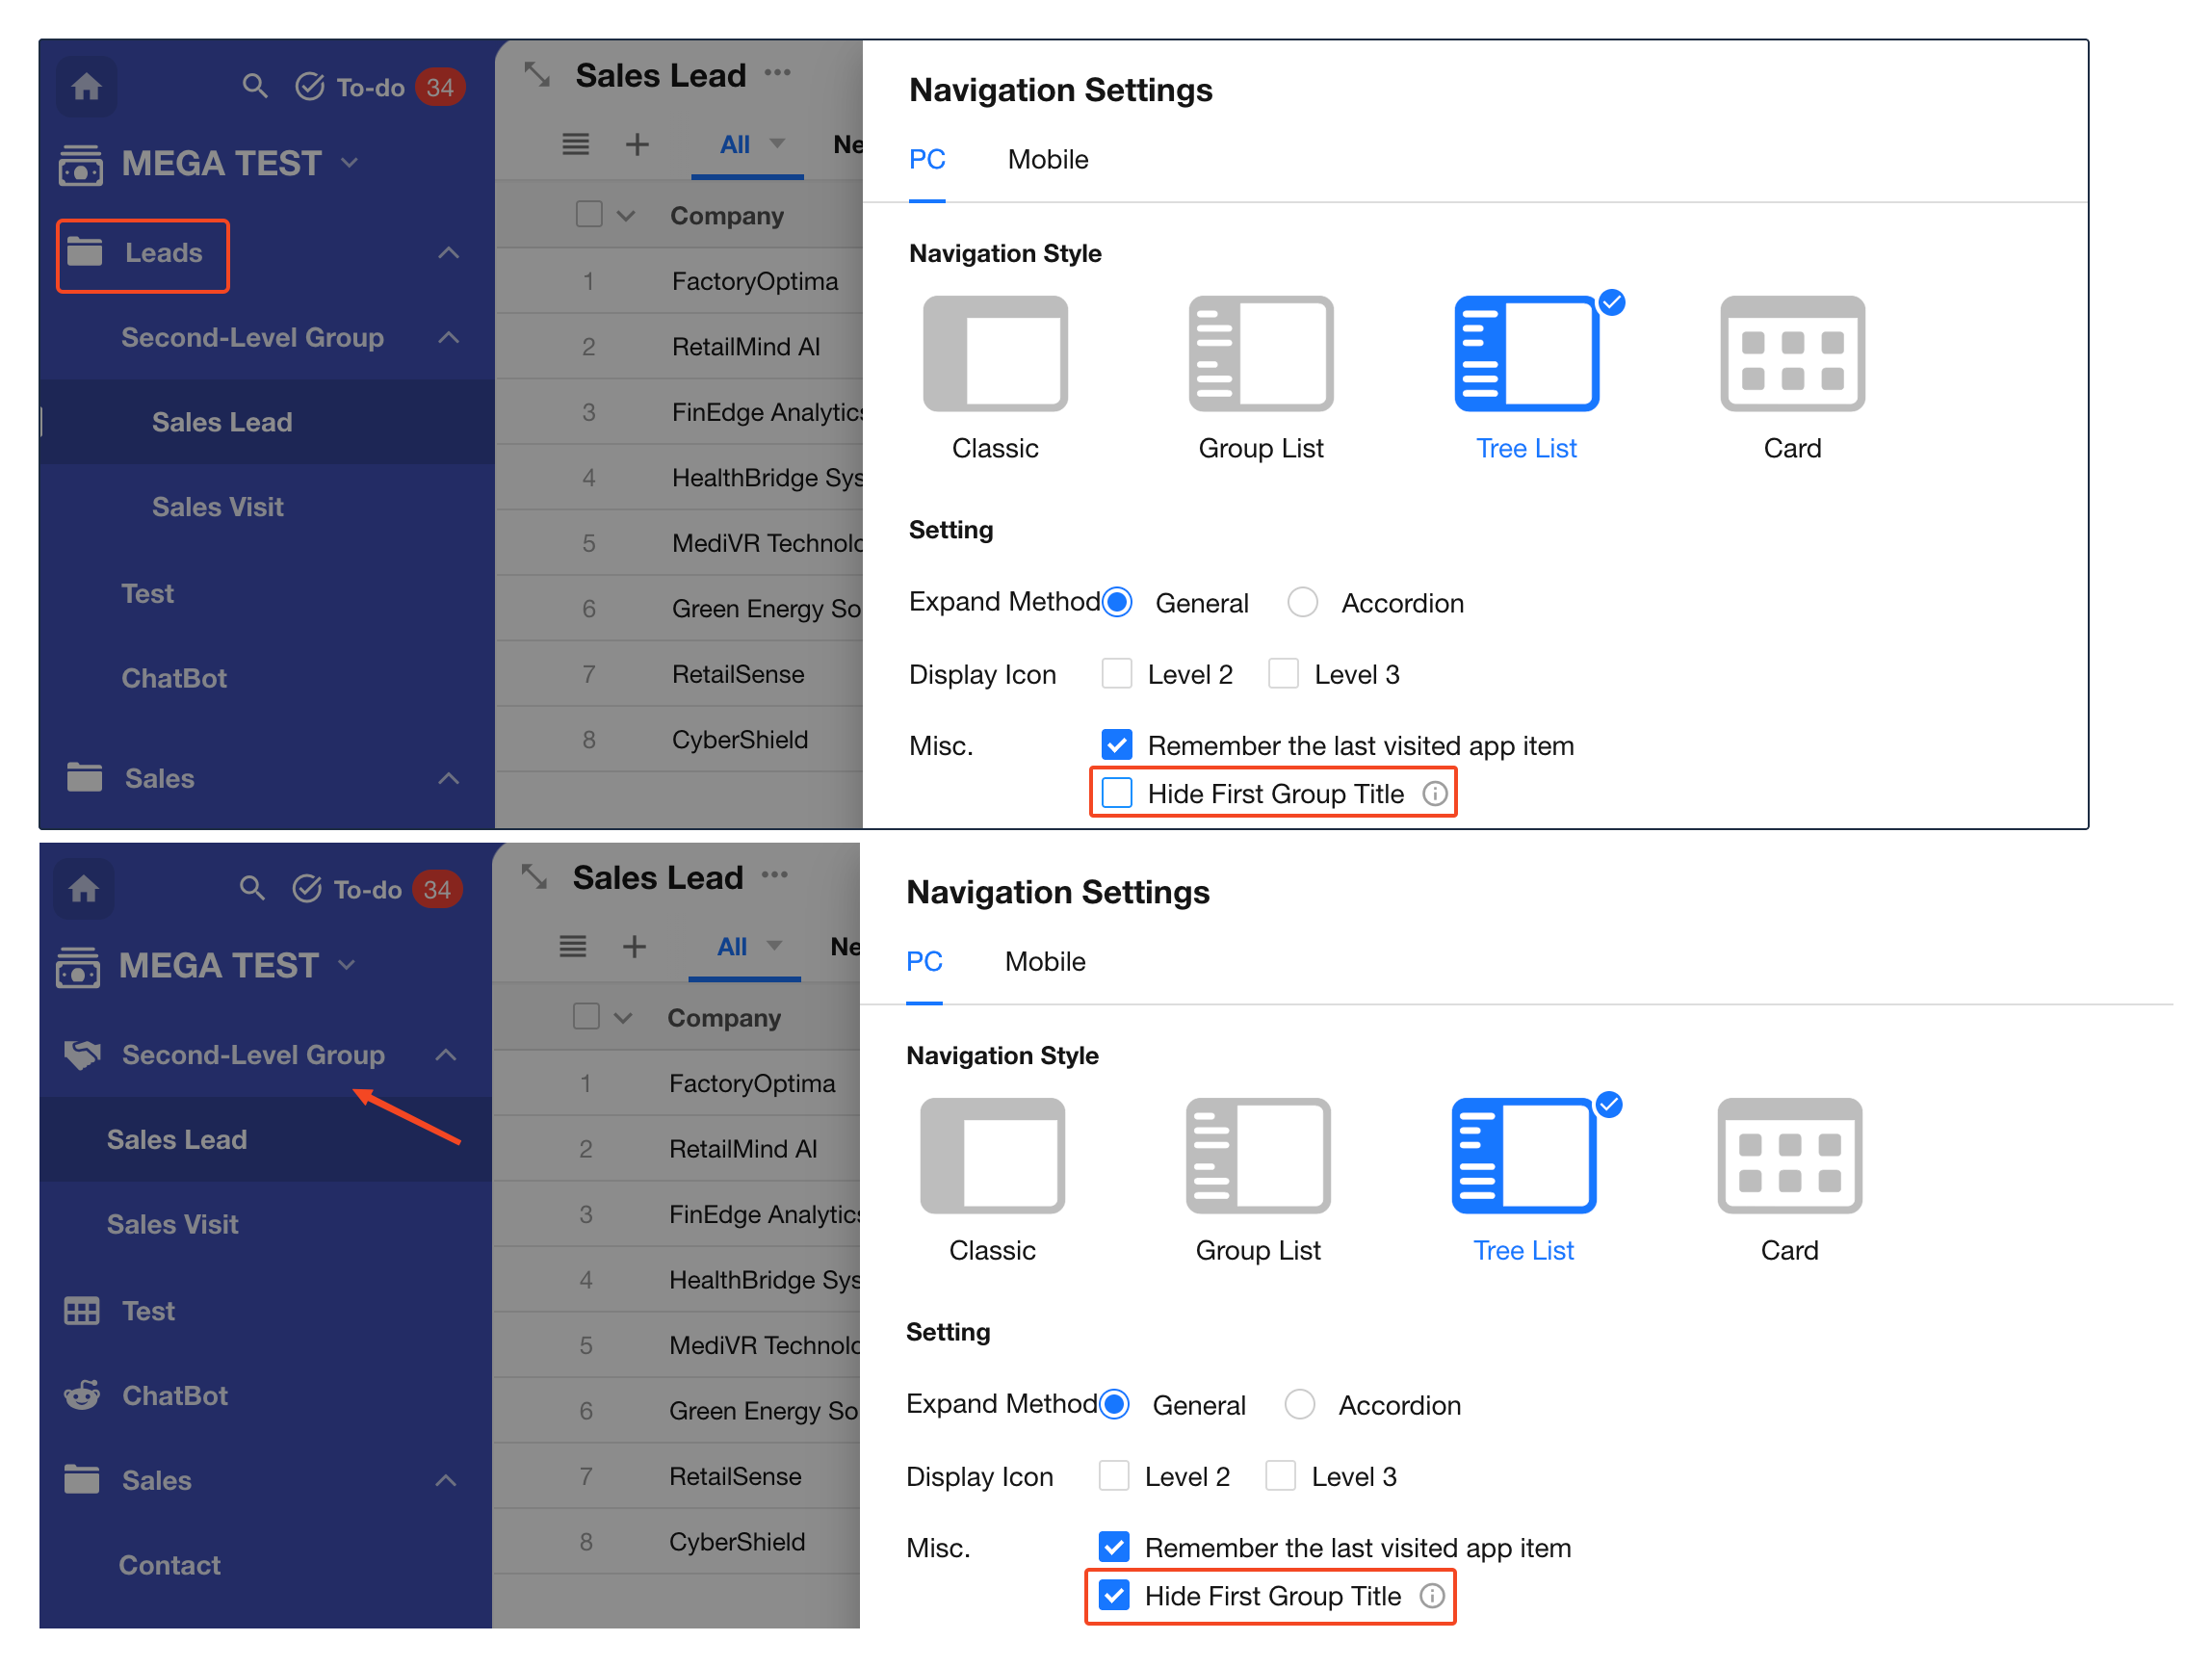
Hide First Group Title
In the Tree List style, you can enable Hide First Group Title to directly display the application items within the first group. This is commonly used when the application item in the first group serves as the application homepage.
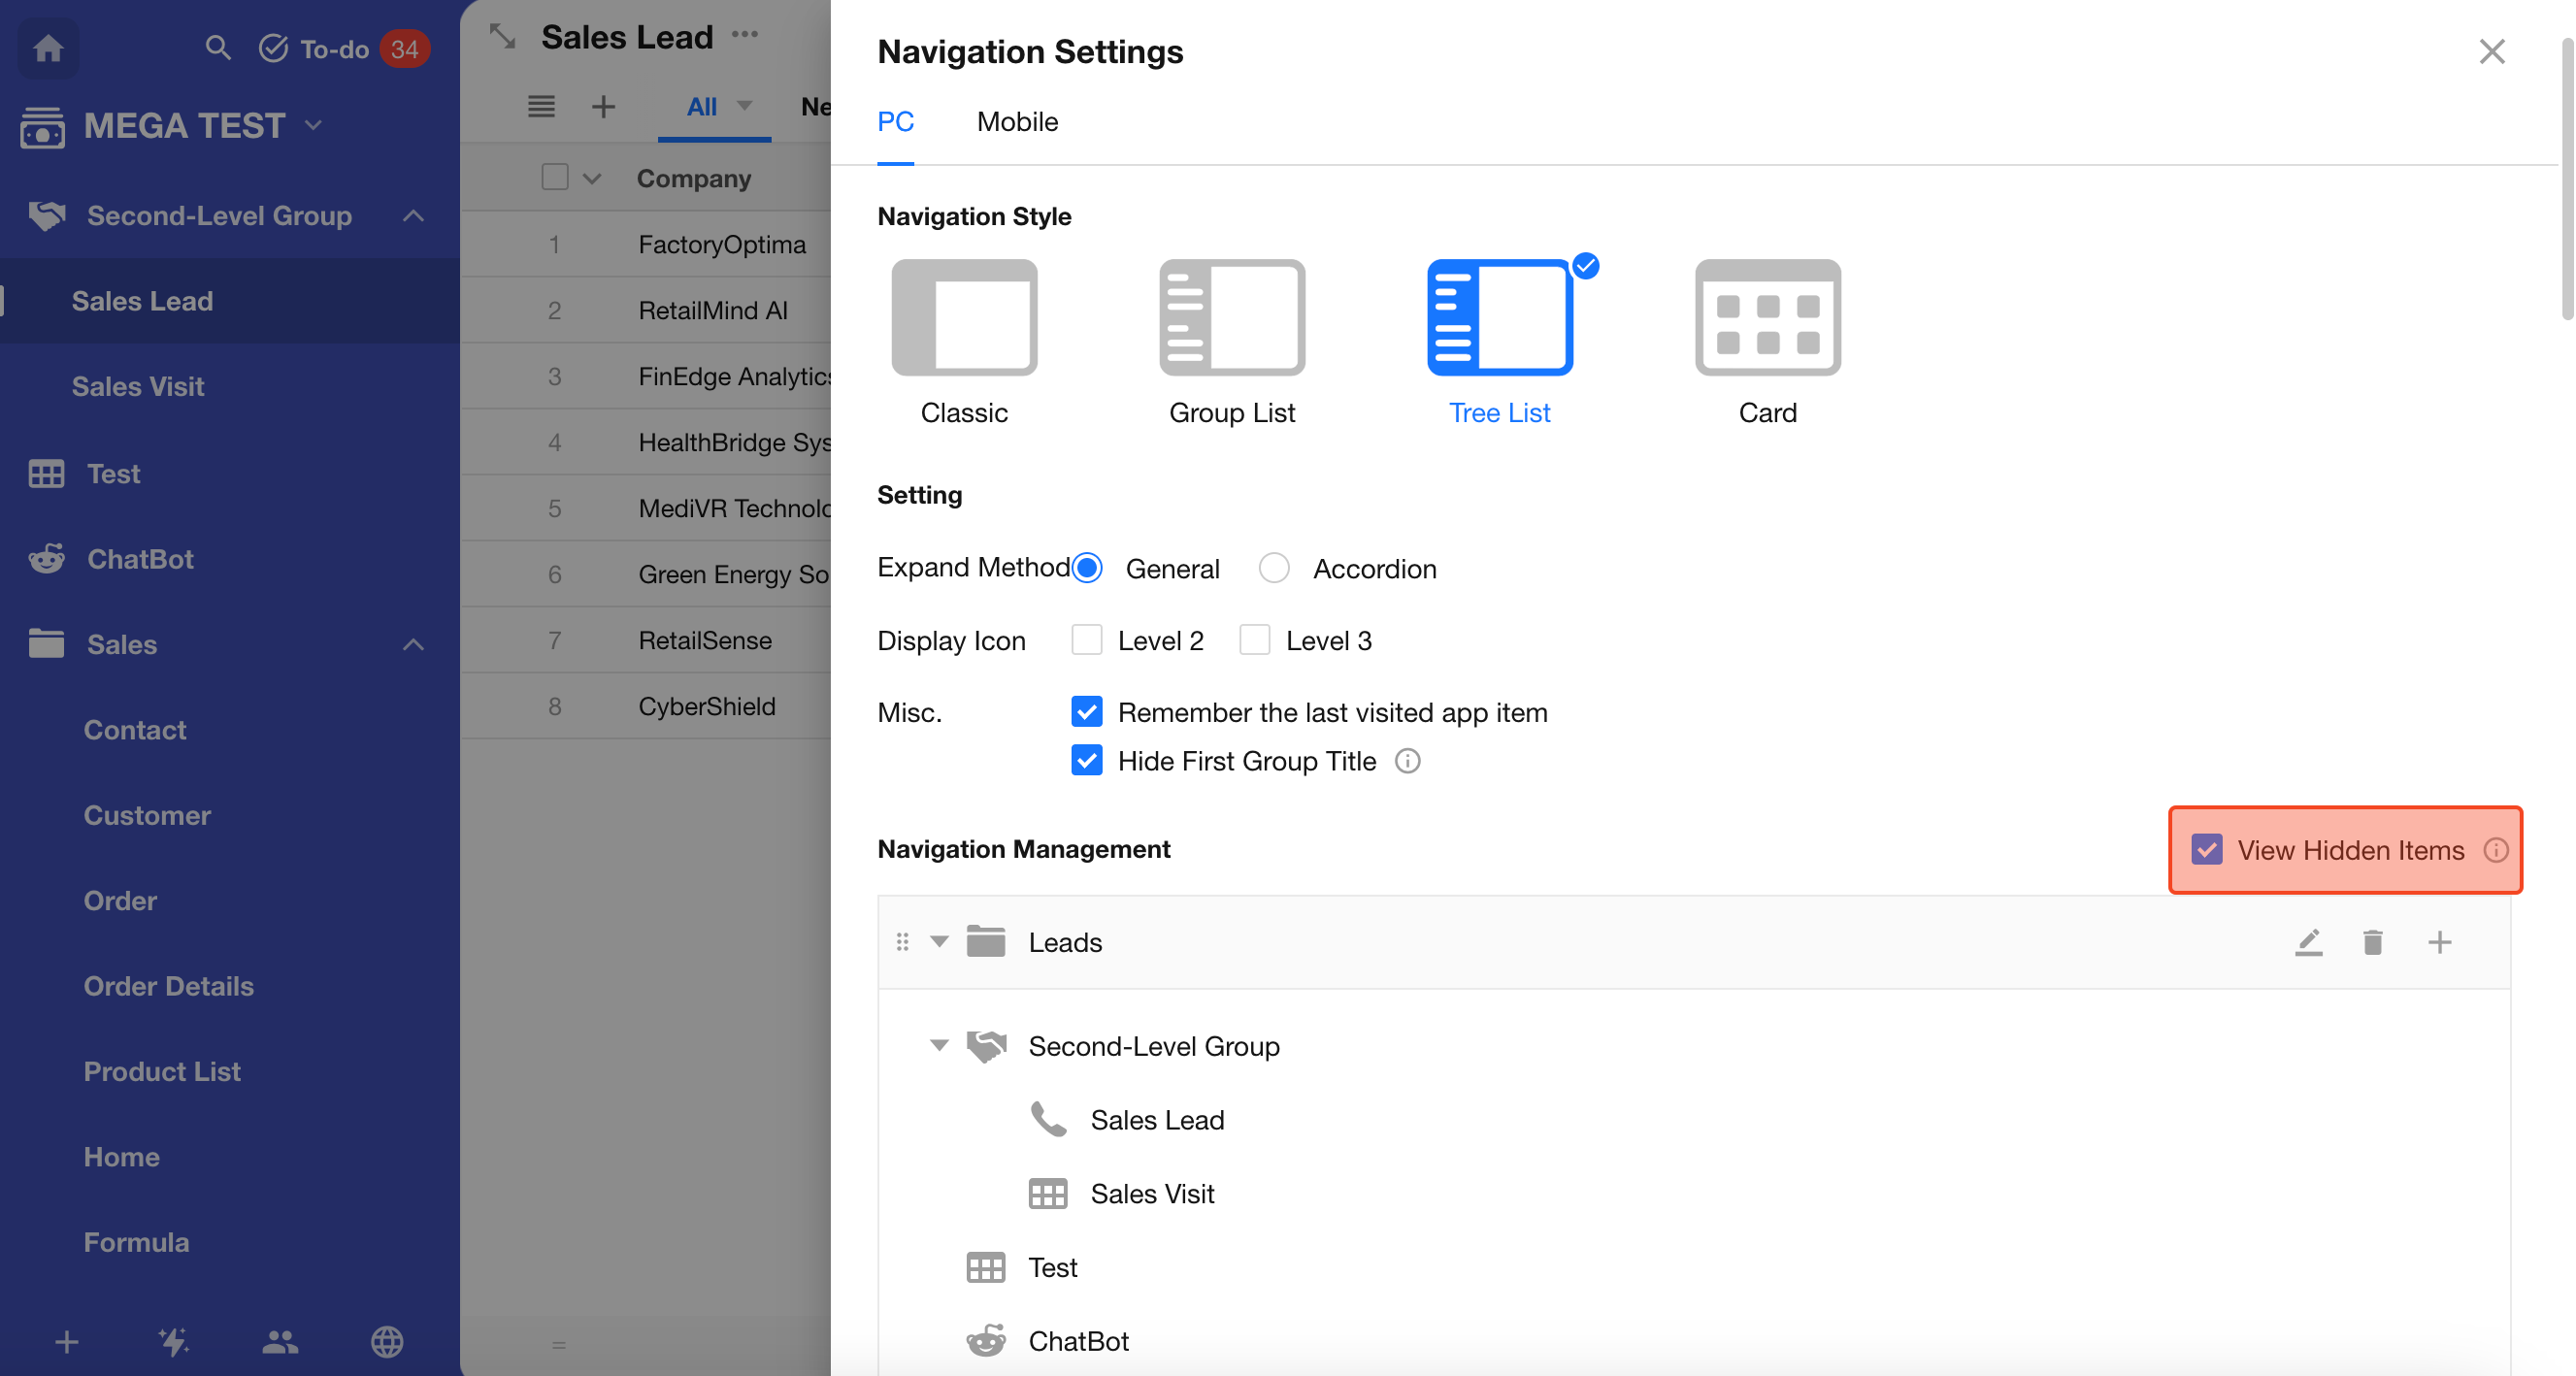
View Hidden Items
When View Hidden Items is enabled, application admins can see worksheets and groups that are hidden in the navigation.
When disabled, hidden items are not visible even to application admins.
Learn how to hide worksheets and pages in navigation
When the application is locked, hidden items remain invisible even if this option is enabled. They become visible again after unlocking.
Group Settings
Worksheet grouping supports up to two levels: first-level groups and second-level groups.
- In Classic and Card styles, first-level groups are displayed in the top navigation bar
- In Group List and Tree List styles, both first-level and second-level groups are displayed within a single menu
All group management actions—such as adding, editing, deleting, sorting, and moving worksheets—can be handled in the navigation settings.
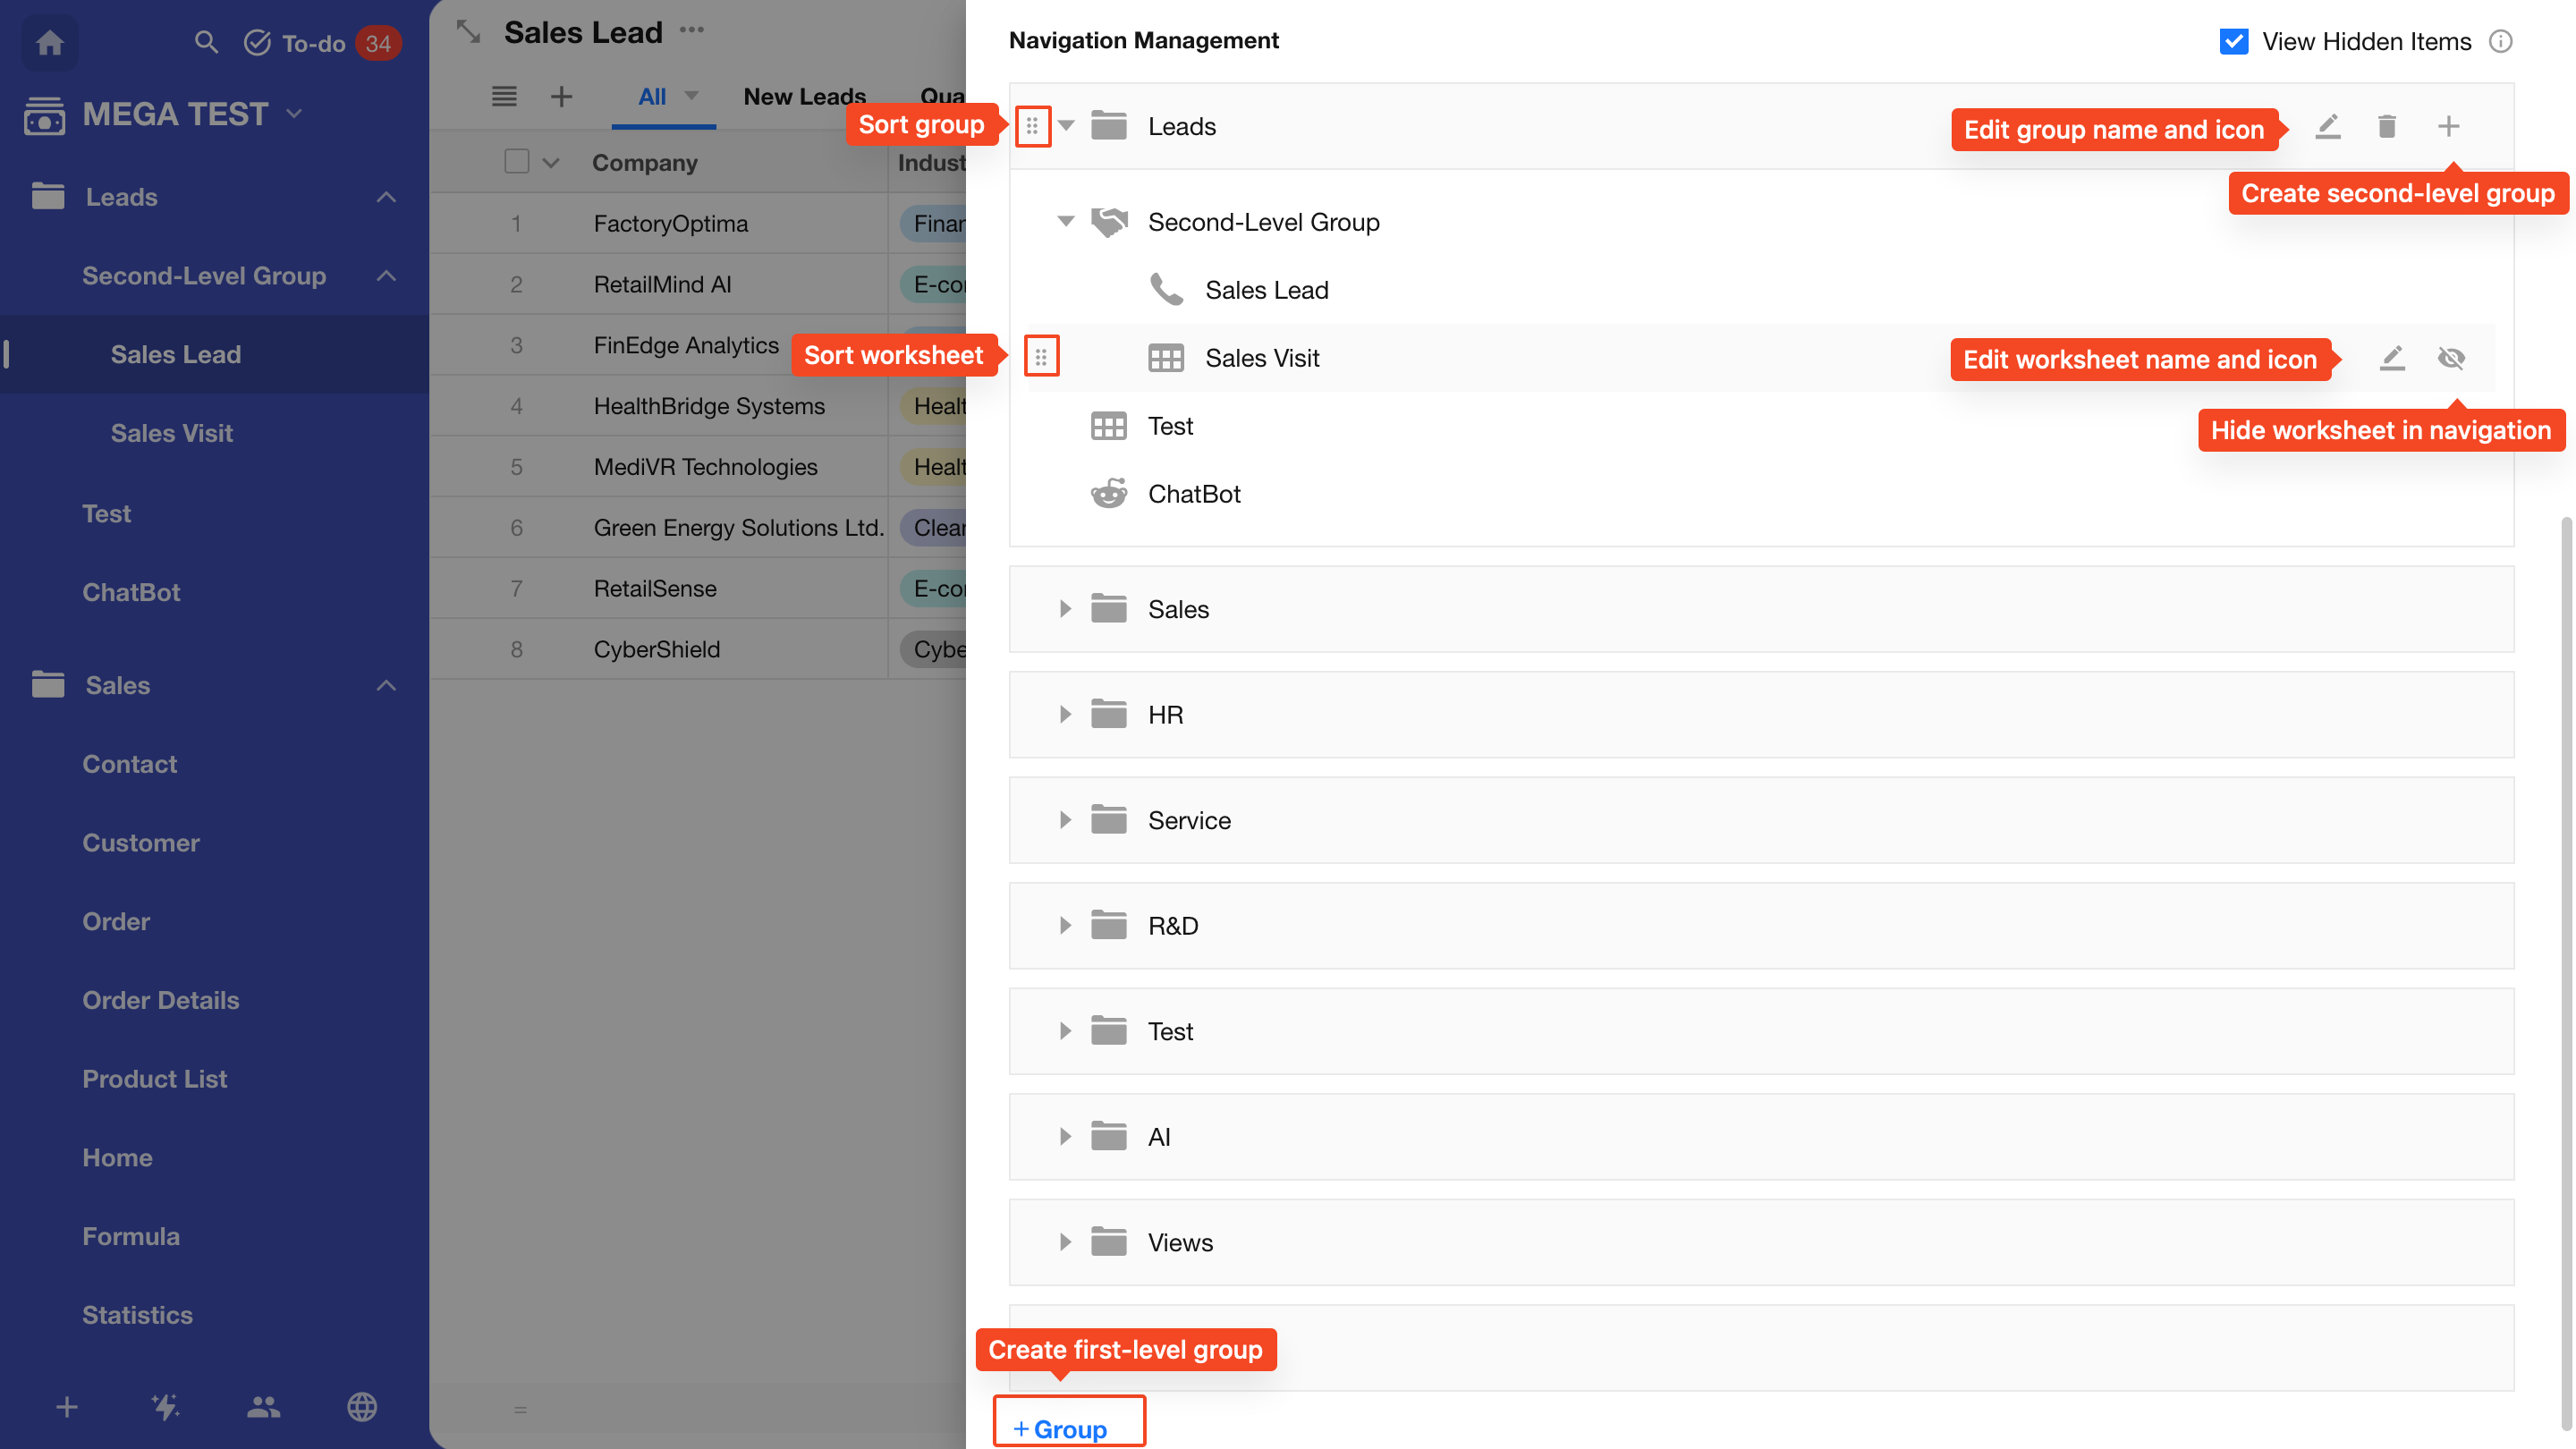
Basic Group Operations
In App Management > Navigation, you can:
- Create first-level and second-level groups
- Rename groups, change icons, or delete groups
- If a group contains worksheets, custom pages, or sub-groups, it must be emptied before deletion
- Rename worksheets and update icons
- Reorder groups and worksheets
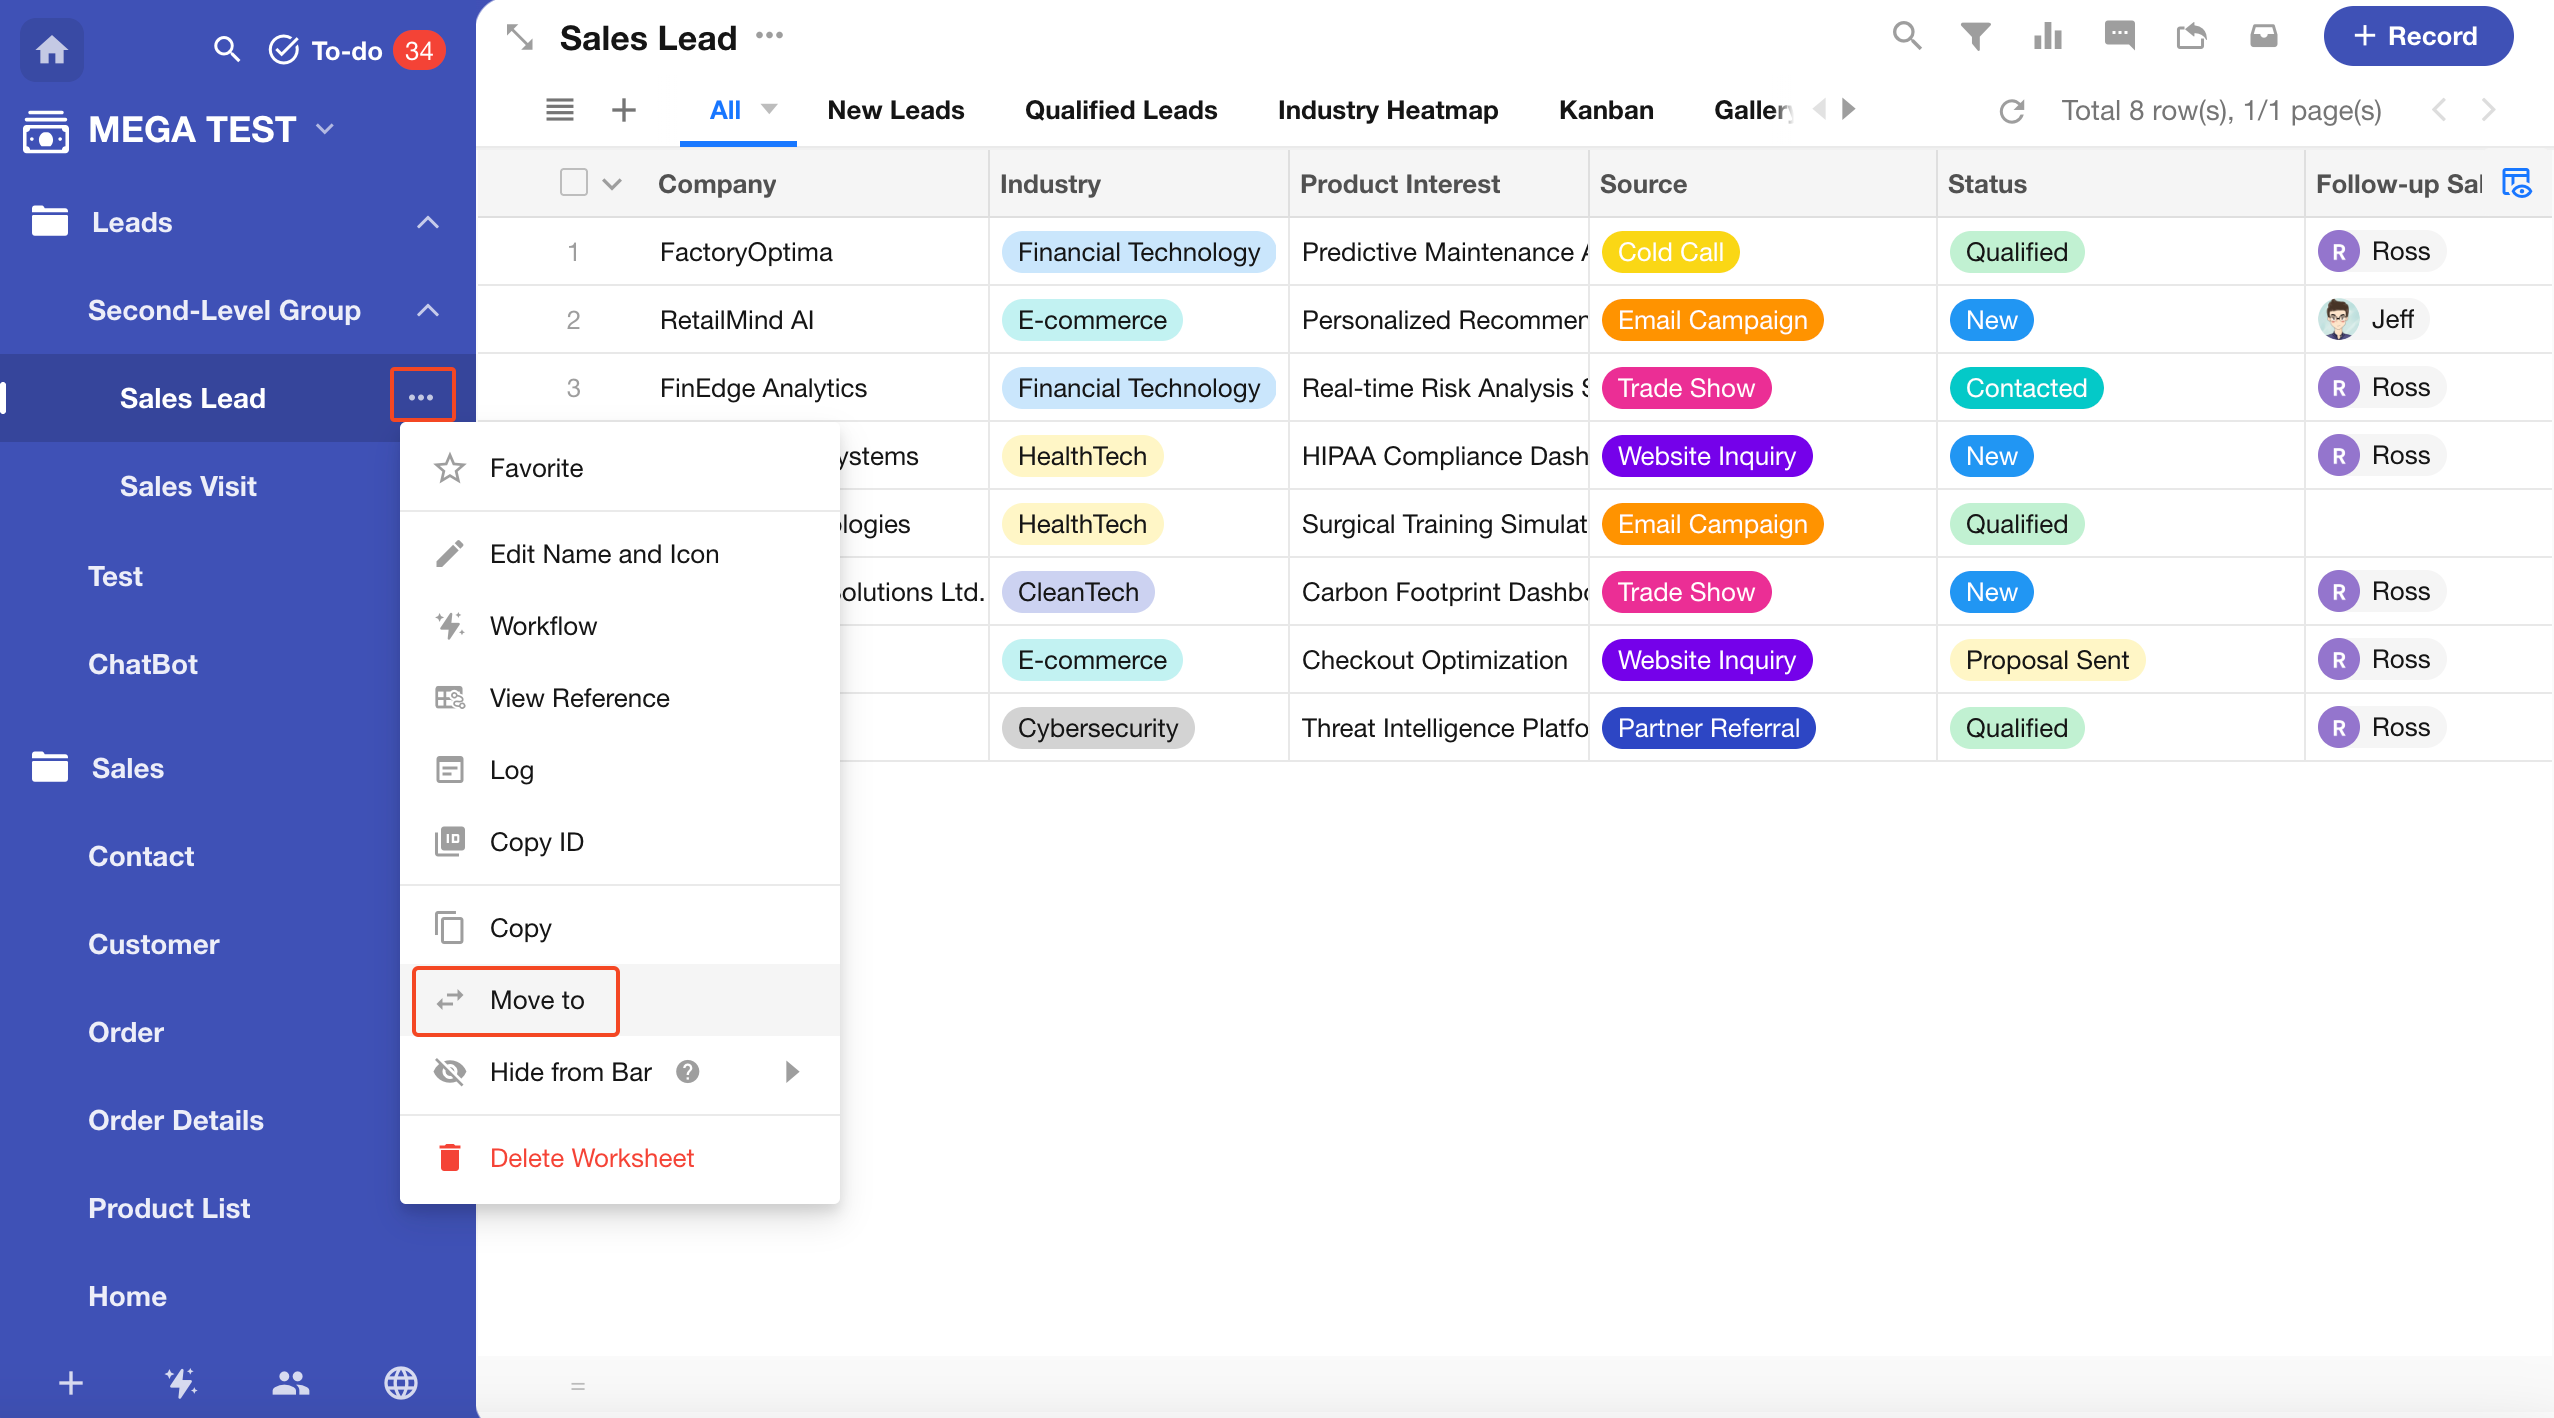
Move Groups / Worksheets
In navigation settings, you can drag and drop worksheets or sub-groups to move them between groups.
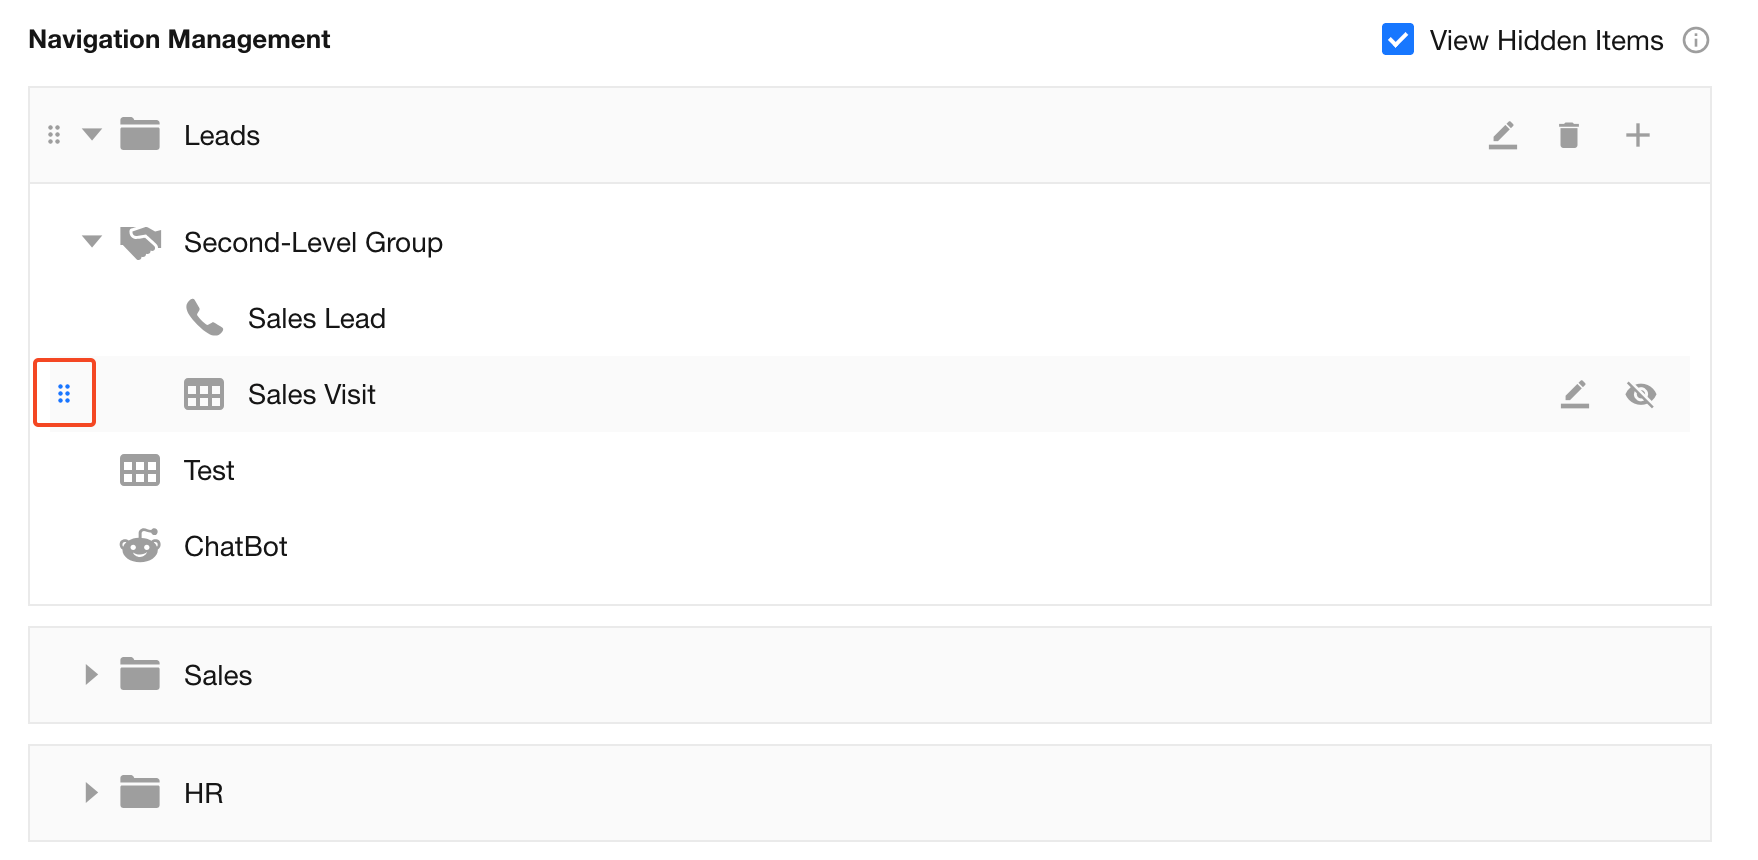
You can also move worksheets or sub-groups directly in the application using drag-and-drop or action buttons.
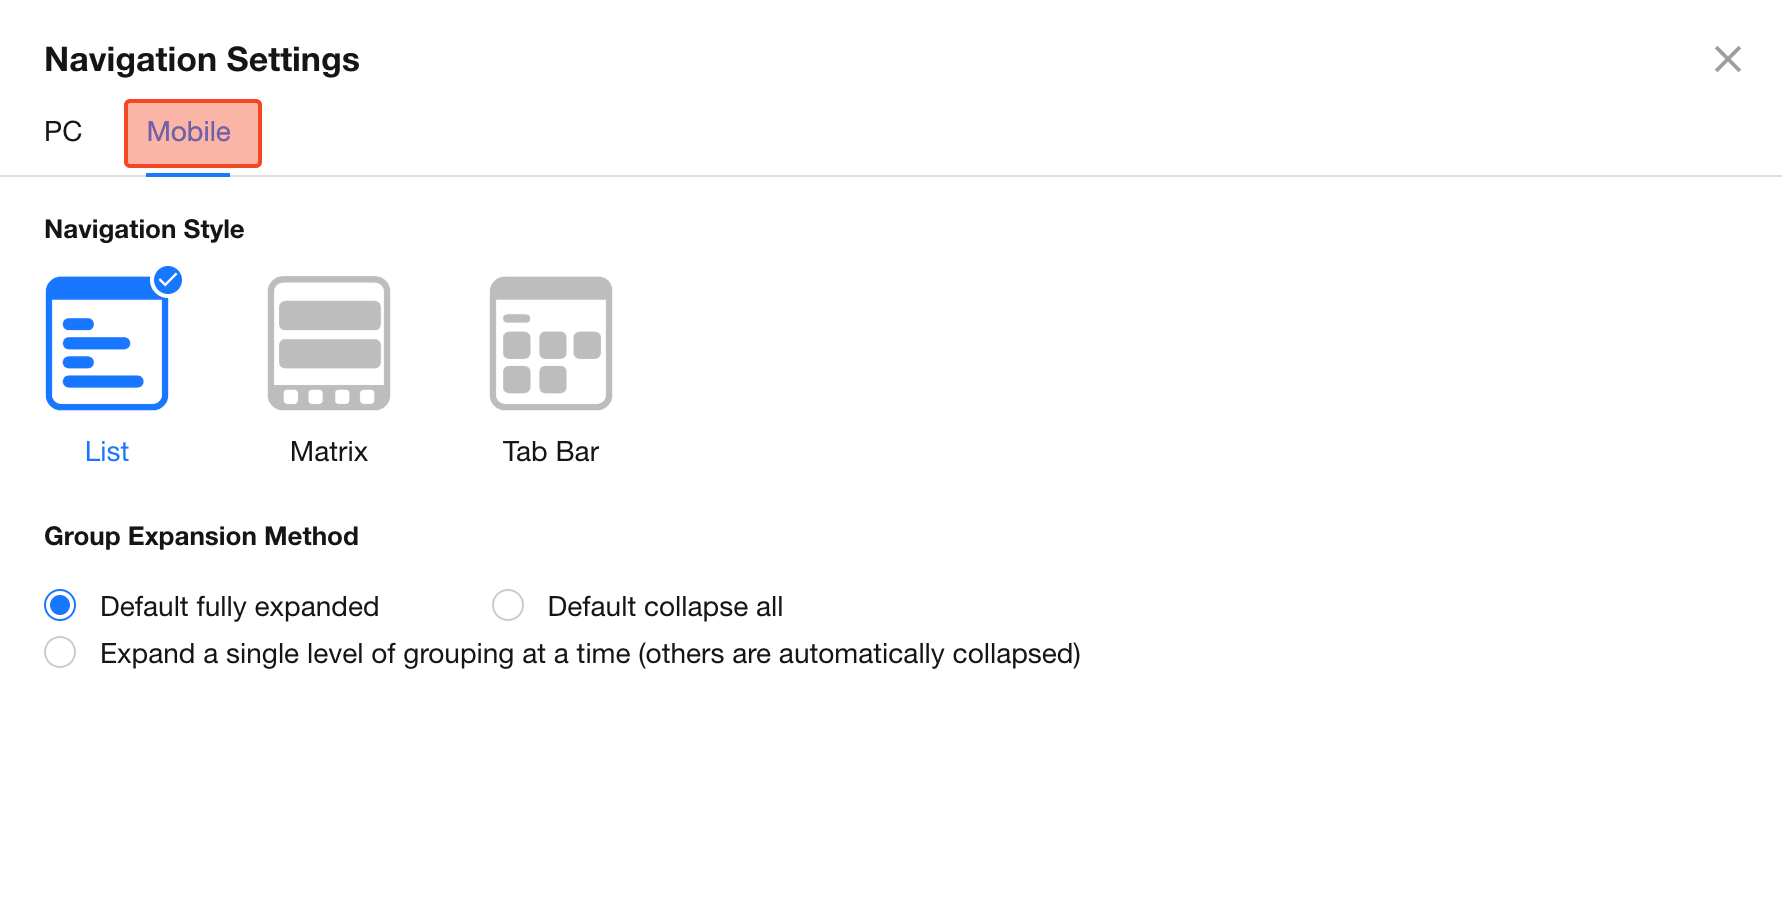
Mobile Navigation Settings
Switch to the Mobile tab to configure navigation styles for mobile platforms (App, H5, mini programs), as well as group display modes (List, Matrix, Tab Bar).
Preview:
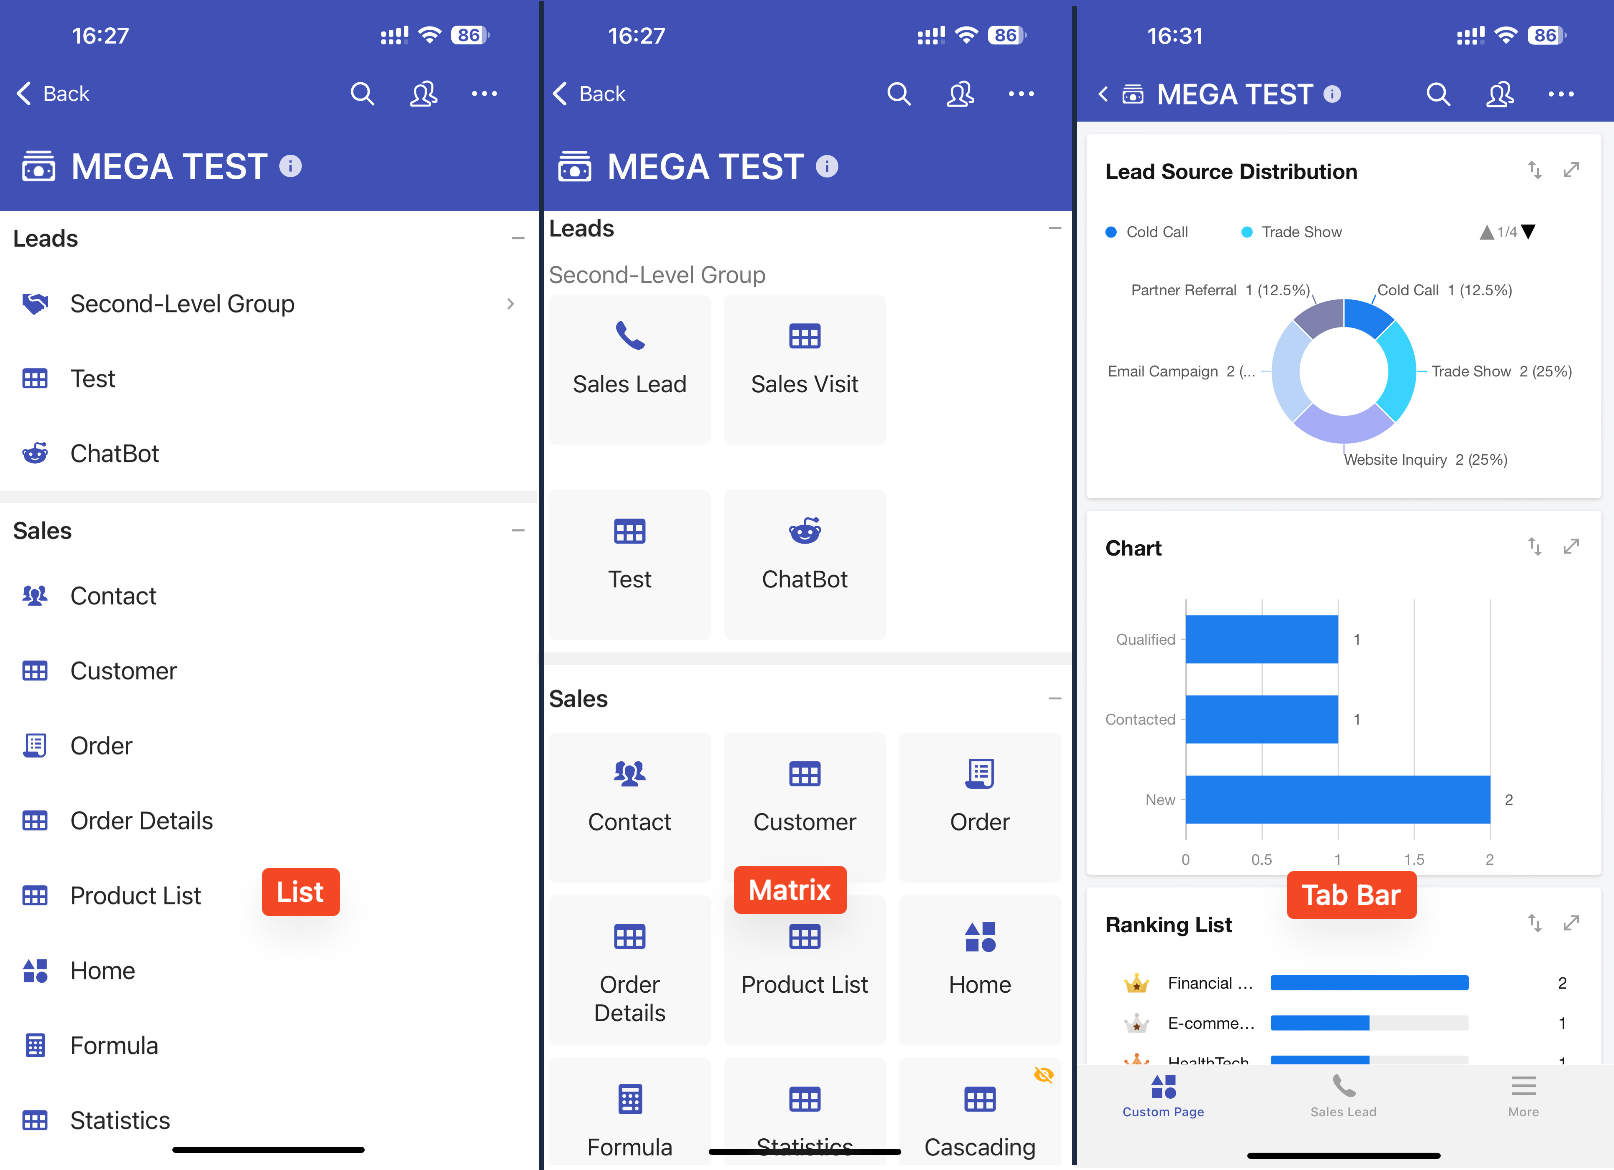
Tab Bar
In mobile Tab Bar mode, you can customize which worksheets and custom pages are displayed in the bottom navigation bar.
- If no items are added, the first four worksheets and custom pages are displayed by default
- Once configured, the position of items in the navigation remains fixed even if their order changes elsewhere

Was this document helpful?