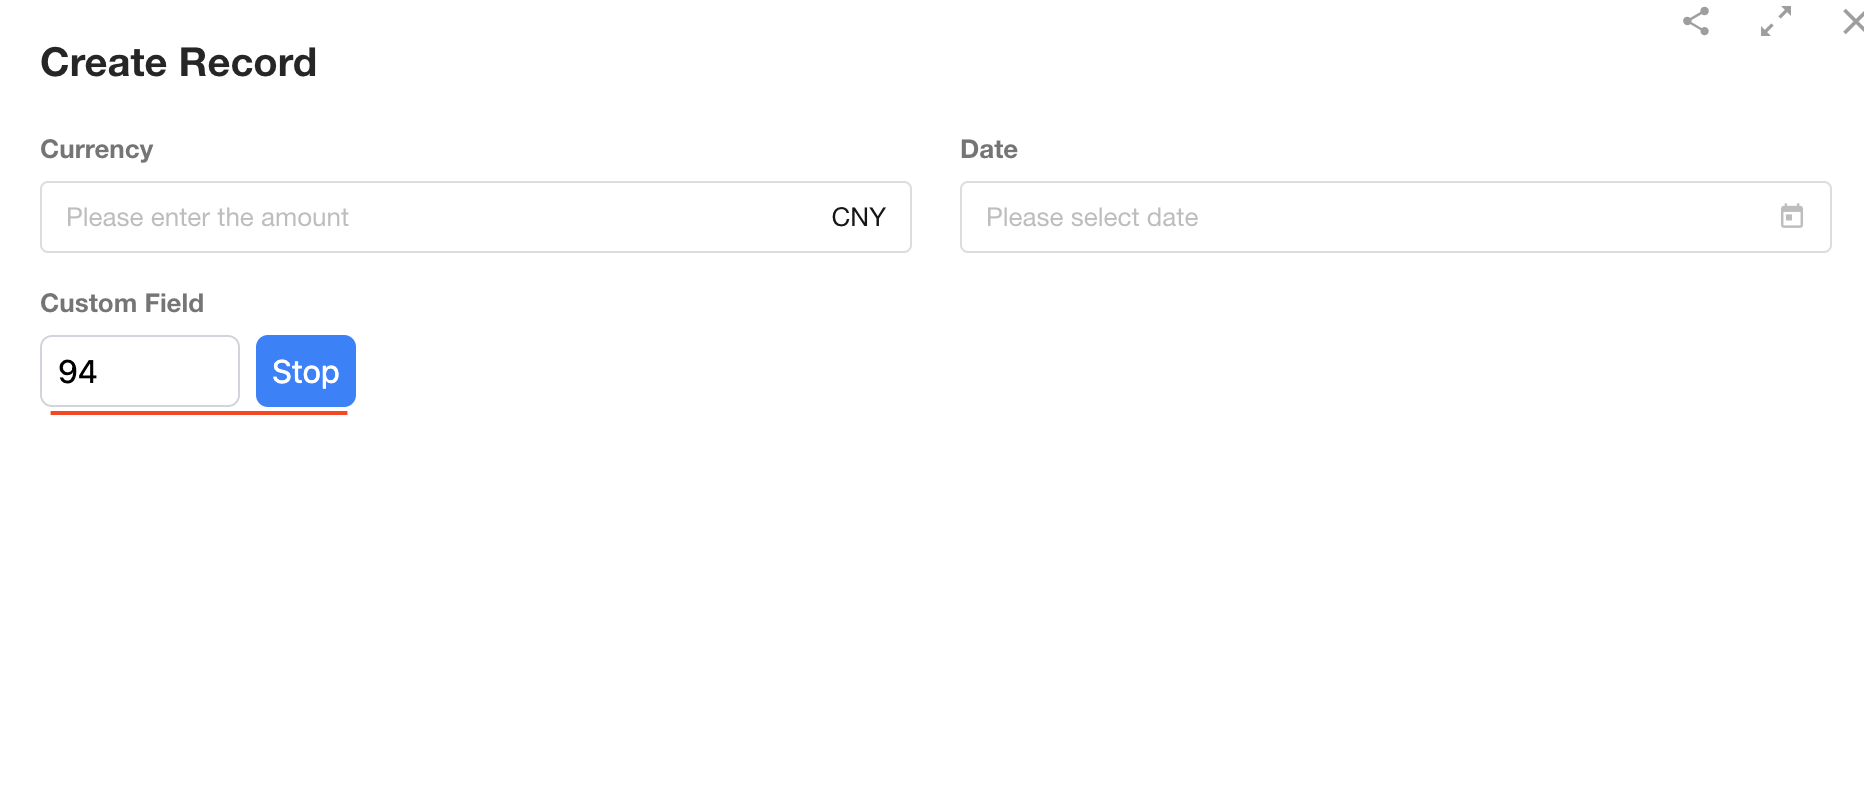
Custom Field
Clicking to add a custom field, users can start conversation with AI to automatically generate code for creating fully customizable controls in terms of both styling and interaction. If you're proficient with React and Tailwind CSS frameworks, you can also write code manually or modify the AI-generated code to implement your custom field.
Instructions
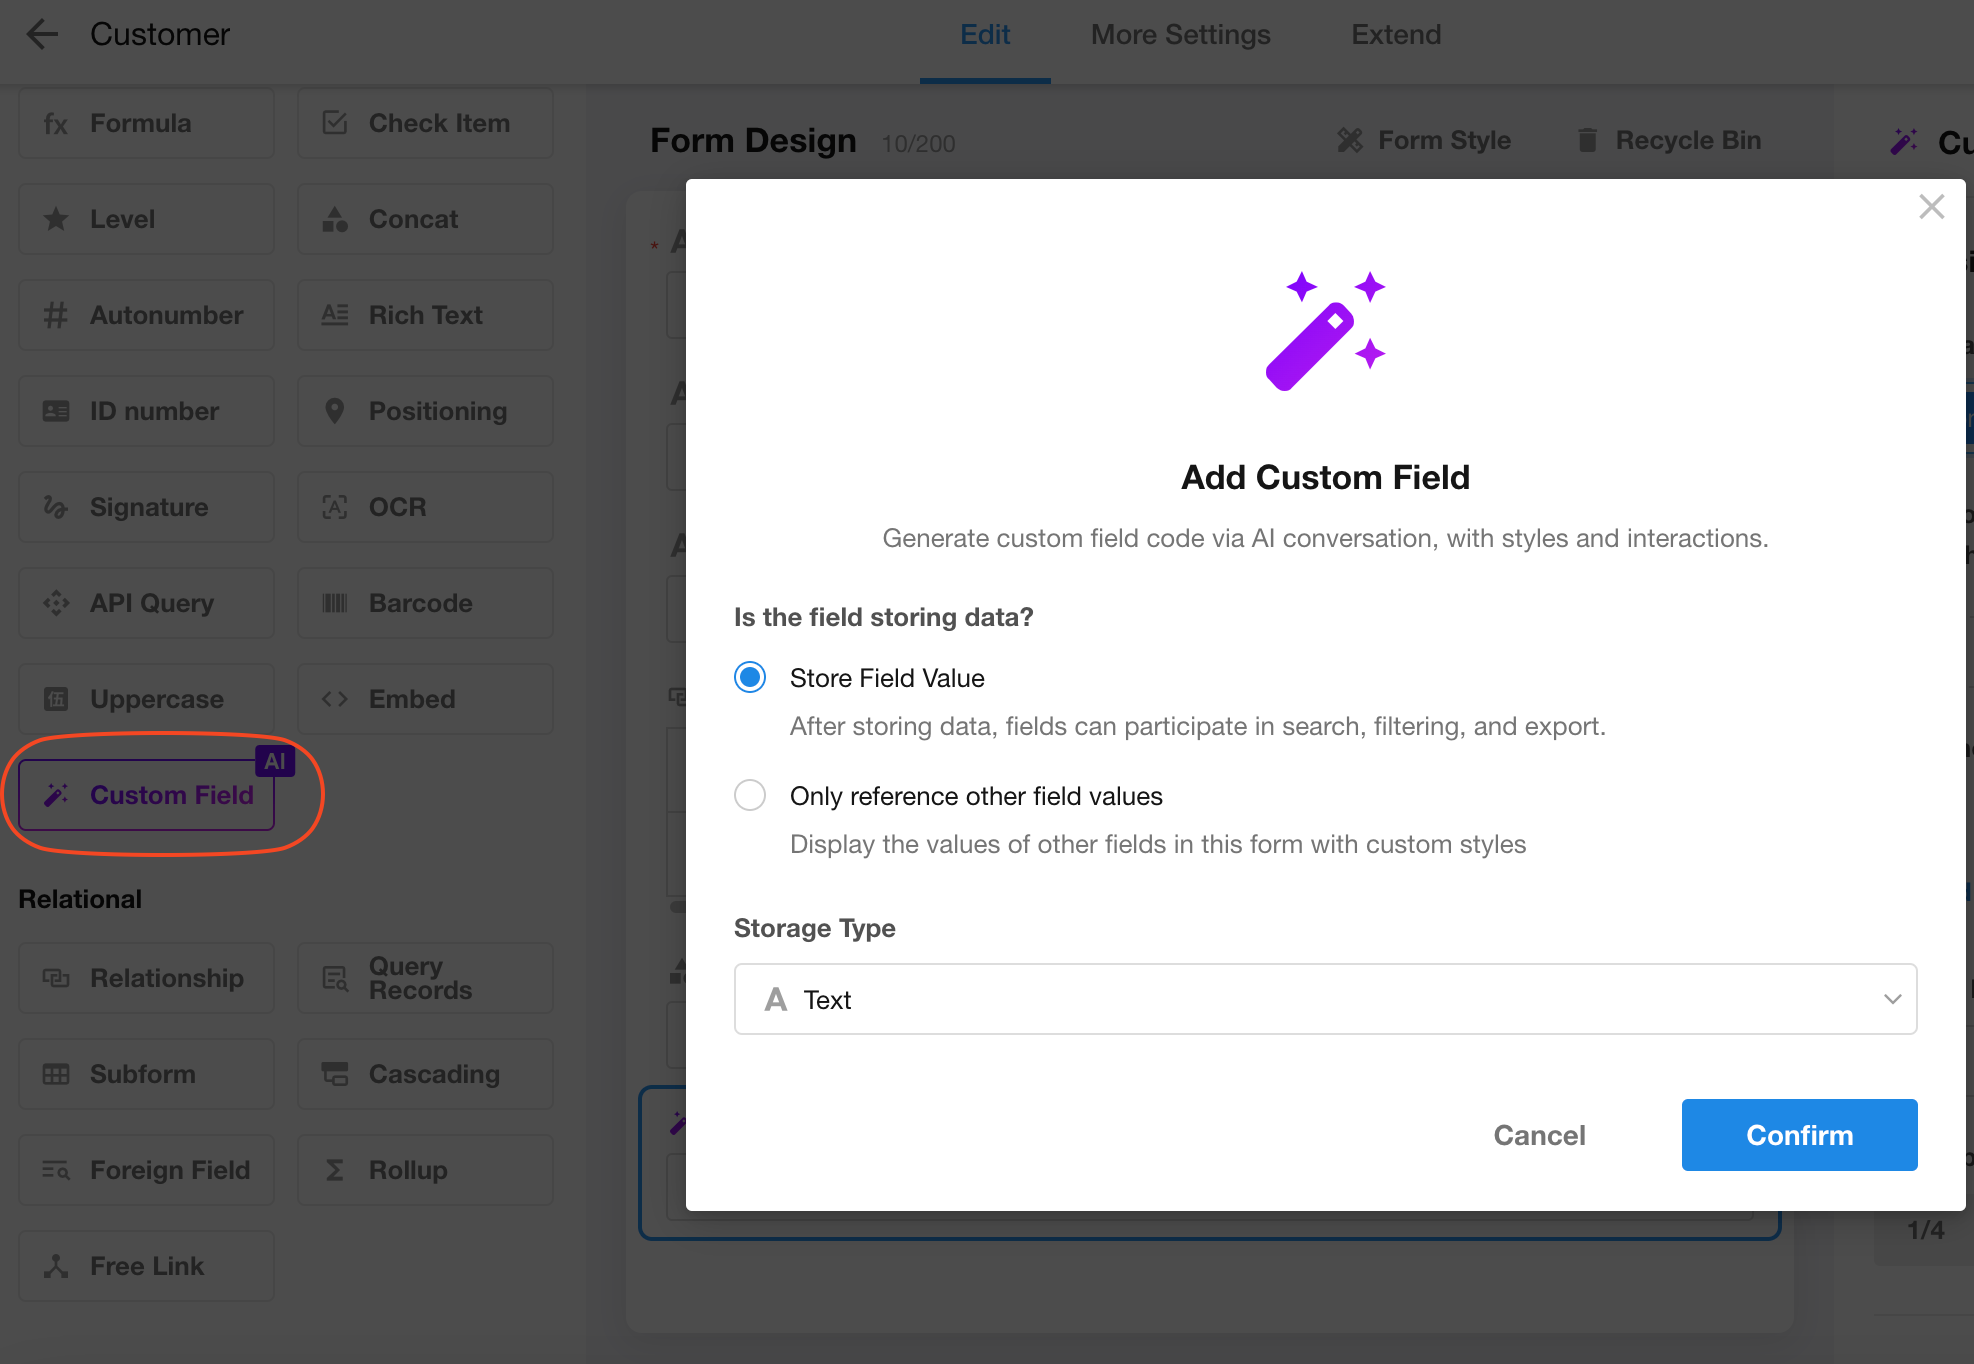
Add a custom field
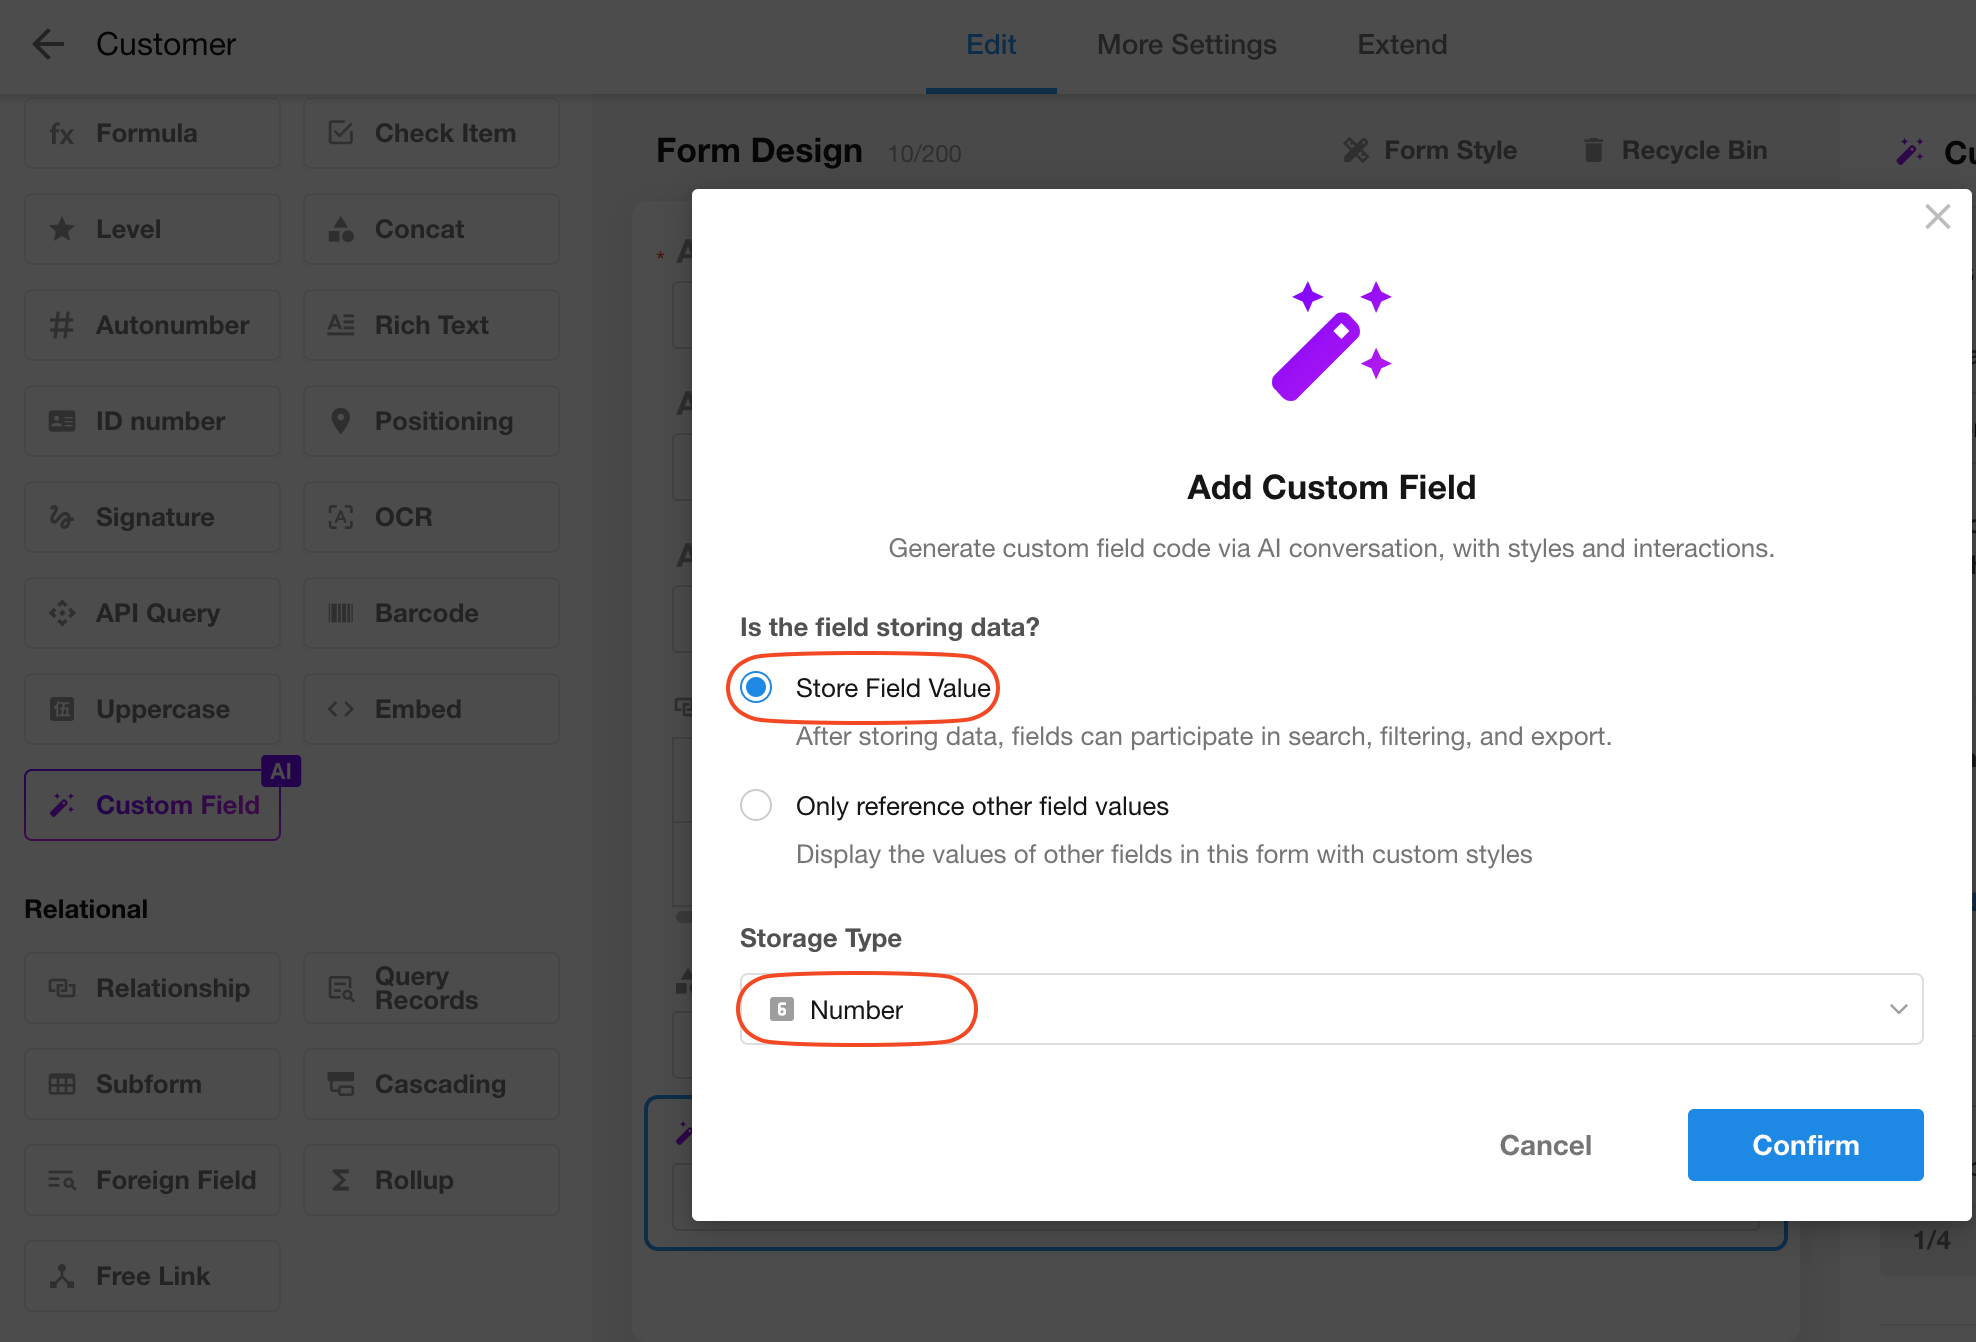
When creating a custom field, you can choose whether to store data in this field. For example:
-
If you want to create a color picker field that saves the color values selected by users, you should select "Store field value";
-
If you want to create a video player that plays online videos from URLs stored in another text field, you don't need to store data, but you'll need to reference the value of that "video URL" field in your custom field for display. In this case, you can choose "Only reference other field values".
Conversation with AI
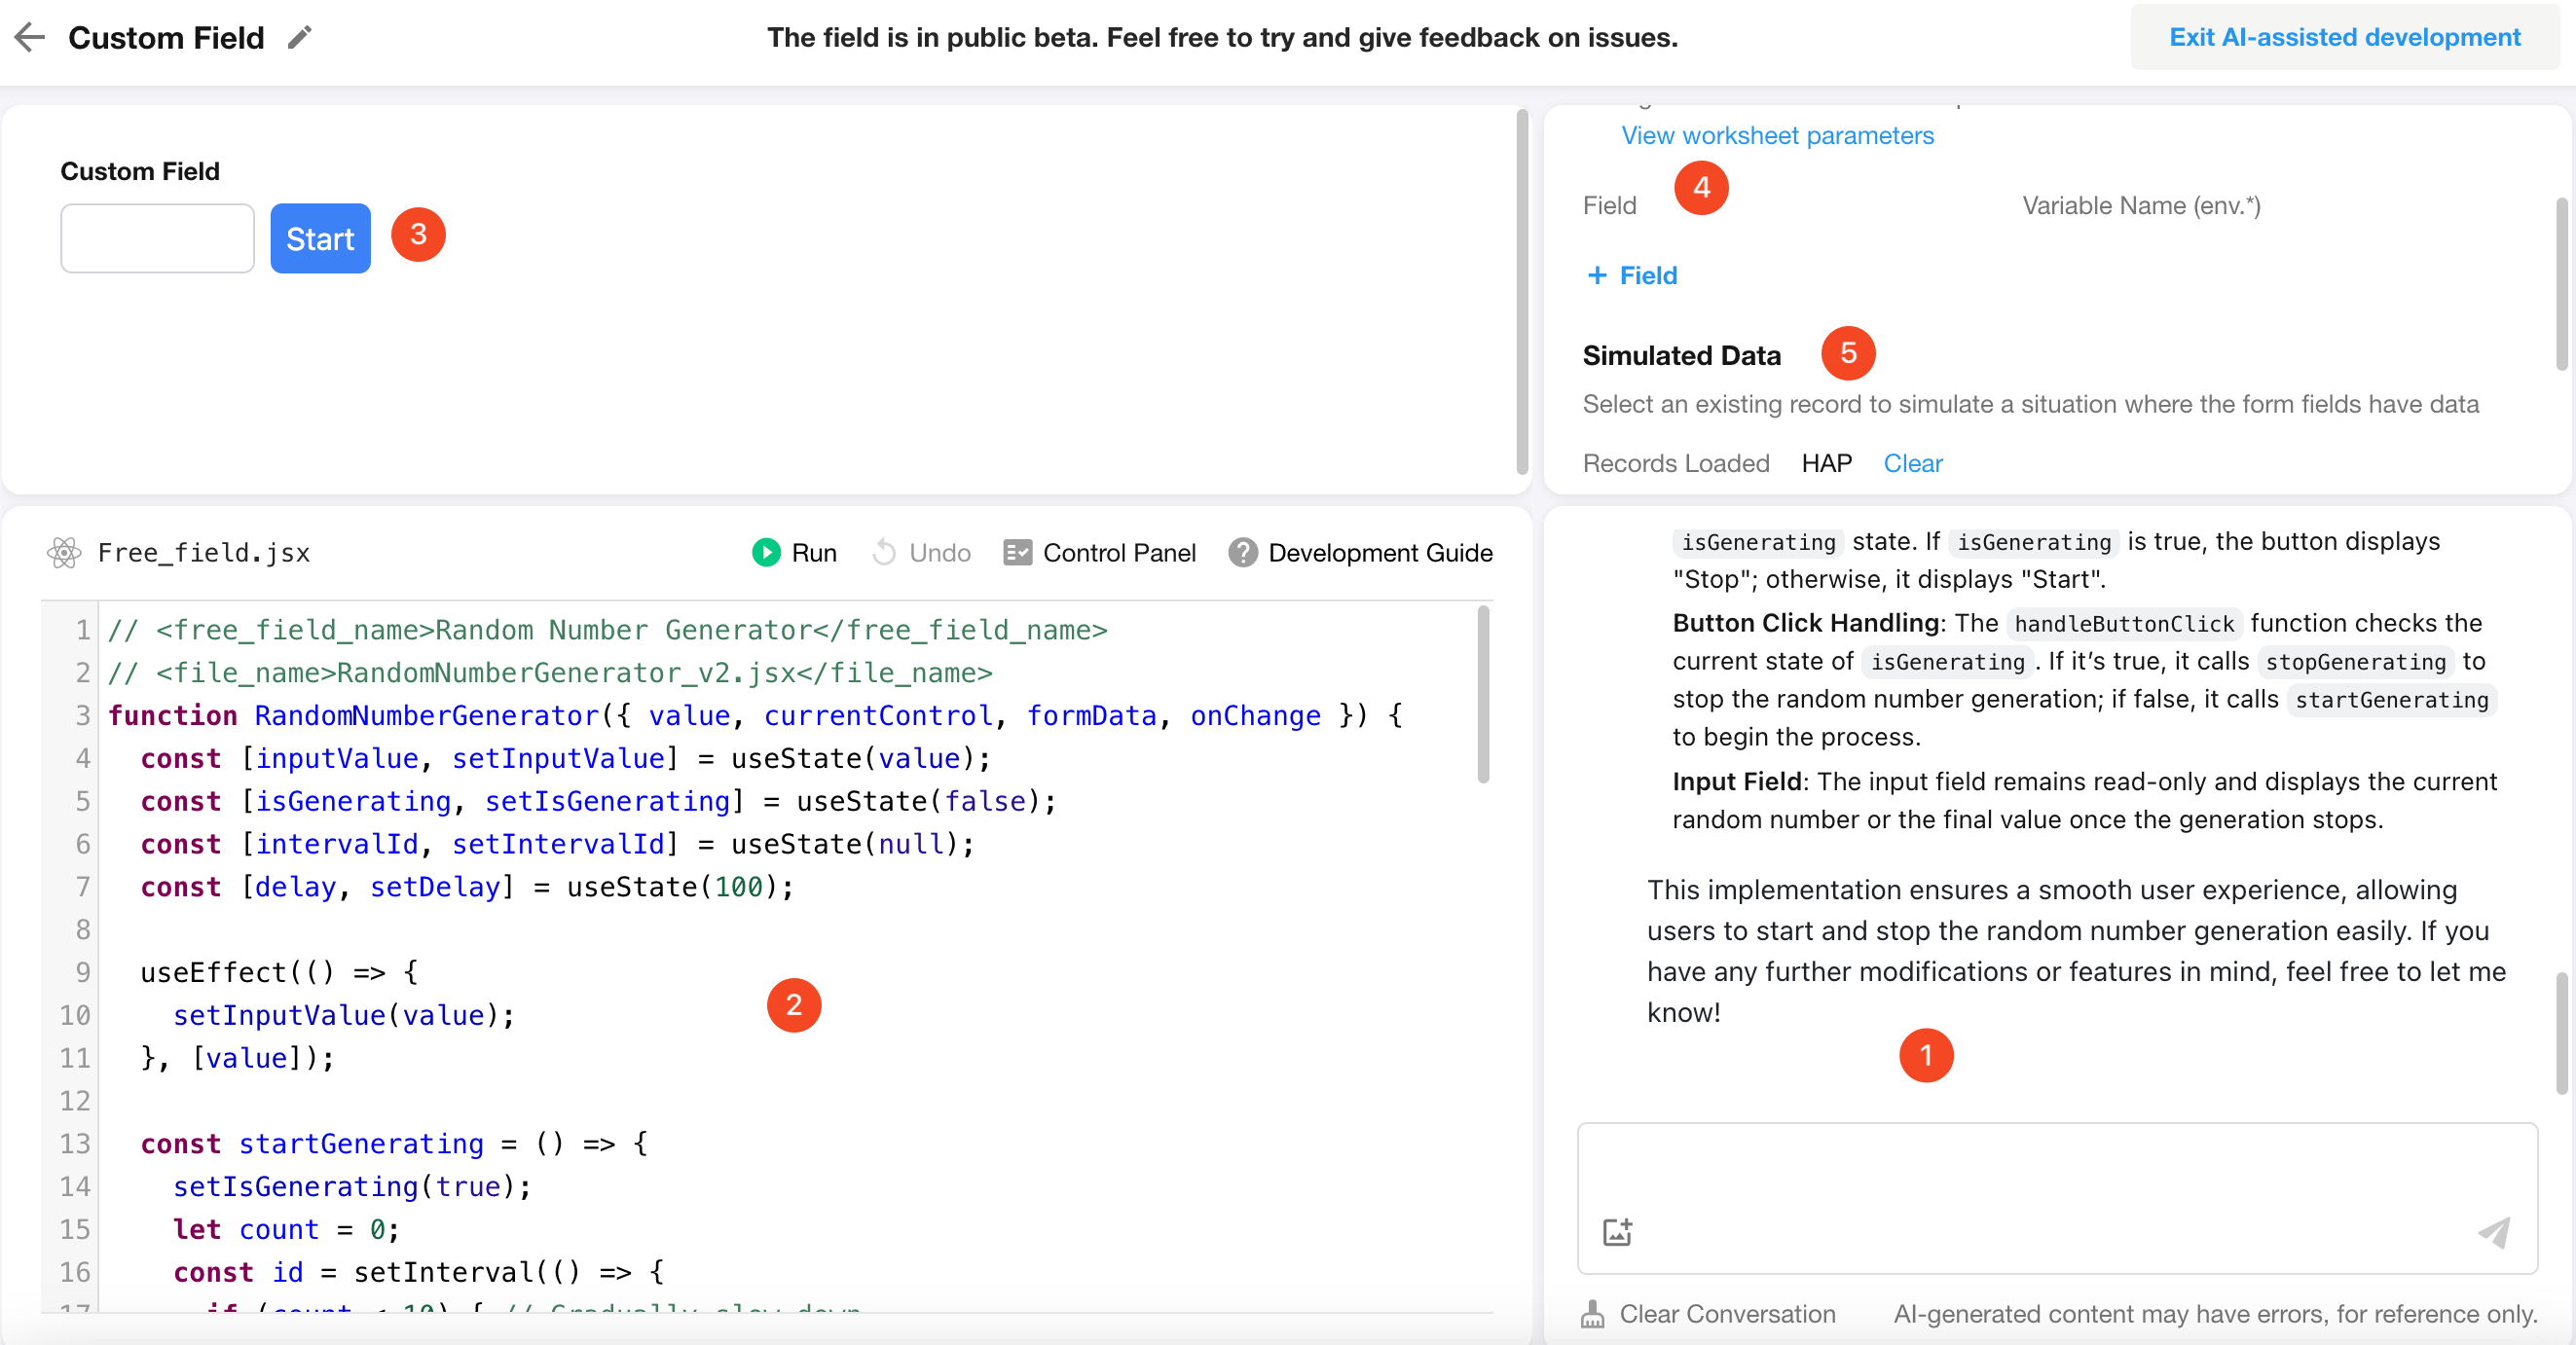
After adding a custom field, it will automatically enter the custom field editor with the following 5 sections:
-
Conversation Area: Have conversations with AI here to describe your requirements for the field's styling, layout and interaction;
-
Code Editor: After receiving proper instructions, AI will automatically generate frontend code here. You can also manually modify the code and run it. If there are code errors, you can open the "Control Panel" to view error messages or ask AI to fix them;
-
Field Preview Area: The AI will automatically run the generated code and display the field's styling and interactive effects here. If you modify the code, click the "Run" button in the editor to preview;
-
Reference Field Area: Here you can add other fields from this form as environment parameters. In your code, you can use formData[env.fieldVariableName] to get the value of that field for use in your custom field;
-
Simulate Data Area: When referencing other fields, you can load an existing record here so the preview will show the field styling with actual data. You can also simulate mobile view and read-only states here, making it easier to design and develop how the field appears under various conditions.
In most cases, simple requirements can be fulfilled without manual code modification, just by conversing with AI. If unsatisfied with the field preview, you can continue the conversation to have AI modify, refine, and debug the code. Note that this lightweight online coding solution doesn't support third-party libraries.
To have AI generate satisfactory custom fields in one or few conversation rounds, it's recommended to provide as specific and detailed descriptions as possible. Below shows two approaches for the same requirement:
First description (not recommended)
Generate a video player that can play mp4 files from the video URL field.
Second description (recommended)
Generate a video player that plays videos from the video URL field. The player should fill the viewable area completely without scrollbars, have black background with slightly rounded corners. Videos should automatically scale to fit while preserving aspect ratio. When the URL doesn't end with .mp4, display 'No loadable video URL' centered in the player.
Clearly, the second description can help yield faster and more accurate results matching your desired styling and functionality, while the first would likely require multiple conversation rounds to reach the same standard.
Exit AI-assisted Development
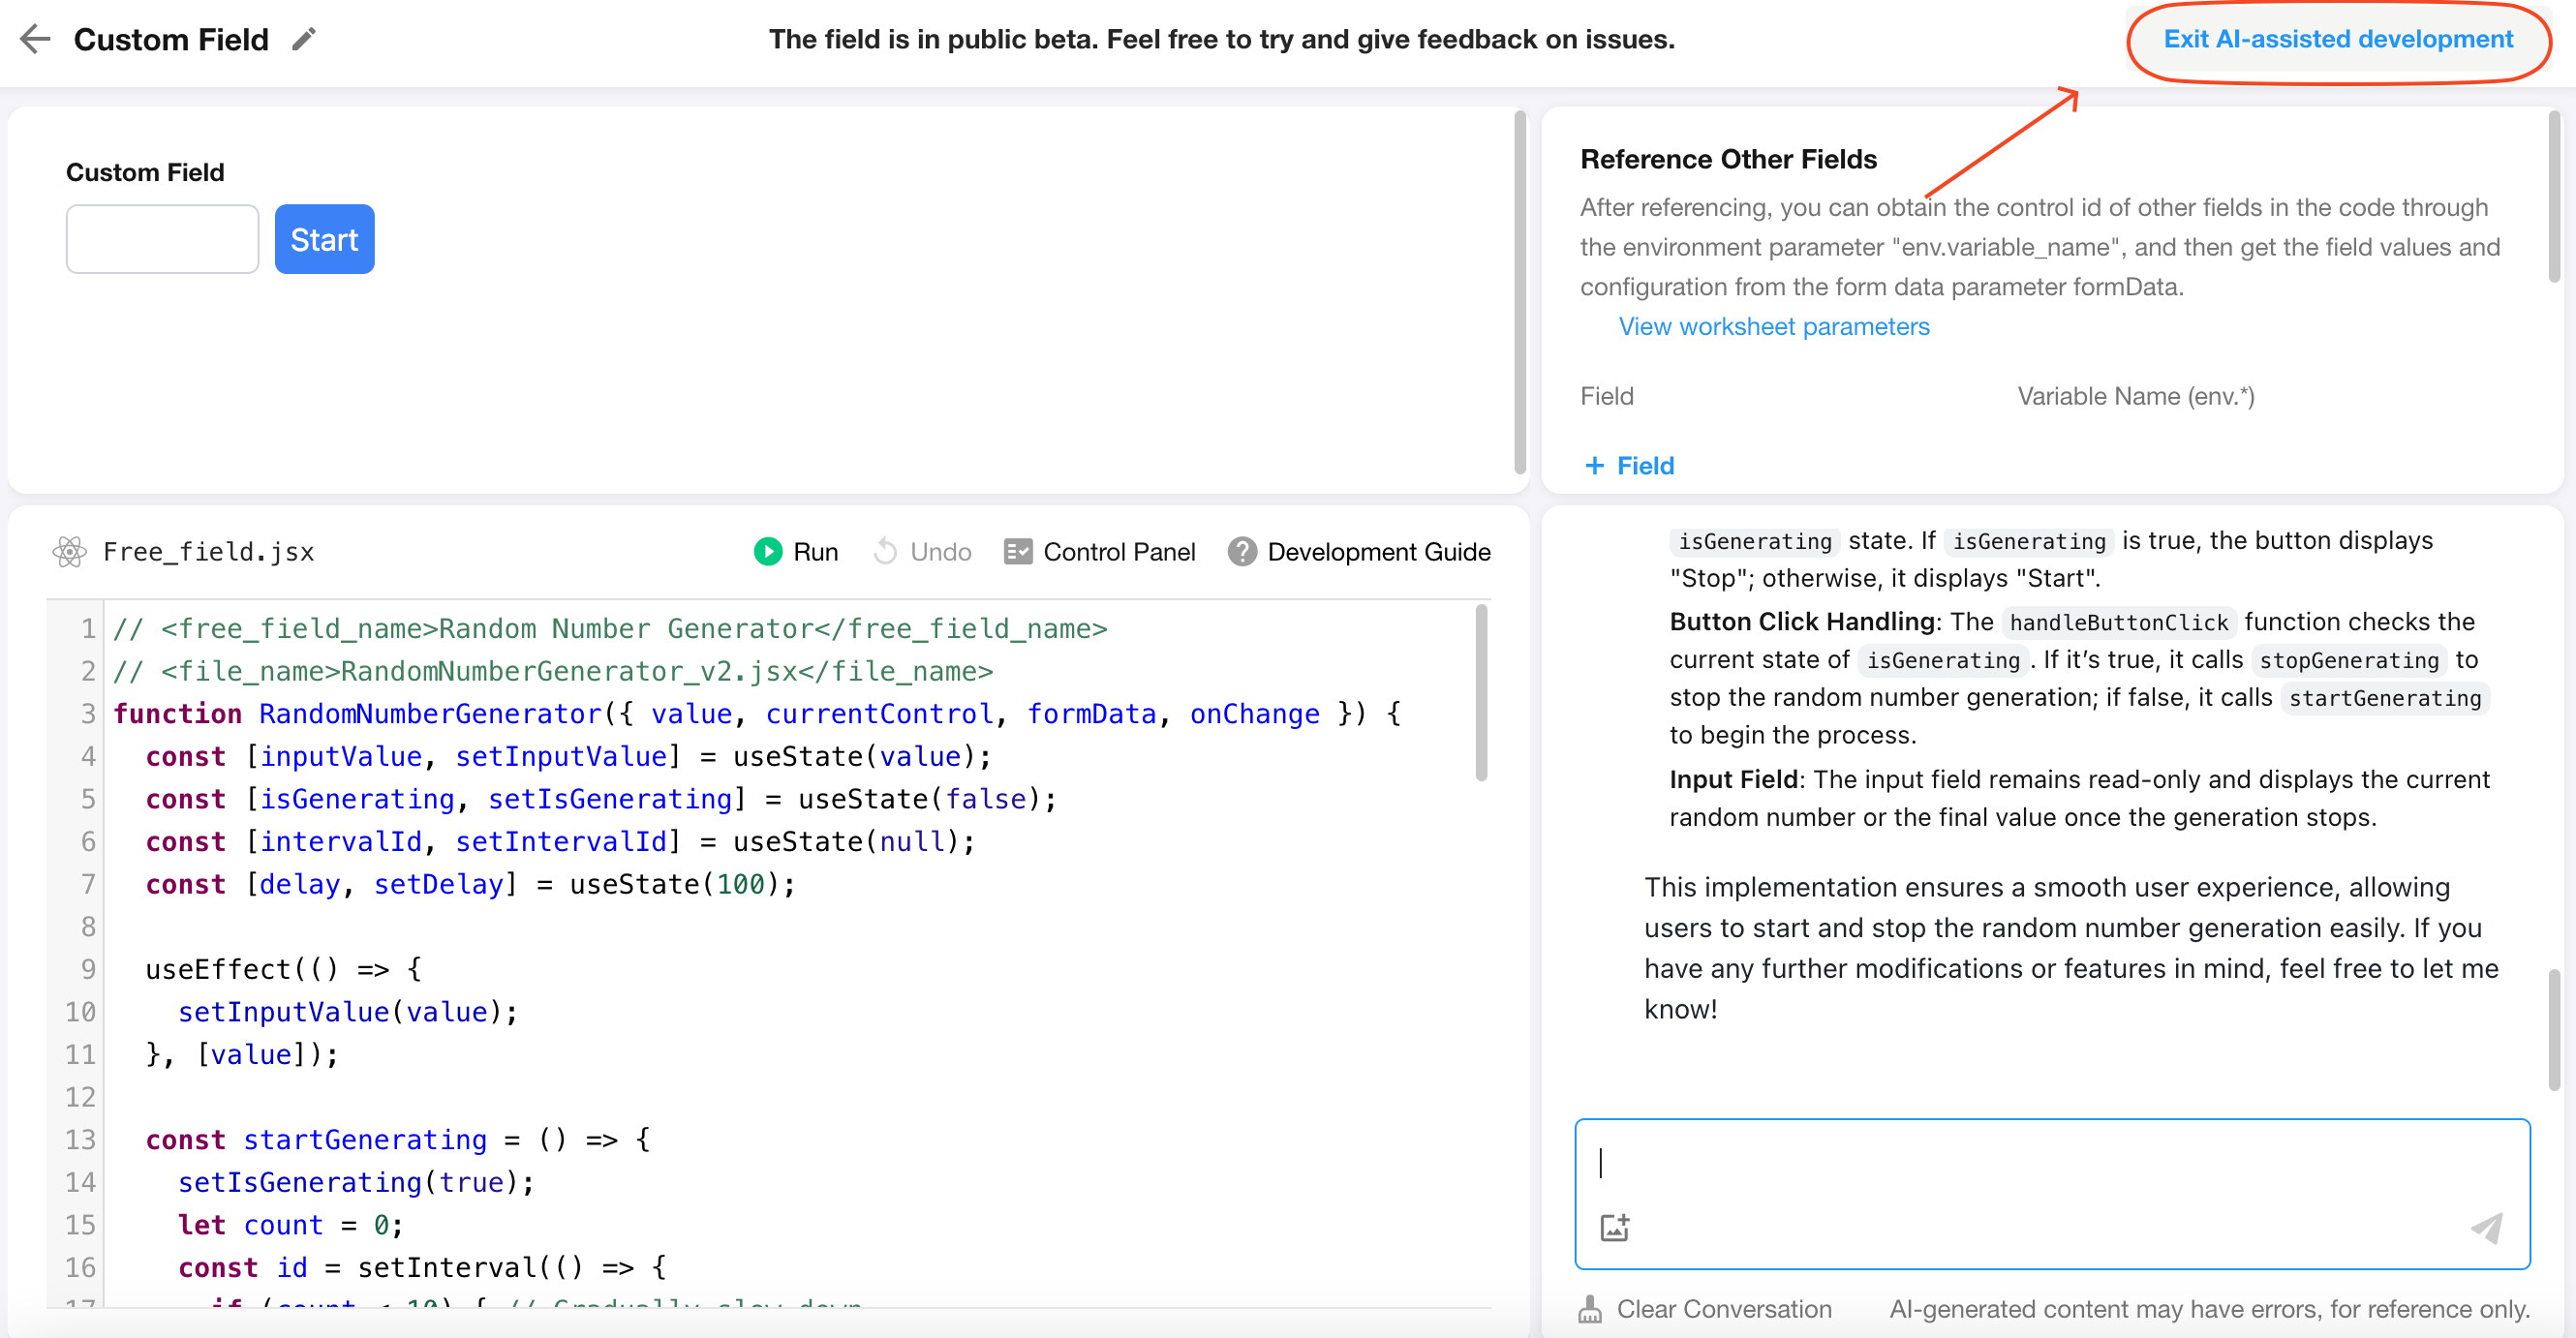
After completing code editing, click the "Exit AI-assisted Development" button, then save the form settings.
Example
Create a random number generator
Field type: Number field
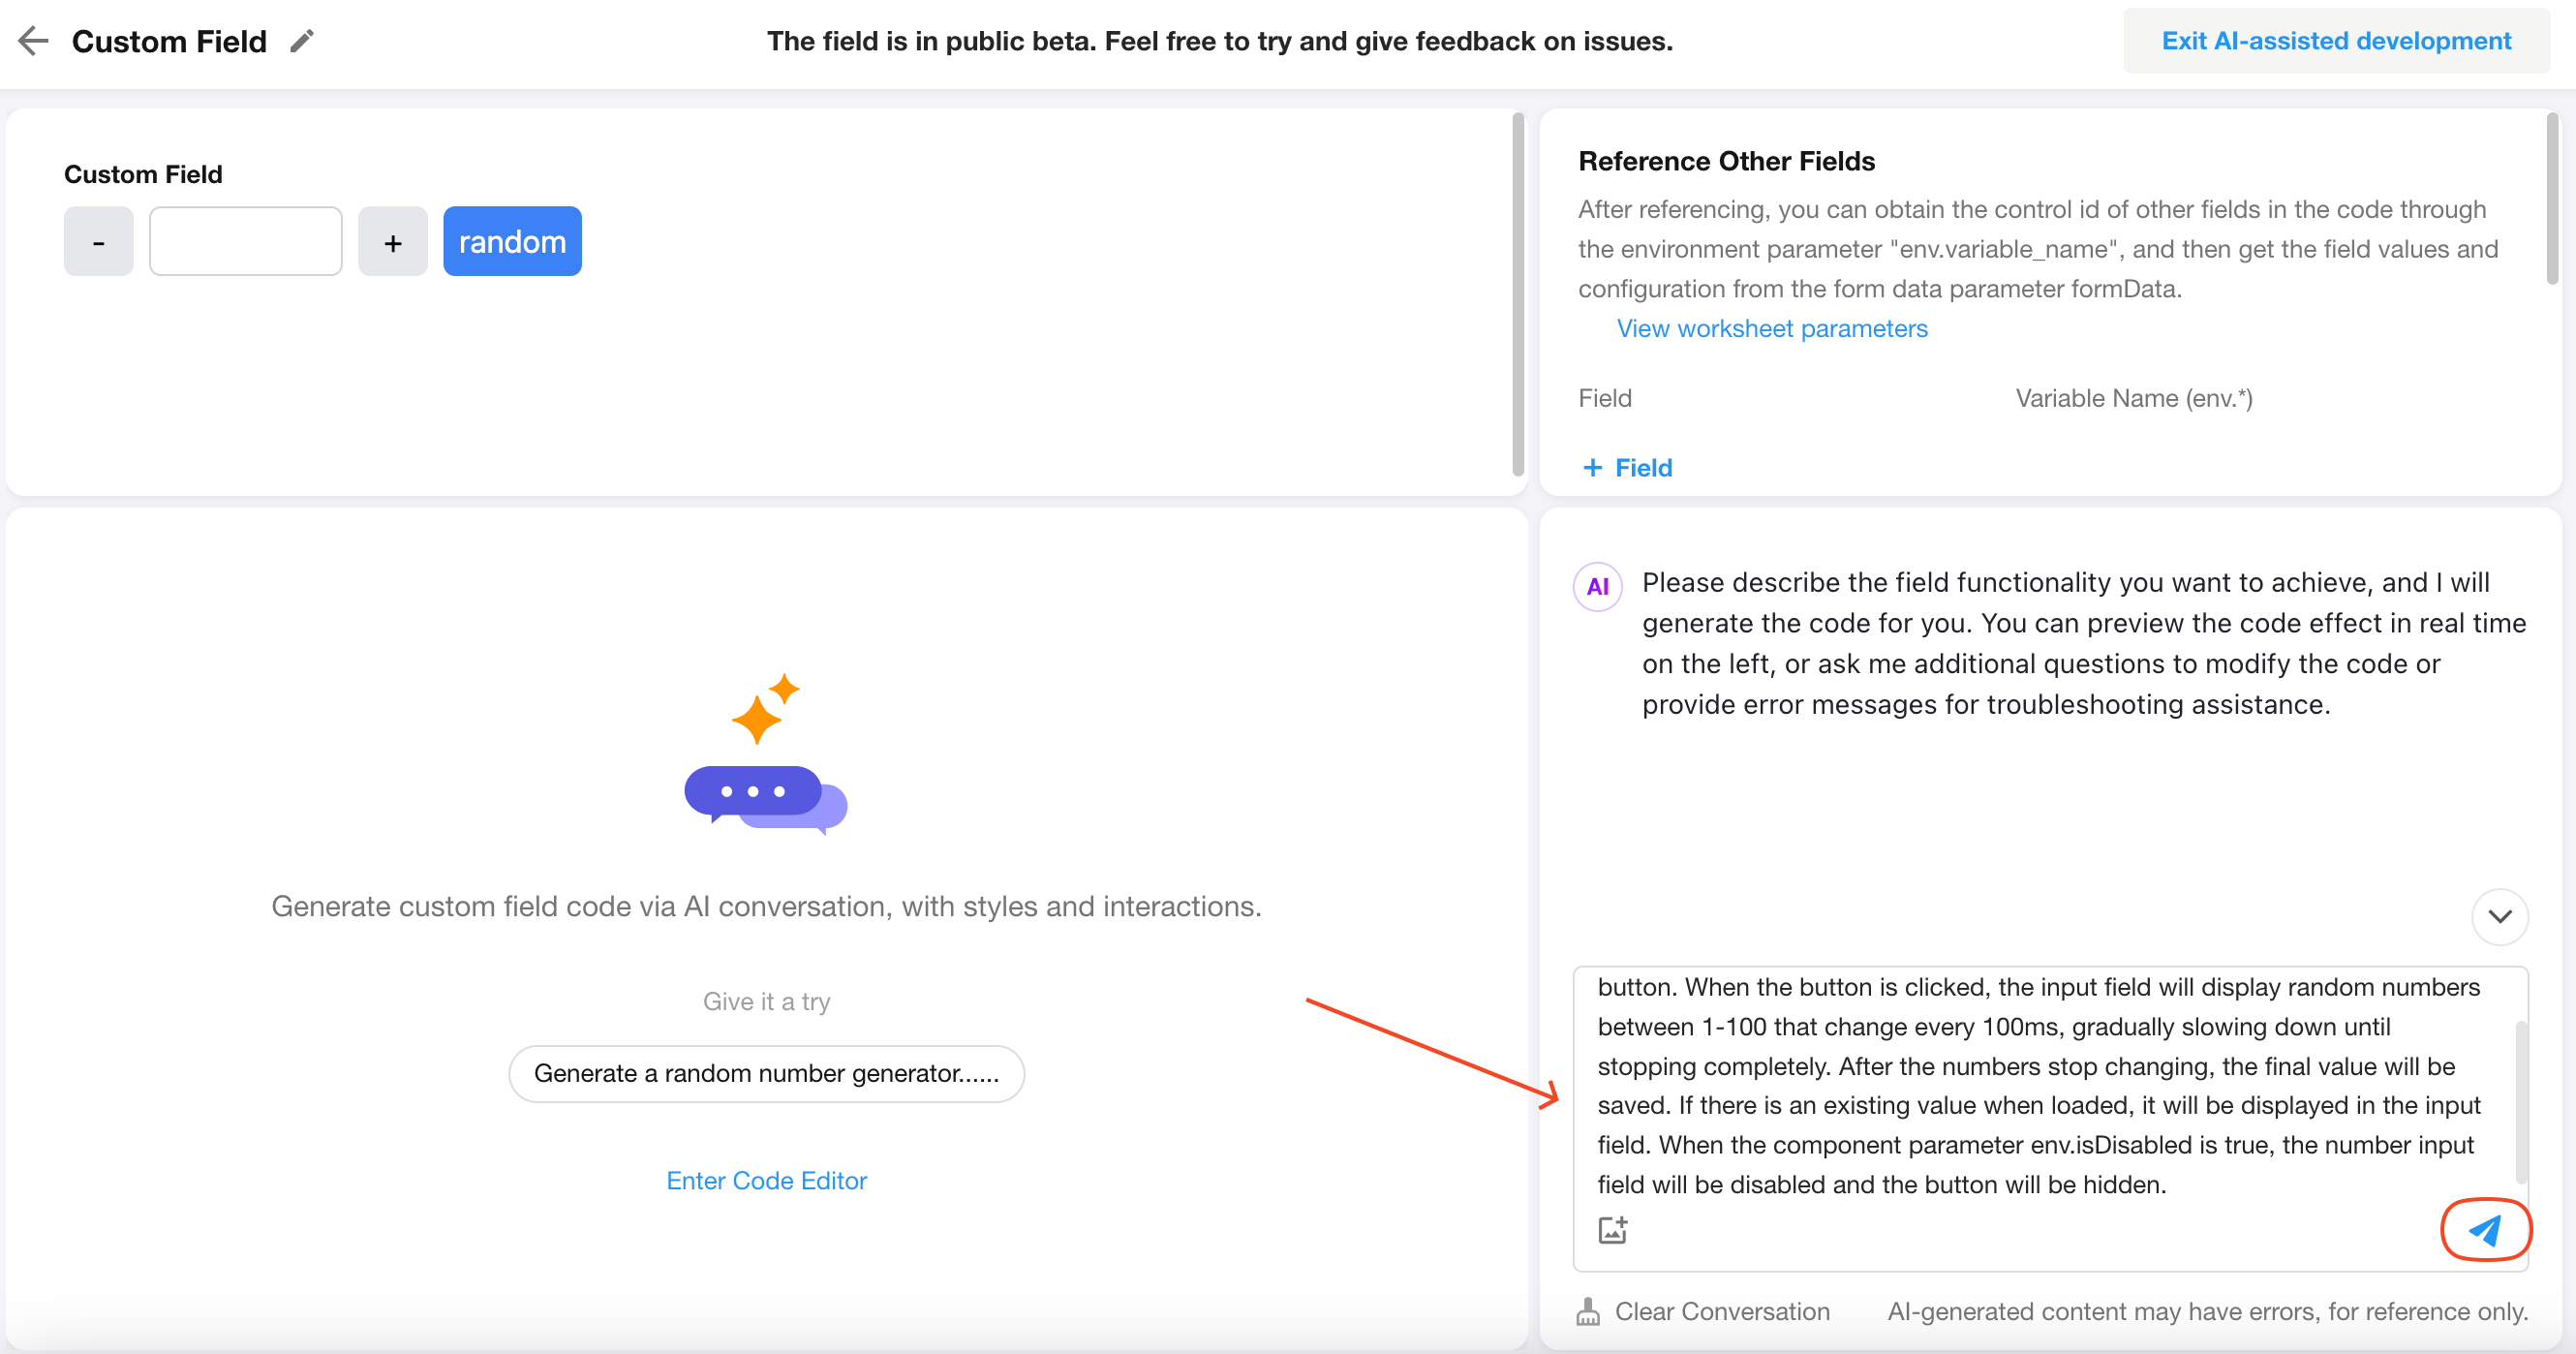
Prompt: Create a random number generator containing a number input field and a button. When the button is clicked, the input field will display random numbers between 1-100 that change every 100ms, gradually slowing down until stopping completely. After the numbers stop changing, the final value will be saved. If there is an existing value when loaded, it will be displayed in the input field. When the component parameter env.isDisabled is true, the number input field will be disabled and the button will be hidden.
Demo:
-
Add a custom field, select "Number" type and "Store field data".
-
Paste the provided prompt into the conversation box and press Enter.
-
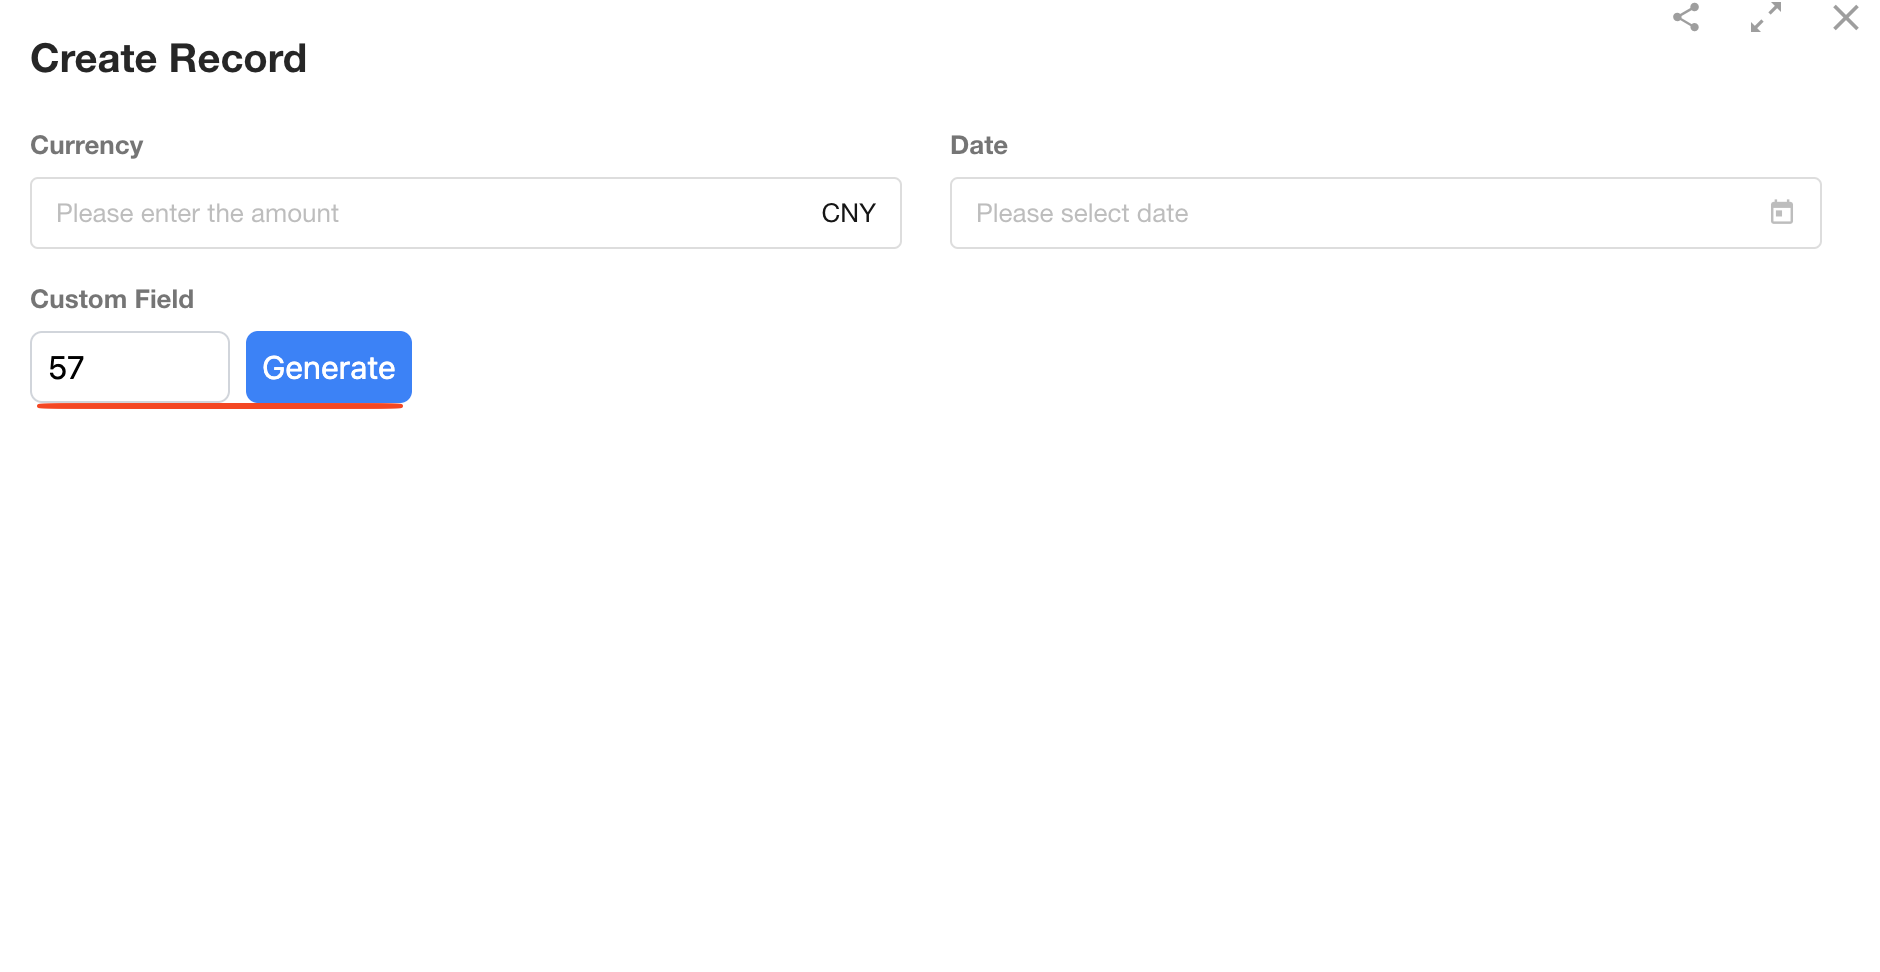
After code generation, exit AI-assisted development and save form settings, then create a record to test
-
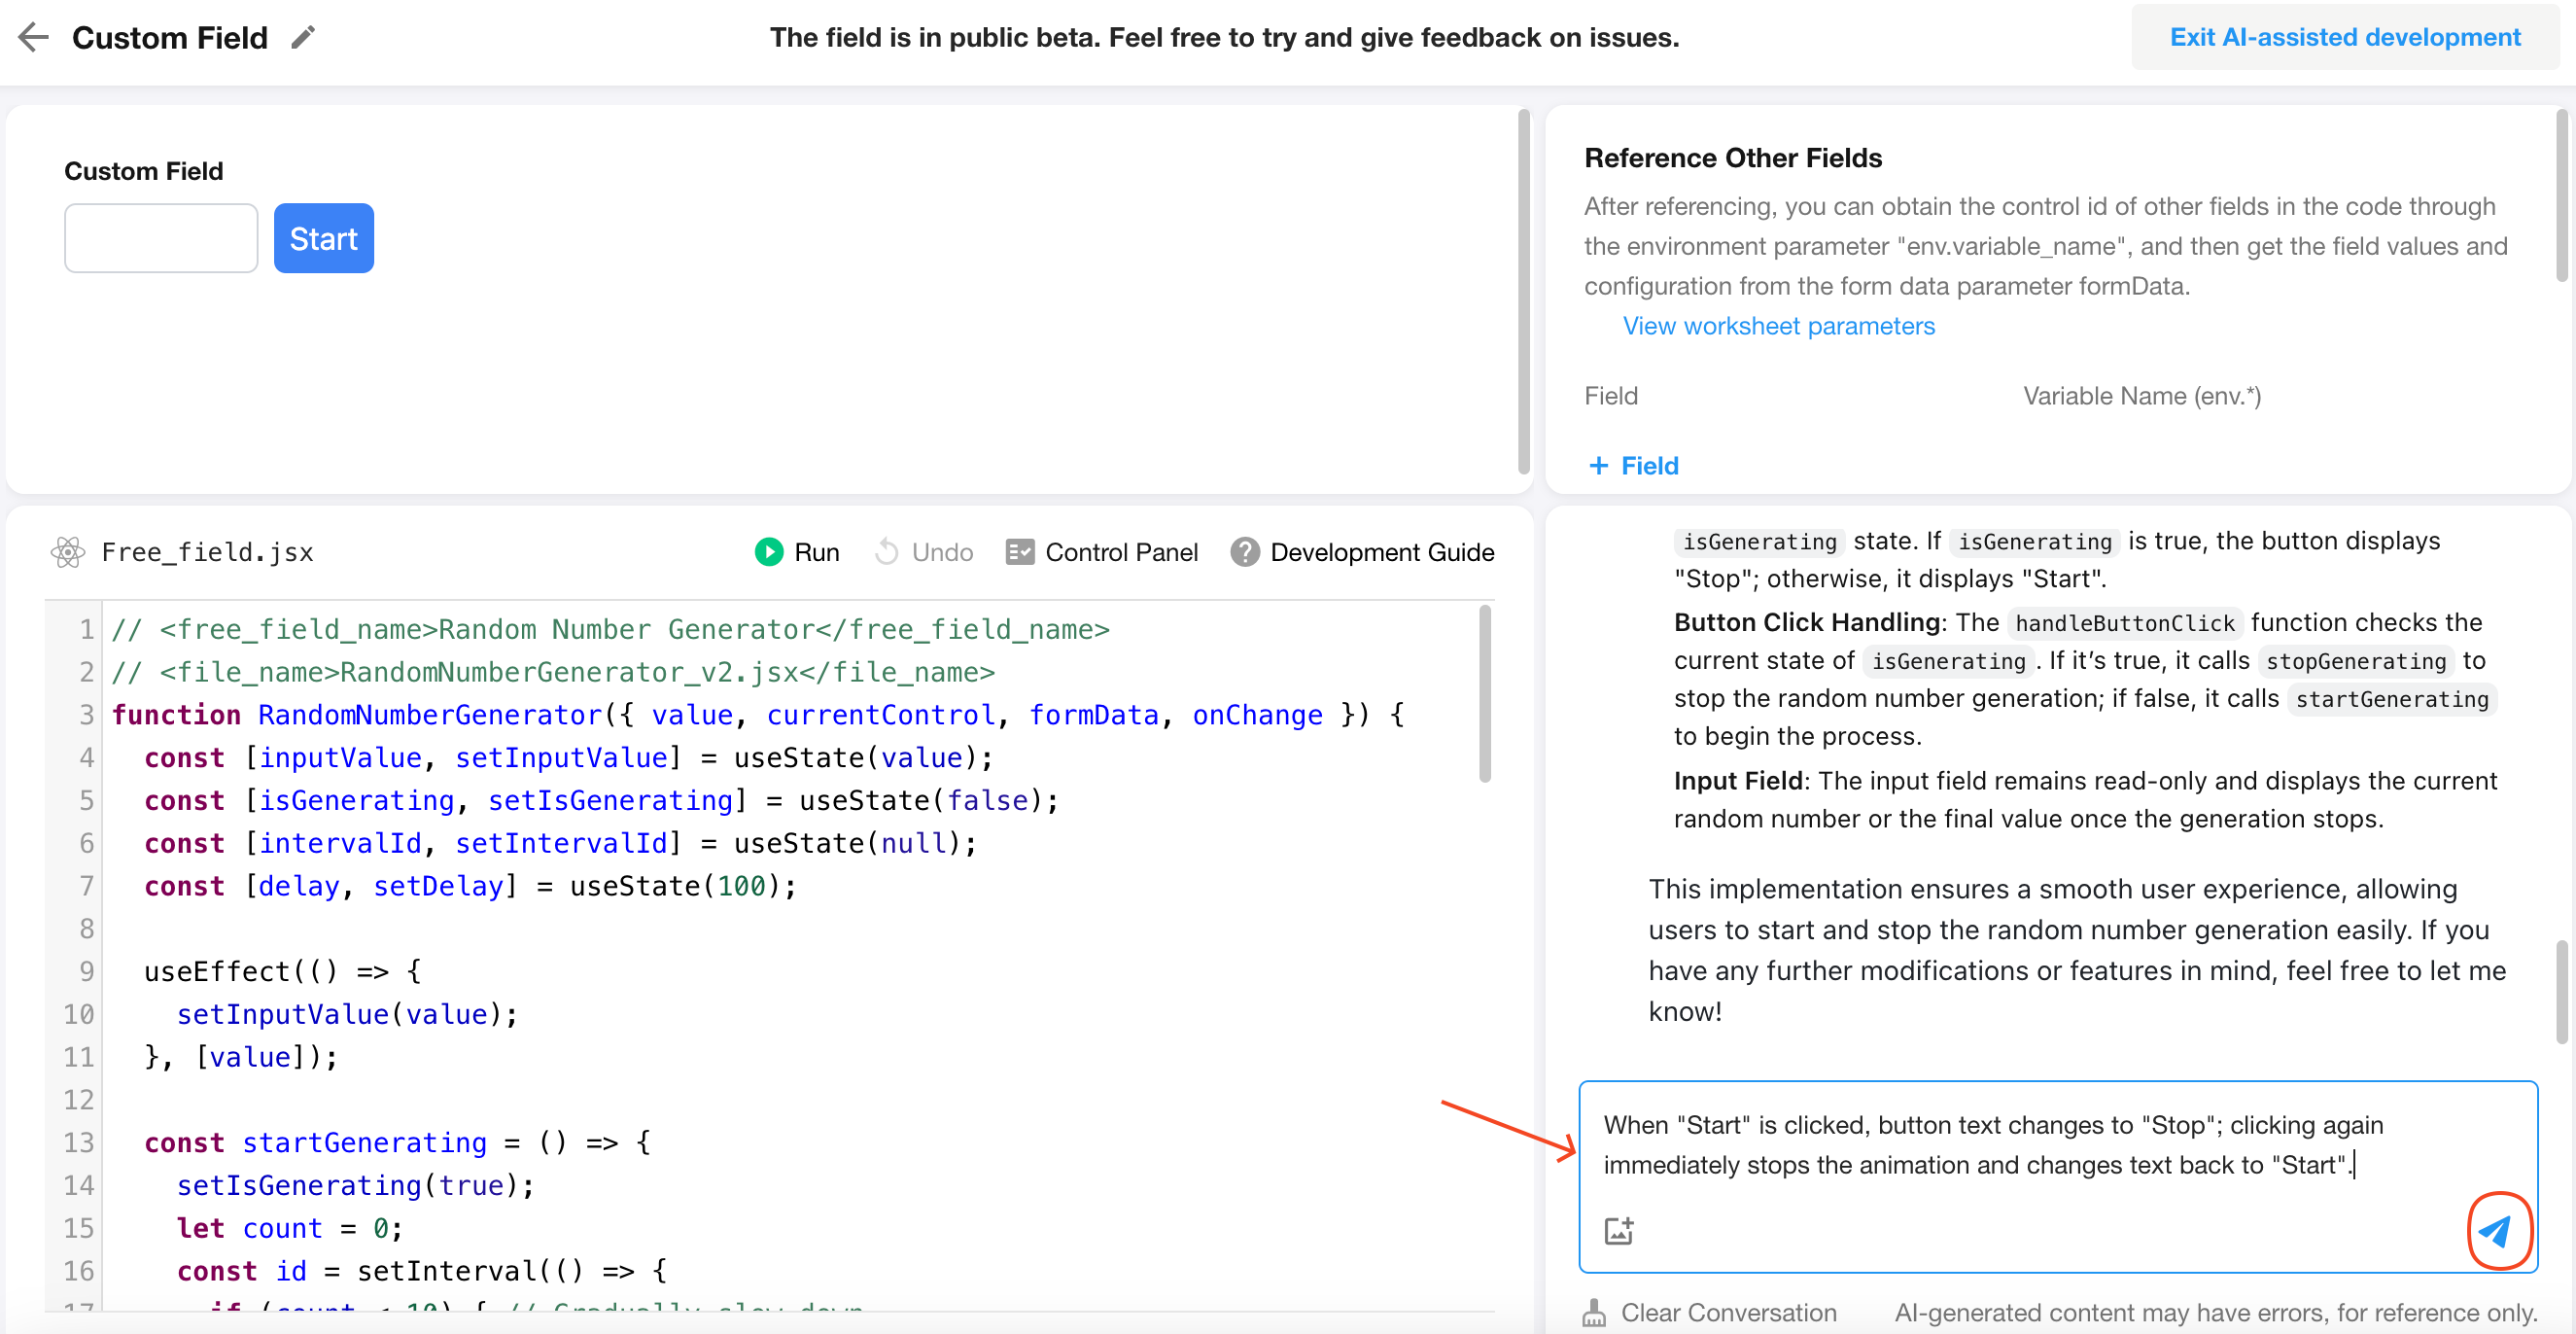
Refine the code: When "Start" is clicked, button text changes to "Stop"; clicking again immediately stops the animation and changes text back to "Start".
Send this description to AI to adjust the code.
-
Exit AI-assisted development and save the form, then create a record to test.
