Node - Get Link
Node Function: This node allows you to generate either an internal link or a public link to a record. Public links let users view or even edit specified fields without logging in. Internal links require the user to log in and have permission to view or edit the record.
Example Use Case
1. Share Link (Read-Only View):
A payroll worksheet stores each employee’s monthly salary details. On payday, HR can send each employee a link to their own record. The employee can view all salary details but cannot make changes, replacing paper payslips.
2. Internal Link (Login Required):
An employee profile worksheet stores personnel records. When personal information needs updating, HR sends the employee their record link via email or SMS. The employee logs in and edits their own profile directly.
3. Editable Link (Submit Feedback):
A ticket worksheet stores customer feedback.
When an issue is resolved, customer service sends the customer a link to the ticket record. The customer can view the ticket and fill in a “Rating” field to provide feedback.
Workflow Configuration
The following example demonstrates Scenario 3 (editable link).
When the ticket status is marked as Resolved, the system sends a link to the record (via email or SMS) to the customer. The customer can then rate the ticket by editing the Rating field.
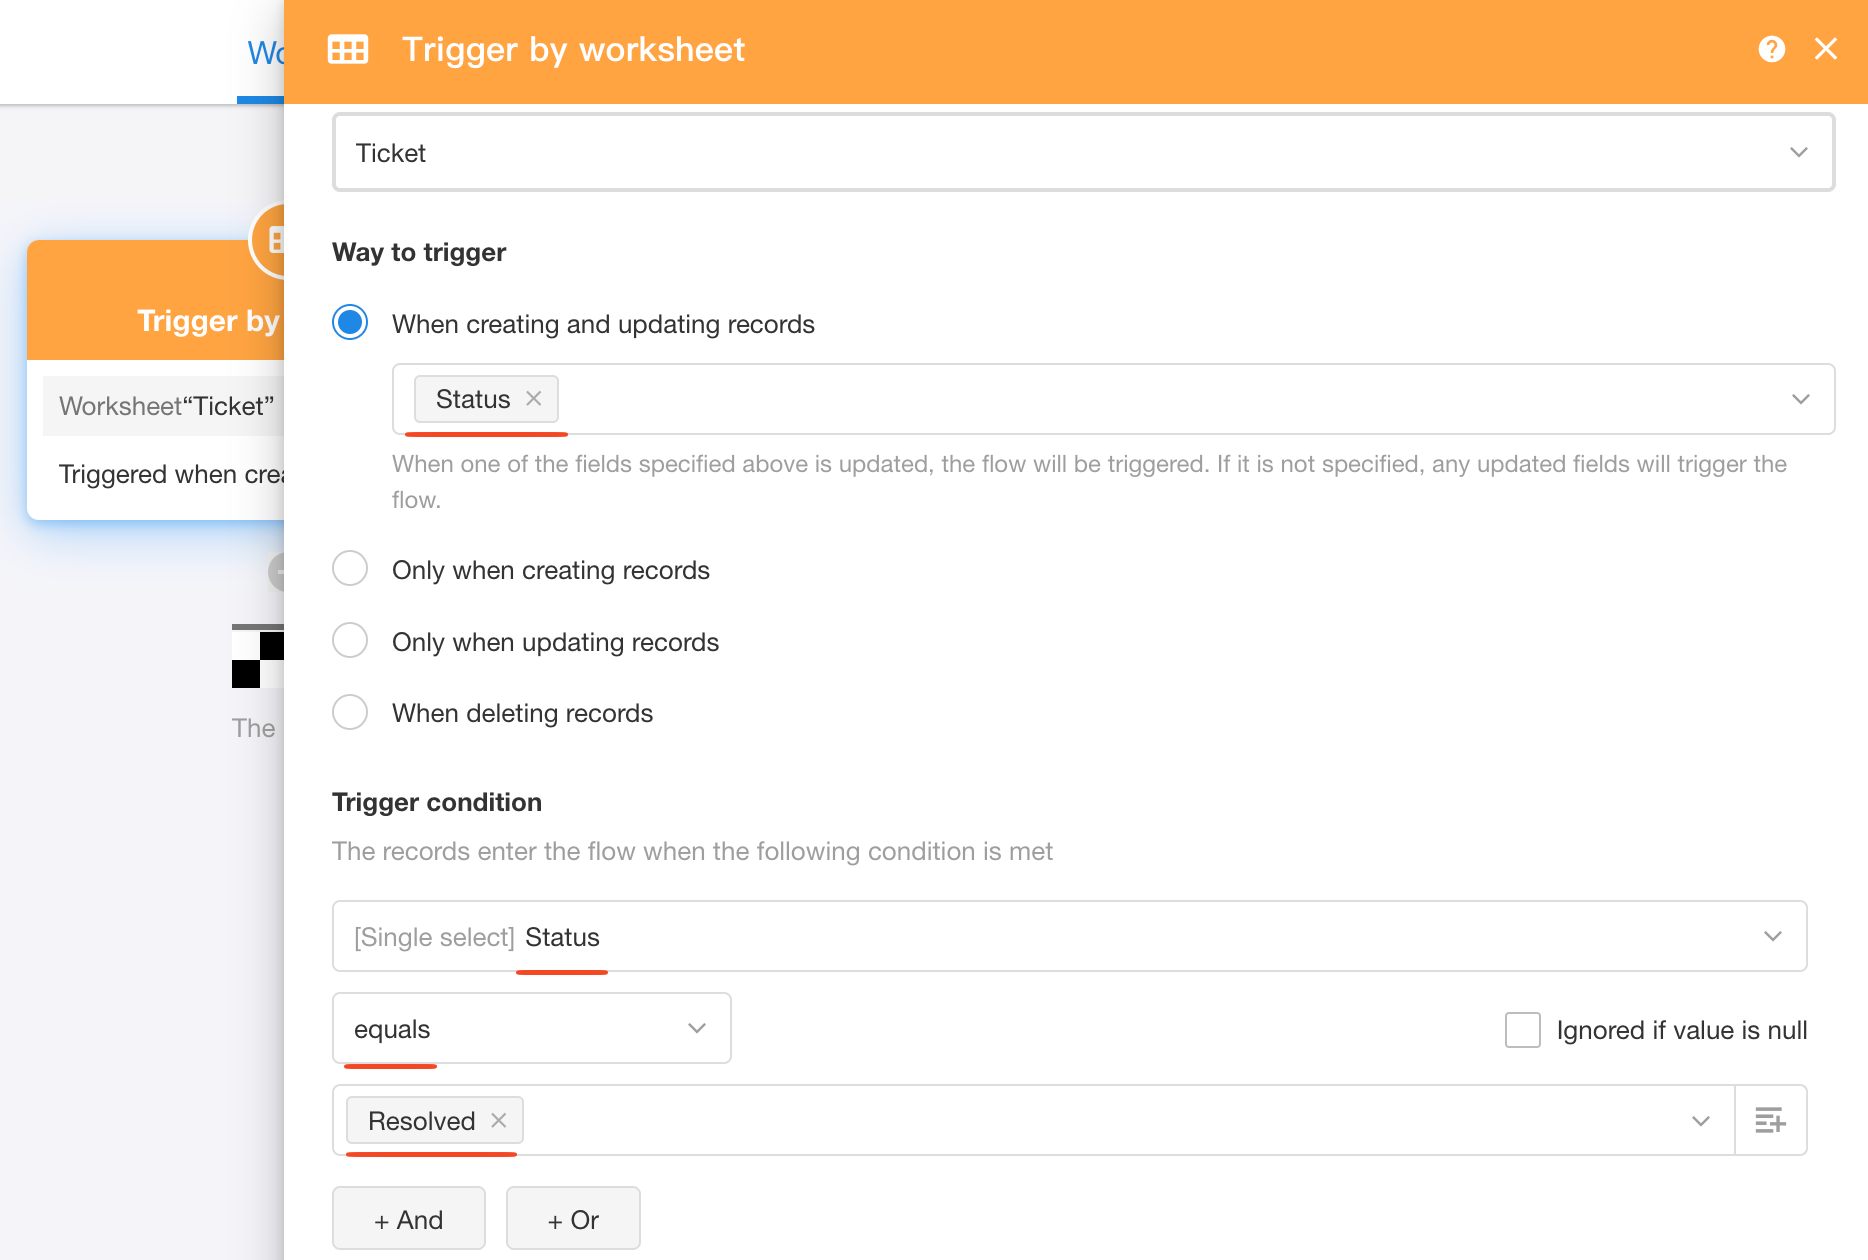
1. Configure Trigger Node
Create a workflow triggered by a worksheet event. Select the Status field as the trigger field, and configure the workflow to trigger only when the status is Resolved.
2. Add and Configure the "Get Link" Node
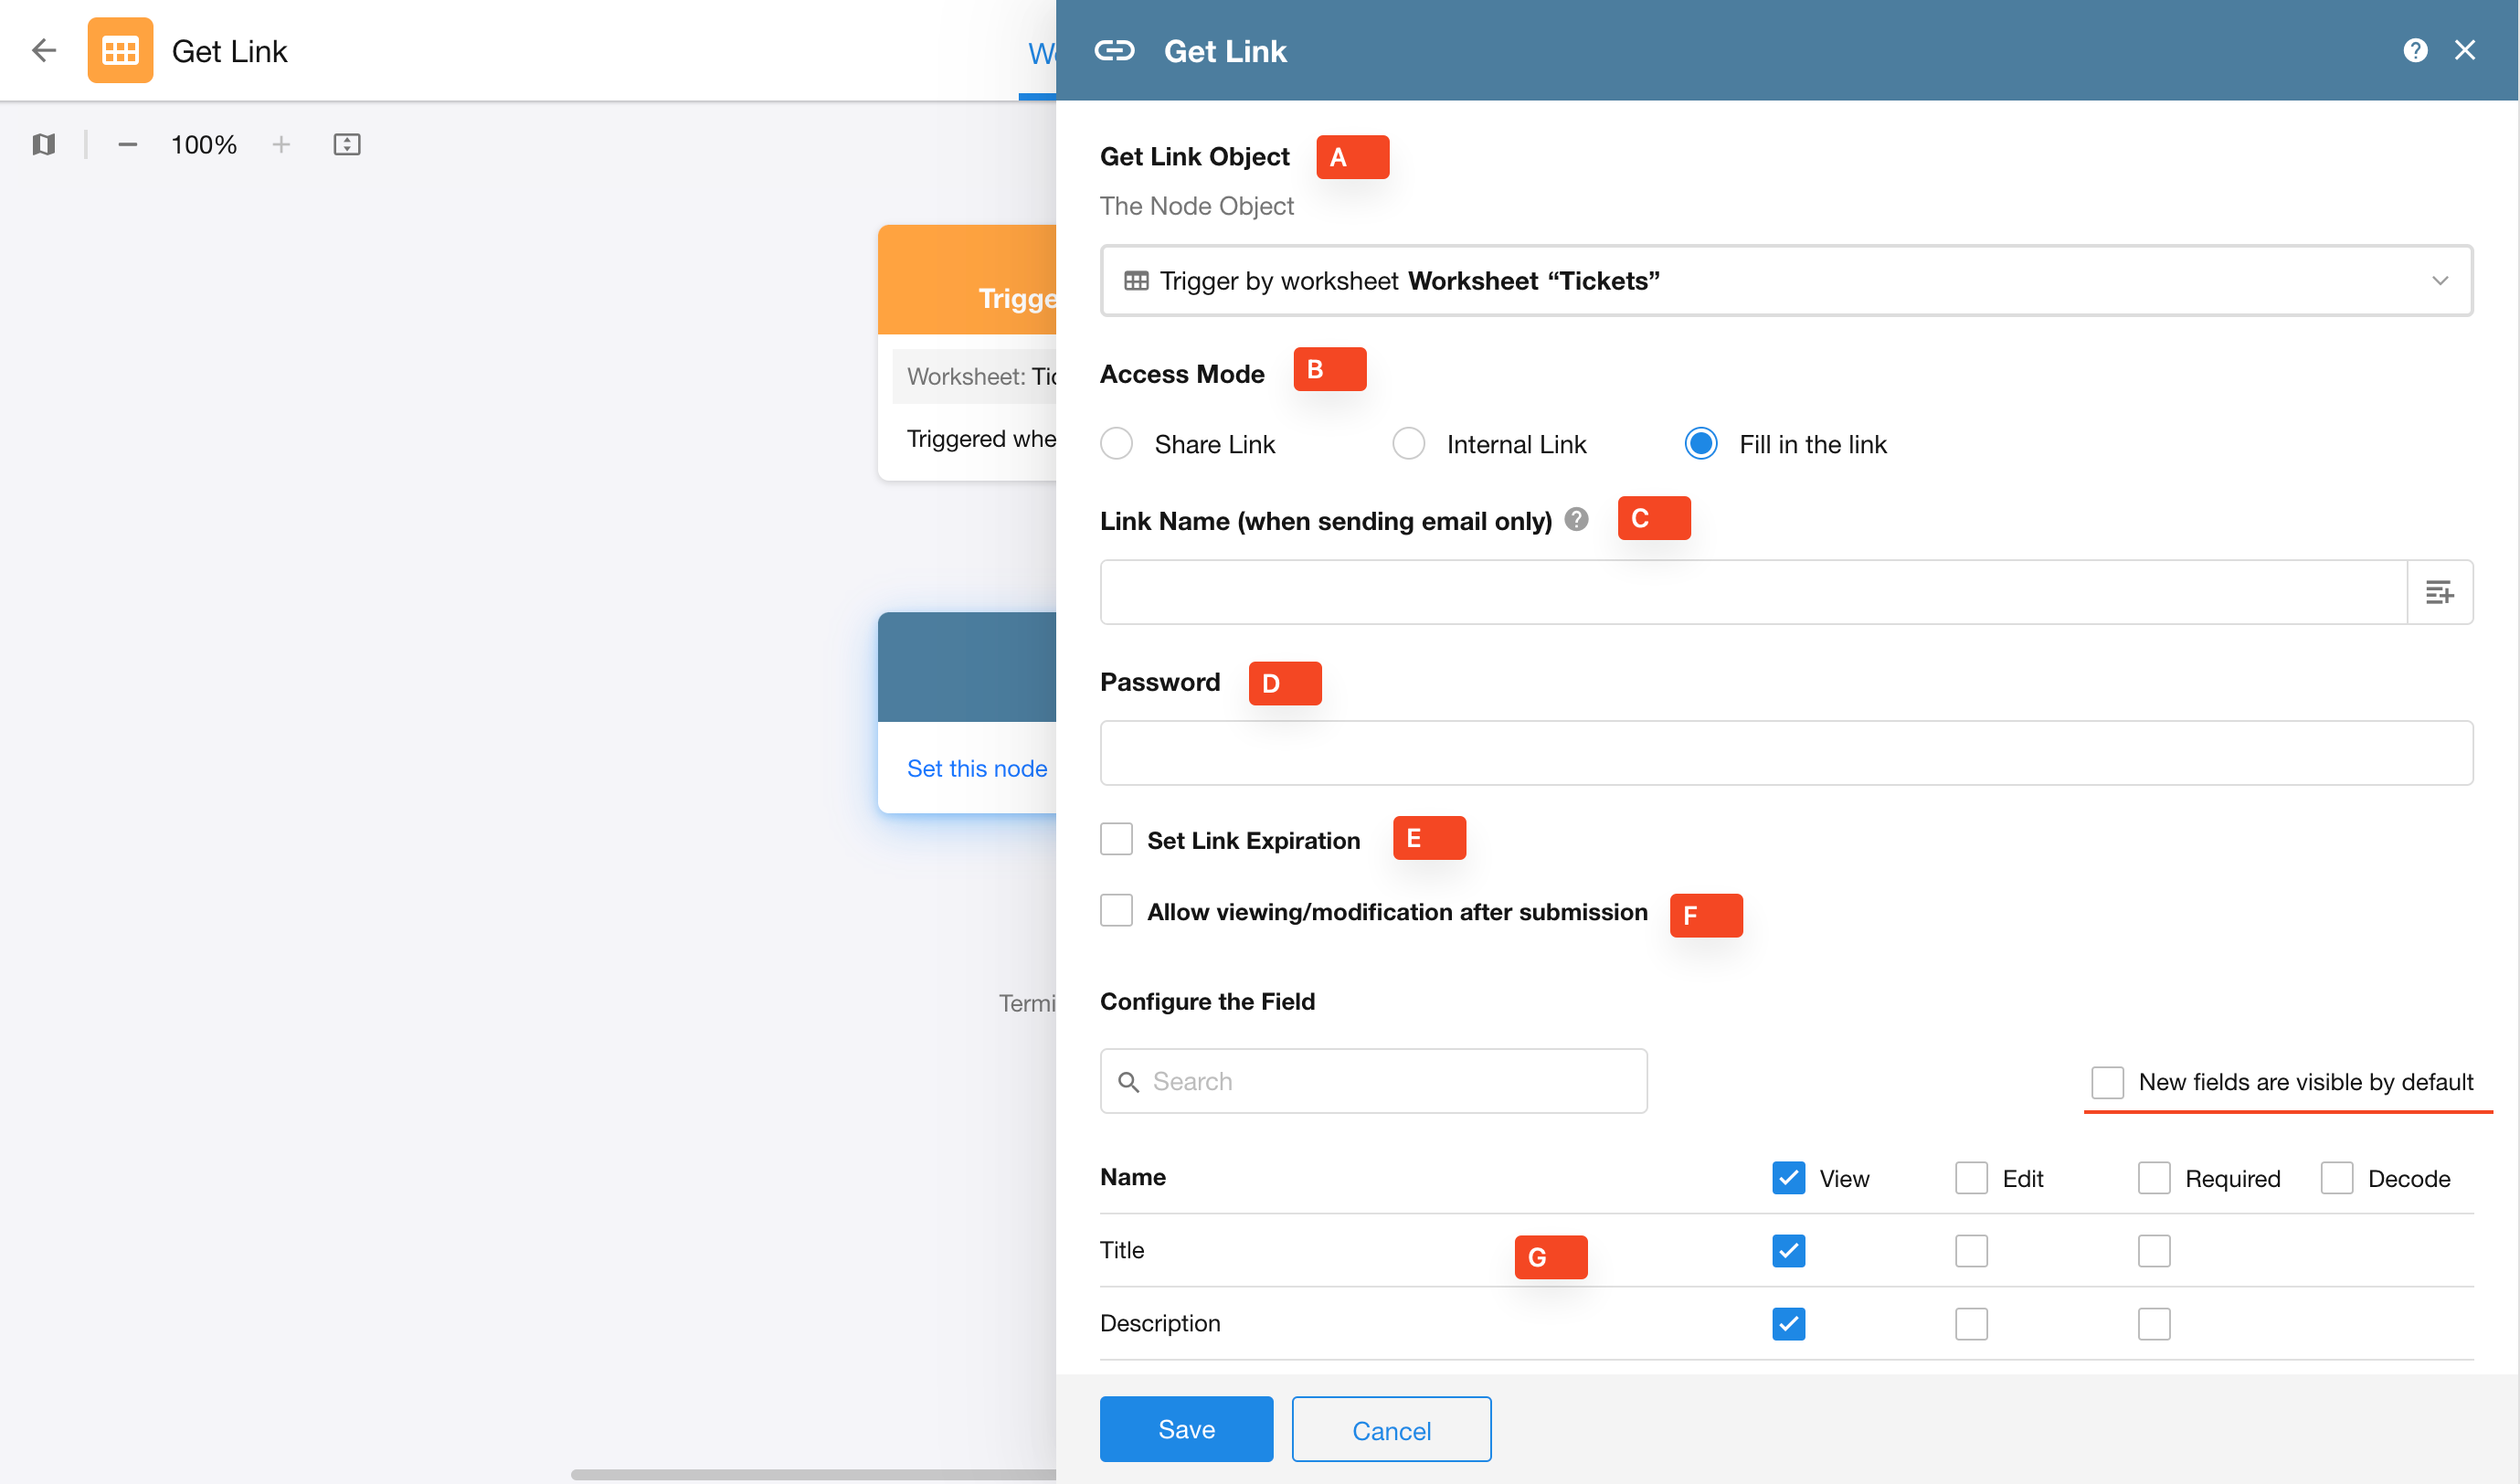
A. Get Link Object
Select the record you want to generate the link for. In this case, choose the record from the trigger node.
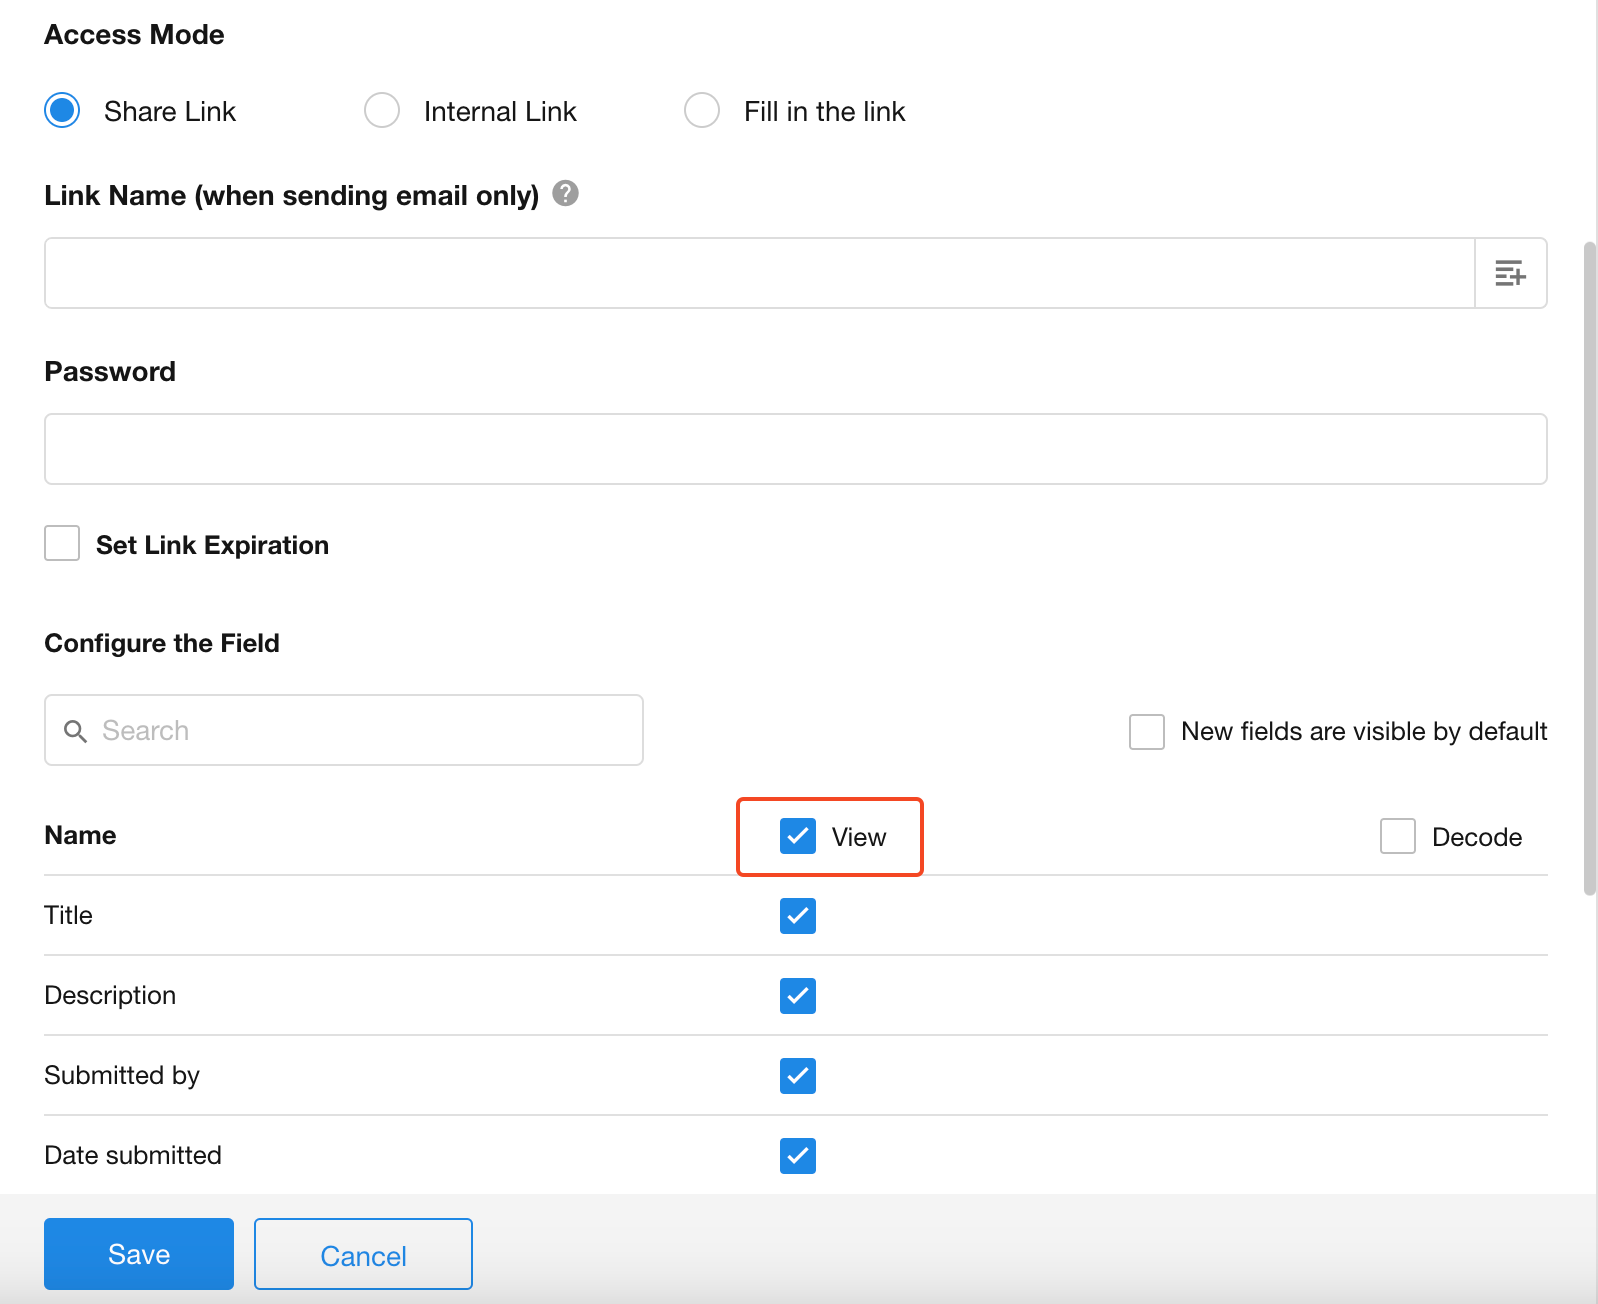
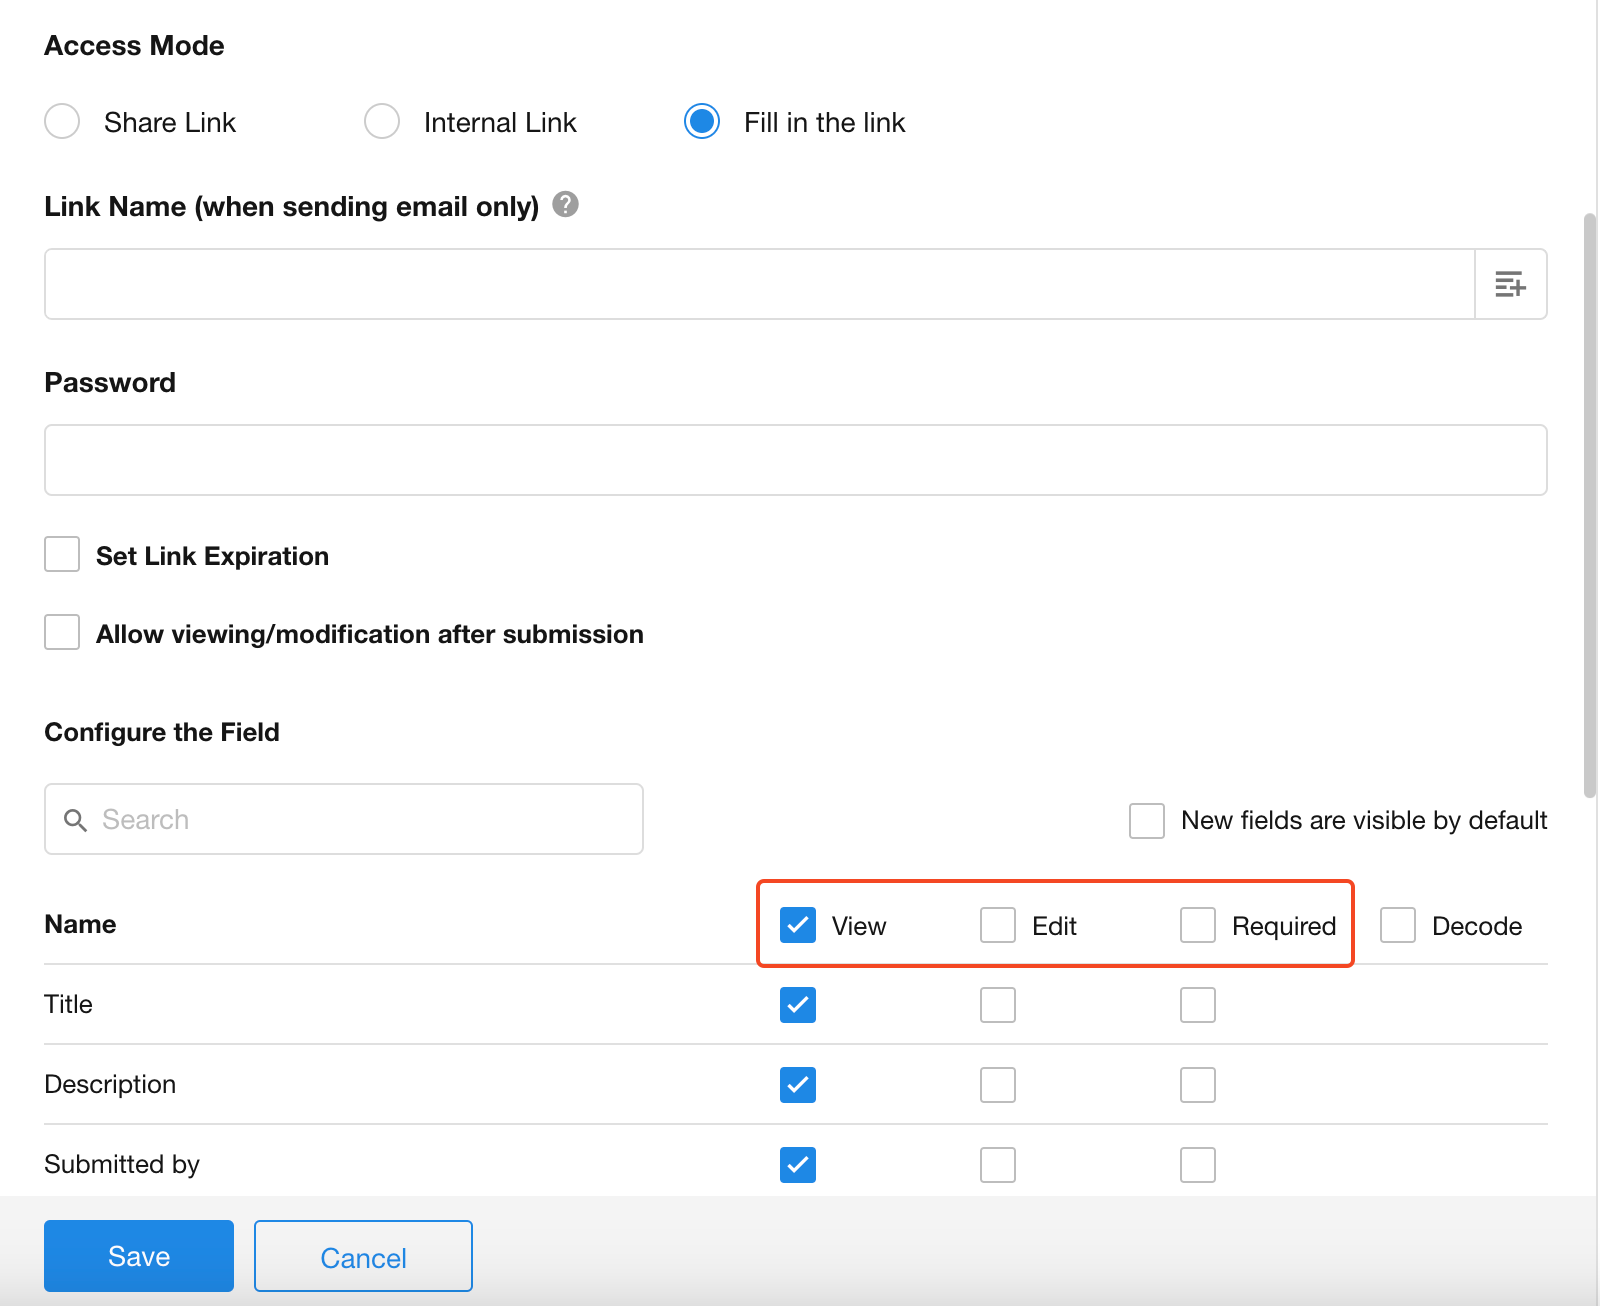
B. Access Mode
-
Share Link:
Allows read-only access without login. The link does not expire unless the record is deleted. -
Internal Link:
Requires login and proper permissions.This is the same link as opening a record’s detail page from a worksheet view.
-
Editable Link:
Lets users edit specific fields. You can define which fields are editable and required.
C. Link Name
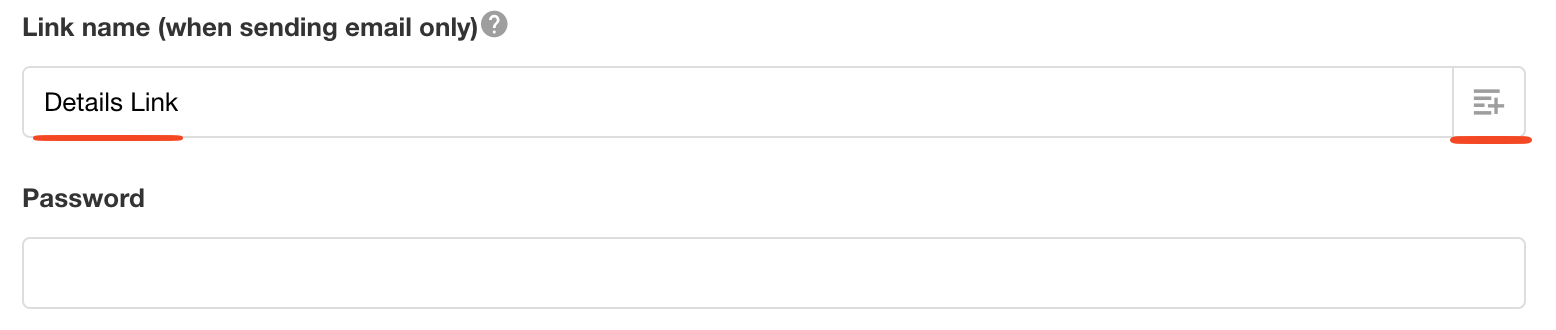
If left blank, the email will show the raw URL. If a name is provided (static text or field value), the email will display it as a hyperlink.
This setting is only effective in email notifications.
In SMS or internal system notifications, the raw link is shown.
If the link is written into a field, it is stored as a URL.
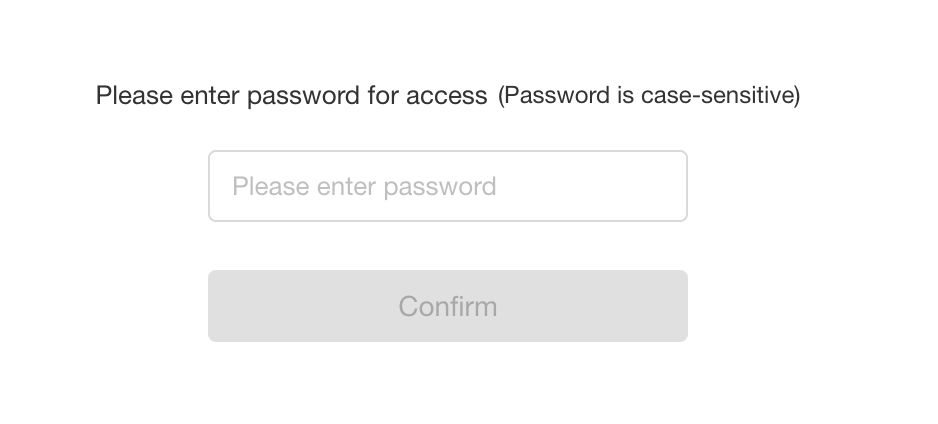
D. Password Protection
You can set a password required to open the link. If left blank, no password is required.
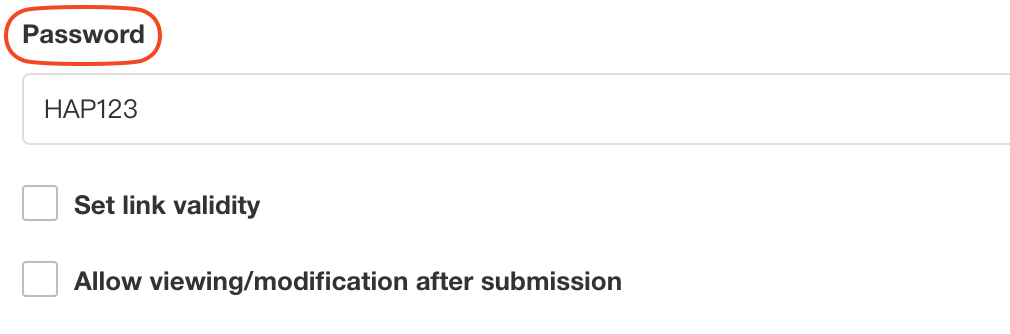
The password must contain both letters and numbers, and be at least 4 characters long.
You can also set a validity period for the password, a fixed duration or a specific expiration date.
E. Set Link Expiry
After the expiration time, the link becomes invalid.
Fixed duration: e.g., expires in 1 hour or 1 day.
Specified date and time: expires after a specific date or a date field from the record.
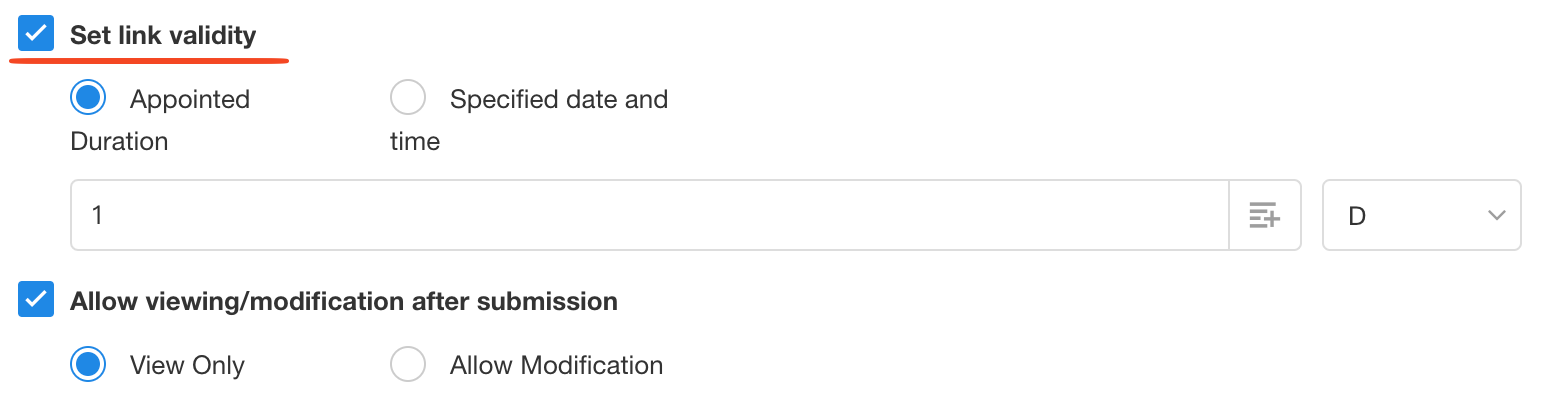
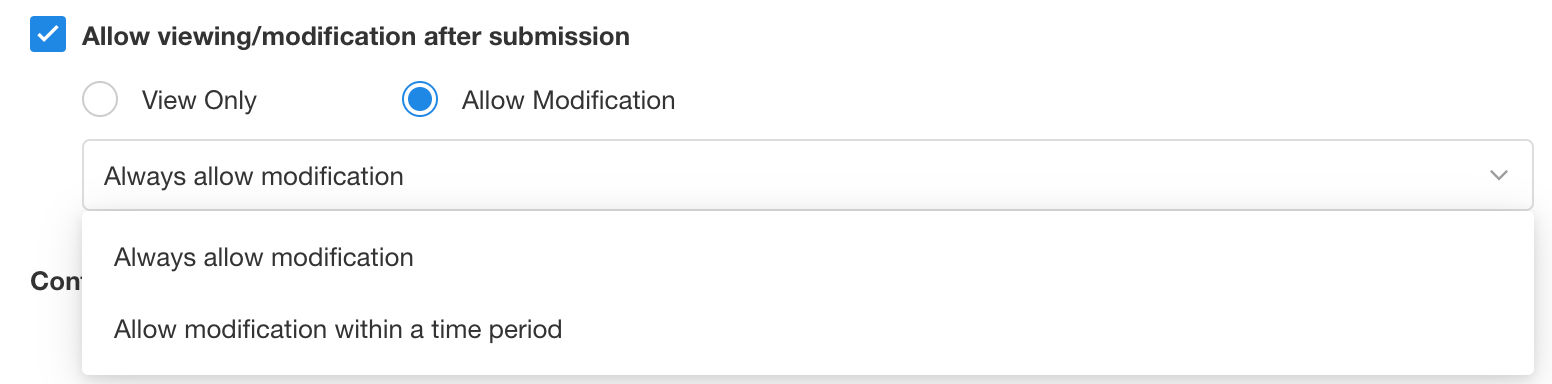
F. Allow Viewing/Modification After Submission
- Only available for Editable Links.
- When checked, users can reopen the link after submitting the form.
- You can allow:
- Read-only access after submission
- Editable access immediately or after a delay
- You can allow:
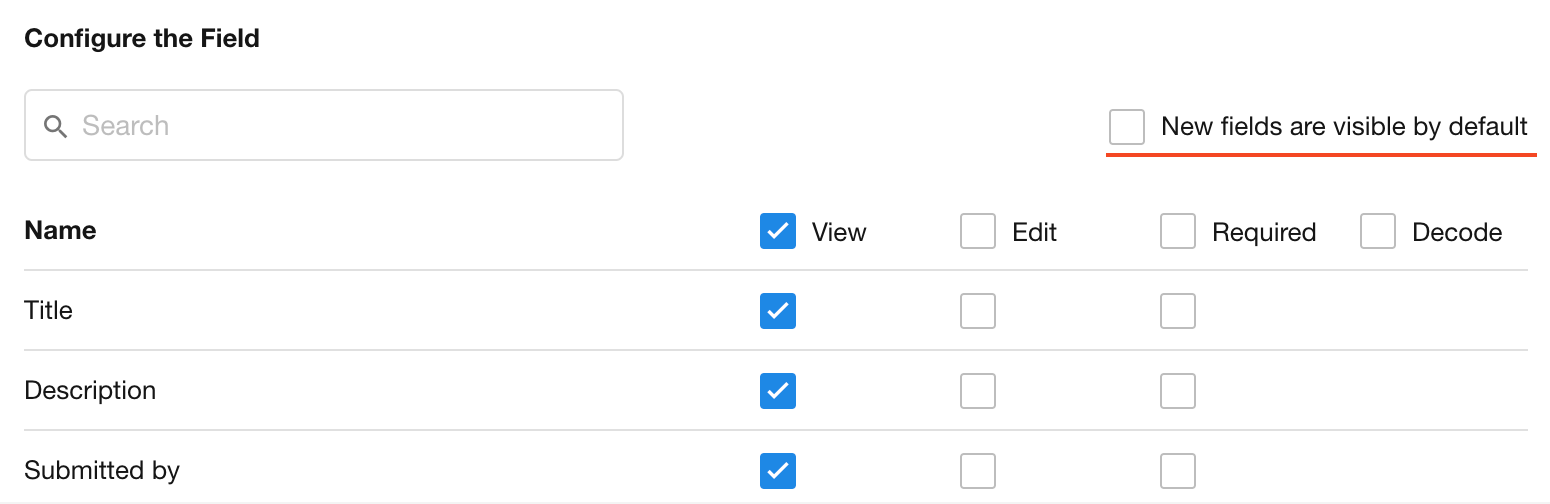
G. Configure Field Permissions
Determine which fields are:
- Visible
- Editable
- Required
For Share Links, only view permissions apply:
For Editable Links, configure view/edit/required settings:
Example:
Allow customers to view all fields, but only edit “Rating” and “Feedback”.
Make “Rating” a required field and “Feedback” optional.
New Fields Default to Viewable
If enabled, newly added fields will be viewable by default.
If disabled, you must manually update visibility settings for new fields.
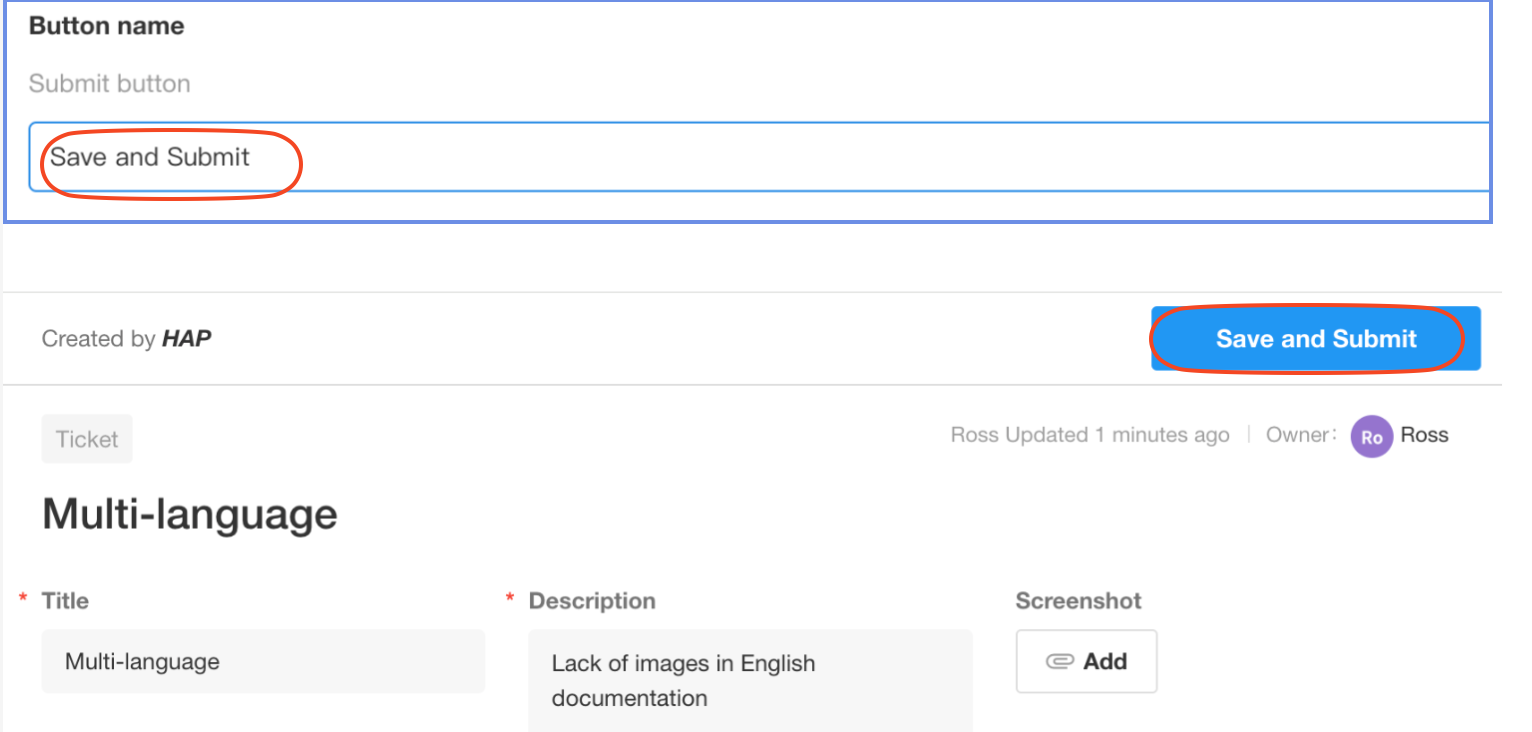
Customize Submit Button Label
The default button label is "Submit".
You can change it to suit your business context.
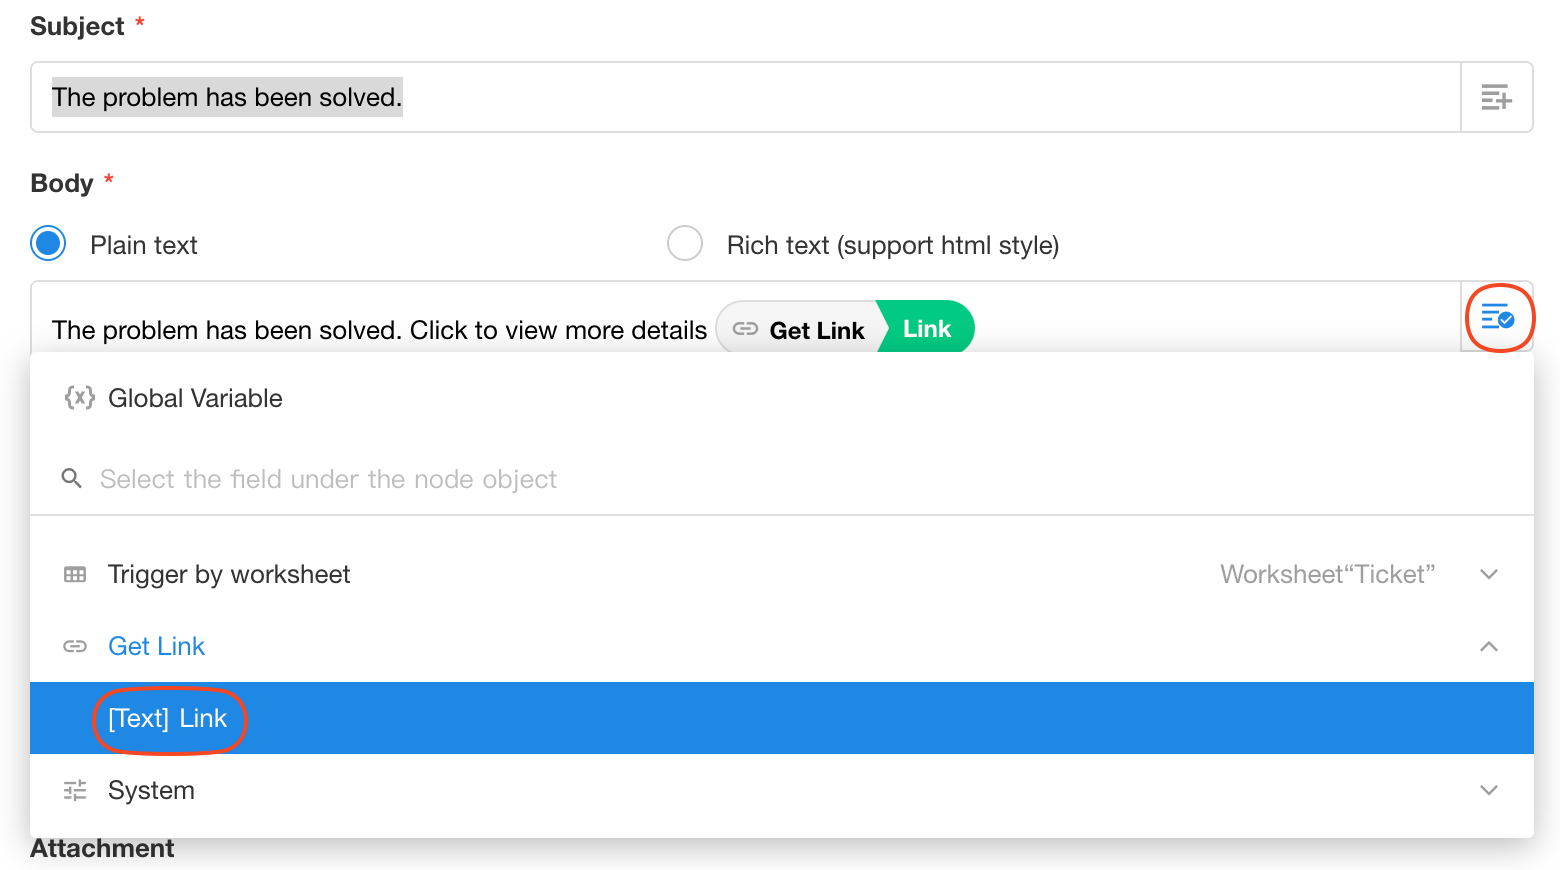
3. Use the Link in Other Nodes
You can use the value from the “Get Link” node in other nodes such as:
- Send Email
- Send SMS
- Send Internal Notification
Example:
To send the link to a customer via email, add a Send Email node, and insert the link value from the Get Link node into the email content.
Was this document helpful?